In this tutorial you will learn how to generate images from text prompts using Python, VQGAN, and neural networks. You can create some very interesting machine learning generated artwork using this software. The possibility are limitless when it comes to the different types of images you can generate. This article will be using Ubuntu 22.04 for the operating system. However any Ubuntu based version of Linux should work. Keep in mind you will want to make sure to have a graphics card with at least 6GB of VRAM. If not you will have to generate lower resolution images. If creating machine learning generated artwork sounds interesting to you continue reading this tutorial below.
Step 1: Install Required Dependencies
The first thing to do is install Anaconda. You can find the latest version and instructions HERE. This tutorial has been tested on Ubuntu 16.04, Ubuntu 18.04, Ubuntu 20.04, and Ubuntu 22.04.
Step 2: Create the Conda Environment
conda create --name vqgan python=3.9
conda activate vqgan
Next you will set up the Conda environment. This is where you will run VQGAN from.
Step 3: Install Pytorch in the new environment:
Note: This installs the CUDA version of Pytorch for Nvidia graphics cards. If you are using an AMD graphics card, read our AMD section at the bottom of the article.
pip install torch==1.9.0+cu111 torchvision==0.10.0+cu111 torchaudio==0.9.0 -f https://download.pytorch.org/whl/torch_stable.htmlStep 4: Install other required Python packages:
pip install ftfy regex tqdm omegaconf pytorch-lightning IPython kornia imageio imageio-ffmpeg einops torch_optimizerStep 5: Clone the required VQGAN repositories:
git clone 'https://github.com/nerdyrodent/VQGAN-CLIP'
cd VQGAN-CLIP
git clone 'https://github.com/openai/CLIP'
git clone 'https://github.com/CompVis/taming-transformers'
pip install taming-transformers && pip install CLIP
pip install setuptools==59.5.0
Now you need to clone the git repository’s. After cloning install taming-transformers and CLIP using pip. Finally install setuptools==59.5.0. This is required as the latest version of setuptools will not work with VQGAN.
Step 6: Download at least 1 VQGAN pretrained model
mkdir checkpoints

curl -L -o checkpoints/vqgan_imagenet_f16_16384.yaml -C - 'https://heibox.uni-heidelberg.de/d/a7530b09fed84f80a887/files/?p=%2Fconfigs%2Fmodel.yaml&dl=1' #ImageNet 16384
curl -L -o checkpoints/vqgan_imagenet_f16_16384.ckpt -C - 'https://heibox.uni-heidelberg.de/d/a7530b09fed84f80a887/files/?p=%2Fckpts%2Flast.ckpt&dl=1' #ImageNet 16384
Choose at least one of the above pretrained models, and download it using the curl command. I recommend downloading both of the models so that you can try each to see which works best.
Pretrained Model Information
Visit https://github.com/CompVis/taming-transformers#overview-of-pretrained-models to learn more about VQGAN pre-trained models, including download links. The model .yaml and .ckpt files need to be the checkpoints directory.
Generating VQGAN image from basic text prompt
You have now finished installing VQGAN. You are ready to begin generating images. To generate an image from text, specify your text prompt as shown in the example below.
python generate.py -p "A illustration of a pineapple in a fruit bowl"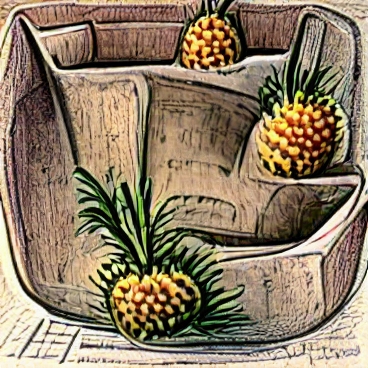
Generating VQGAN image from multiple prompts
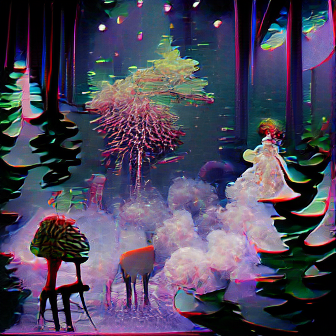
You are also able to generate images from split text prompts. In the below example you can see I am using four different descriptors to generate the image.
python generate.py -p "A painting of a pineapple in a fruit bowl | psychedelic | surreal:0.5 | weird:0.25"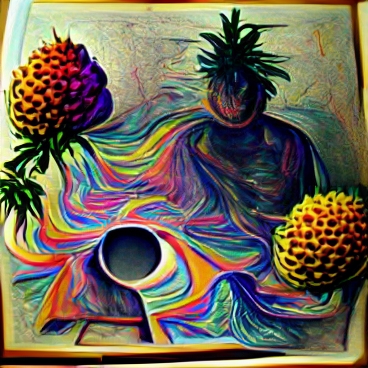
Additionally you can use an input image as one of your split prompt inputs. This will use the supplied image as a sample during the generation process.
python generate.py -p "A picture of a bathroom with a portrait of Van Gogh" -ip "samples/VanGogh.jpg | samples/Bedroom.png"
Generating VQGAN “story mode” images
Story mode allows you to create a story from multiple text prompts using the carrot symbol. This will generate you a .mp4 video file. For example:
python generate.py -p "A painting of a apple|photo:-1 ^ a painting of a banana ^ a painting of a grape ^ a painting of a watermelon ^ a photograph of strawberry" -cpe 1500 -zvid -i 6000 -zse 10 -vl 20 -zsc 1.005 -opt Adagrad -lr 0.15 -se 6000
VQGAN Feedback loop animation’s
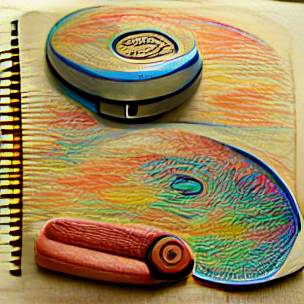
You are able to generate multiple images into a video. The script makes slight changes to each image creating a warping effect. The “150” at the end of the line is the number of frames. “blackhole.png” is your output filename. This will produce a .mp4 file named “video.mp4” by default. Example below:
./zoom.sh "A painting of a green firetruck spinning through a black hole" blackhole.png 150The ImageMagick package is requred to generate mp4 animated loop videos. If you don’t have it installed, you can install it using the below command.
sudo apt install imagemagick
Generating multiple random images
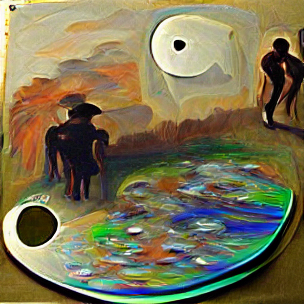
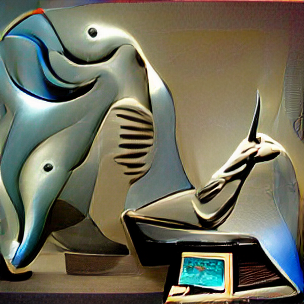
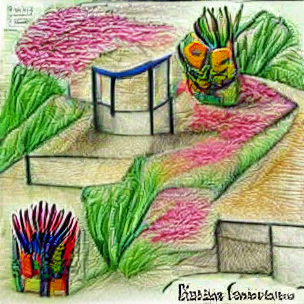
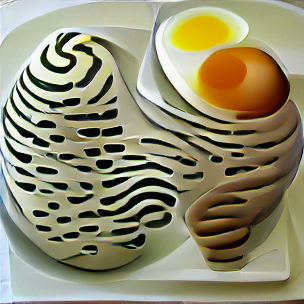
You can also supply multiple phrases to be used at random to generate multiple images. There is a random list of words in the “./zoom.sh” file. Edit this file if you want to change the words used in the random phrase generator. Here is an example of the random images put into a collage.
chmod +x ./zoom.sh
./zoom.sh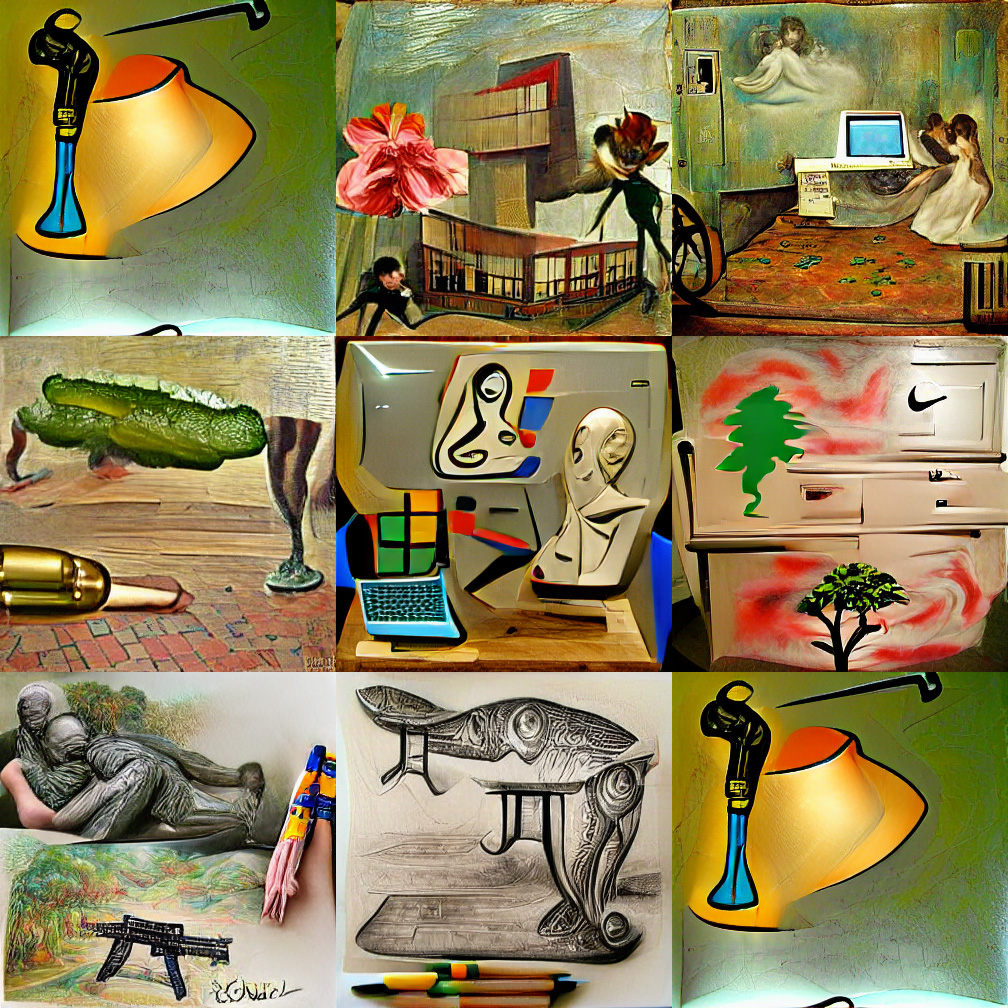
- #1 ‘A pencil art sketch of a criticizing pickle and a menu in the style of strange colors and Futurism’
- #2 ‘A painting of a wild hotel and a flower in the style of Constructionist and Edgar Degas’
- #3 ‘A spray painting of a awaiting computer and a bedroom in the style of Edgar Degas and Art Nouveau’
- #4 ‘A photograph of a benefiting AR-15 and a pickle in the style of Modern art and Edgar Degas’
- #5 ‘A sculpture of a undertaking computer and a figurine in the style of Pop Art and Picasso’
- #6 ‘A painting of a tree on a dresser in the style of Surreal Art and Claude Monet’
- #7 ‘A pencil art sketch of a touching statue and a AR-15 in the style of Surreal Art and Claude Monet’
- #8 ‘A pencil art sketch of a adding table and a fish in the style of Surreal Art and Art Nouveau’
- #9 ‘An illustration of a raining lamp and a spanner in the style of Pop Art and Michelangelo Caravaggio’
Advanced settings
There are many advanced flags you can use in the VQGAN program. To view all of the options from the terminal use the -h flag.
python generate.py -husage: generate.py [-h] [-p PROMPTS] [-ip IMAGE_PROMPTS] [-i MAX_ITERATIONS] [-se DISPLAY_FREQ]
[-s SIZE SIZE] [-ii INIT_IMAGE] [-in INIT_NOISE] [-iw INIT_WEIGHT] [-m CLIP_MODEL]
[-conf VQGAN_CONFIG] [-ckpt VQGAN_CHECKPOINT] [-nps [NOISE_PROMPT_SEEDS ...]]
[-npw [NOISE_PROMPT_WEIGHTS ...]] [-lr STEP_SIZE] [-cuts CUTN] [-cutp CUT_POW] [-sd SEED]
[-opt {Adam,AdamW,Adagrad,Adamax,DiffGrad,AdamP,RAdam,RMSprop}] [-o OUTPUT] [-vid] [-zvid]
[-zs ZOOM_START] [-zse ZOOM_FREQUENCY] [-zsc ZOOM_SCALE] [-cpe PROMPT_FREQUENCY]
[-vl VIDEO_LENGTH] [-ofps OUTPUT_VIDEO_FPS] [-ifps INPUT_VIDEO_FPS] [-d]
[-aug {Ji,Sh,Gn,Pe,Ro,Af,Et,Ts,Cr,Er,Re} [{Ji,Sh,Gn,Pe,Ro,Af,Et,Ts,Cr,Er,Re} ...]]
[-cd CUDA_DEVICE]optional arguments:
-h, --help show this help message and exit
-p PROMPTS, --prompts PROMPTS
Text prompts
-ip IMAGE_PROMPTS, --image_prompts IMAGE_PROMPTS
Image prompts / target image
-i MAX_ITERATIONS, --iterations MAX_ITERATIONS
Number of iterations
-se DISPLAY_FREQ, --save_every DISPLAY_FREQ
Save image iterations
-s SIZE SIZE, --size SIZE SIZE
Image size (width height) (default: [512, 512])
-ii INIT_IMAGE, --init_image INIT_IMAGE
Initial image
-in INIT_NOISE, --init_noise INIT_NOISE
Initial noise image (pixels or gradient)
-iw INIT_WEIGHT, --init_weight INIT_WEIGHT
Initial weight
-m CLIP_MODEL, --clip_model CLIP_MODEL
CLIP model (e.g. ViT-B/32, ViT-B/16)
-conf VQGAN_CONFIG, --vqgan_config VQGAN_CONFIG
VQGAN config
-ckpt VQGAN_CHECKPOINT, --vqgan_checkpoint VQGAN_CHECKPOINT
VQGAN checkpoint
-nps [NOISE_PROMPT_SEEDS ...], --noise_prompt_seeds [NOISE_PROMPT_SEEDS ...]
Noise prompt seeds
-npw [NOISE_PROMPT_WEIGHTS ...], --noise_prompt_weights [NOISE_PROMPT_WEIGHTS ...]
Noise prompt weights
-lr STEP_SIZE, --learning_rate STEP_SIZE
Learning rate
-cuts CUTN, --num_cuts CUTN
Number of cuts
-cutp CUT_POW, --cut_power CUT_POW
Cut power
-sd SEED, --seed SEED
Seed
-opt, --optimiser {Adam,AdamW,Adagrad,Adamax,DiffGrad,AdamP,RAdam,RMSprop}
Optimiser
-o OUTPUT, --output OUTPUT
Output file
-vid, --video Create video frames?
-zvid, --zoom_video Create zoom video?
-zs ZOOM_START, --zoom_start ZOOM_START
Zoom start iteration
-zse ZOOM_FREQUENCY, --zoom_save_every ZOOM_FREQUENCY
Save zoom image iterations
-zsc ZOOM_SCALE, --zoom_scale ZOOM_SCALE
Zoom scale
-cpe PROMPT_FREQUENCY, --change_prompt_every PROMPT_FREQUENCY
Prompt change frequency
-vl VIDEO_LENGTH, --video_length VIDEO_LENGTH
Video length in seconds
-ofps OUTPUT_VIDEO_FPS, --output_video_fps OUTPUT_VIDEO_FPS
Create an interpolated video (Nvidia GPU only) with this fps (min 10. best set to 30 or 60)
-ifps INPUT_VIDEO_FPS, --input_video_fps INPUT_VIDEO_FPS
When creating an interpolated video, use this as the input fps to interpolate from (>0 & <ofps)
-d, --deterministic Enable cudnn.deterministic?
-aug, --augments {Ji,Sh,Gn,Pe,Ro,Af,Et,Ts,Cr,Er,Re} [{Ji,Sh,Gn,Pe,Ro,Af,Et,Ts,Cr,Er,Re} ...]
Enabled augments
-cd CUDA_DEVICE, --cuda_device CUDA_DEVICE
Cuda device to useAMD GPU Instructions
If you have an AMD graphics card you are able to use ROCm instead of CUDA. You can check if your card supports TensorFlow here: https://github.com/RadeonOpenCompute/ROCm#supported-gpus
Install ROCm accordng to the instructions and don’t forget to add the user to the video group as detailed in the link: https://docs.amd.com/bundle/ROCm-Installation-Guide-v5.1/page/How_to_Install_ROCm.html
The usage and set up instructions above are the same, except for the line where you install Pytorch. Instead of pip install torch==1.9.0+cu111 ..., use the one or two lines which are displayed here (select Pip -> Python-> ROCm): https://pytorch.org/get-started/locally/
Troubleshooting
RuntimeError: CUDA out of memory
For example:
RuntimeError: CUDA out of memory. Tried to allocate 150.00 MiB (GPU 0; 23.70 GiB total capacity; 21.31 GiB already allocated; 78.56 MiB free; 21.70 GiB reserved in total by PyTorch)Your request doesn’t fit into your GPU’s VRAM. Reduce the image size of the image by editing “generate.py”.
What is the best optimizing agent?
The Adam agent is usually a good general purpose agent to use. If you would like more information see the Pytorch Optimizer and Optim articles.
Can I download and use all pre-trained models simultaneously?
Yes, all you need to do is set everything to true in the download_models.sh file.
Errors during video generation
Try installing ffmpeg:
sudo apt install ffmpeg
If you are running VQGAN with Ananconda try:
conda install -c conda-forge ffmpegRelated resources
View more image examples on the FormatSwap Twitter.
Check our our The Best Mechanical Gaming Keyboards to Purchase in 2023 article.
Read our Deep Learning Image Style Transfer Tutorial Using Neural Style Pt.
View our other Machine Learning Tutorials.
Learn How to Create a Mapped Network Drive in Windows 10.
Click here to learn How to Install MySQL on Ubuntu 22.04 LTS.
View all of our available online tools at Formatswap.com.
Questions
Feel free to leave a comment below if you have any further questions. Thank you for reading the tutorial.