In this tutorial you will learn how to install a FTP server in Windows 10. However the same process will apply to Windows 7, Windows 11, and Windows Server 2008/2012. We will be using the FileZilla Server to set up the FTP service. FileZilla is by far the easiest FTP server application to set up and configure. One of the main benefits to setting up an FTP server is the ability to easily share files with others. It is useful anytime you want to transfer files from your computer to a server or vise versa. An FTP server is one of the most crucial tool to install on your servers.
Download FileZilla Server
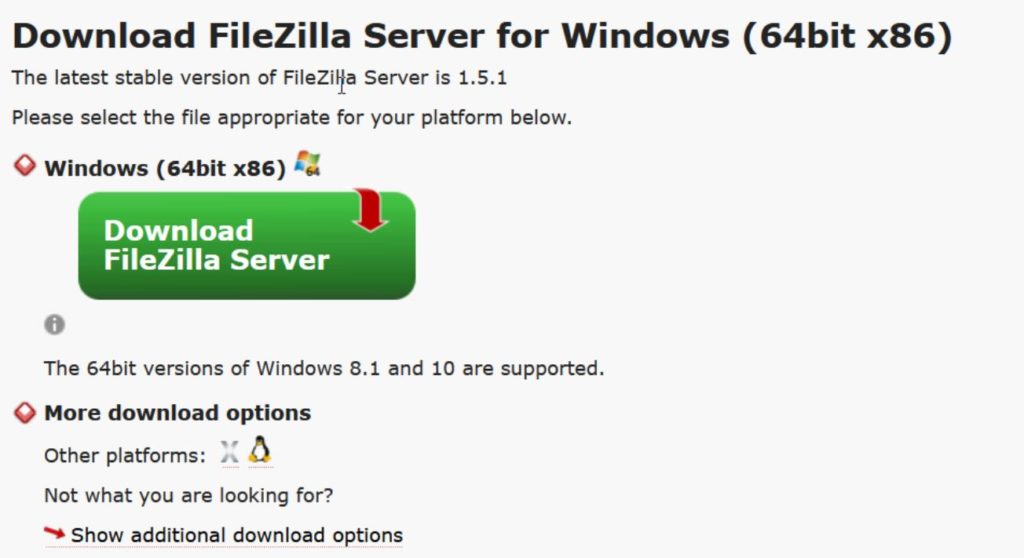
The first step will be downloading the FileZilla server installer. Navigate to the download page and download the latest release.
Launch the Installer
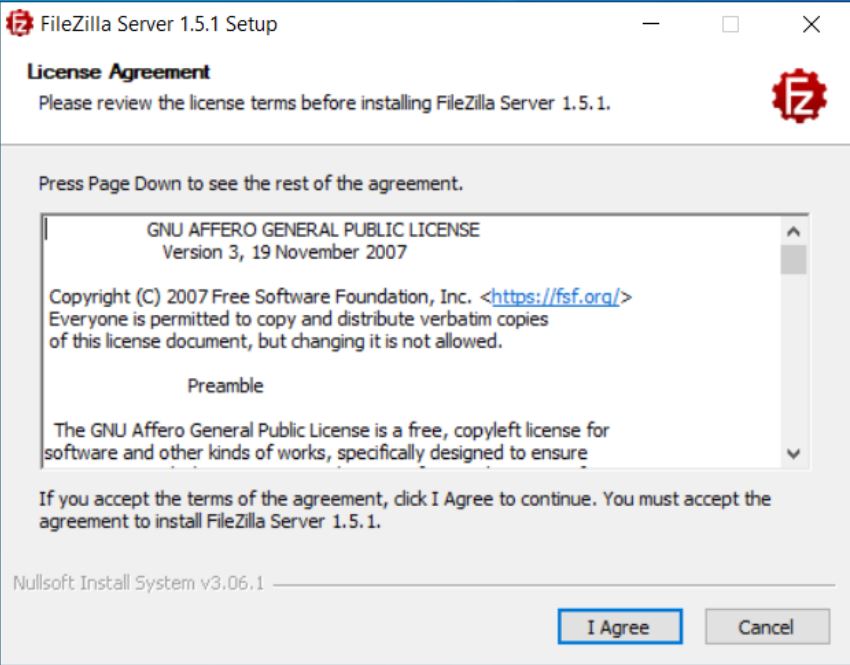
Now open the installer executable and follow the prompts.
Choose Installation Settings
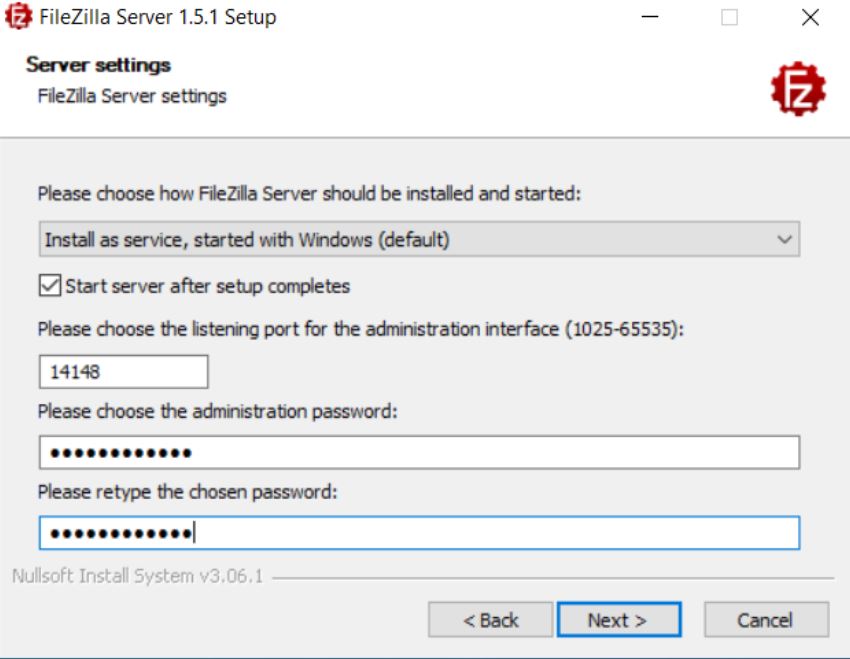
Once you get to this screen of the installer you will need to type an administrator password. You can also change the port that the admin interface runs on from this screen. You can use the default options for the rest of the process.
Installation Completed
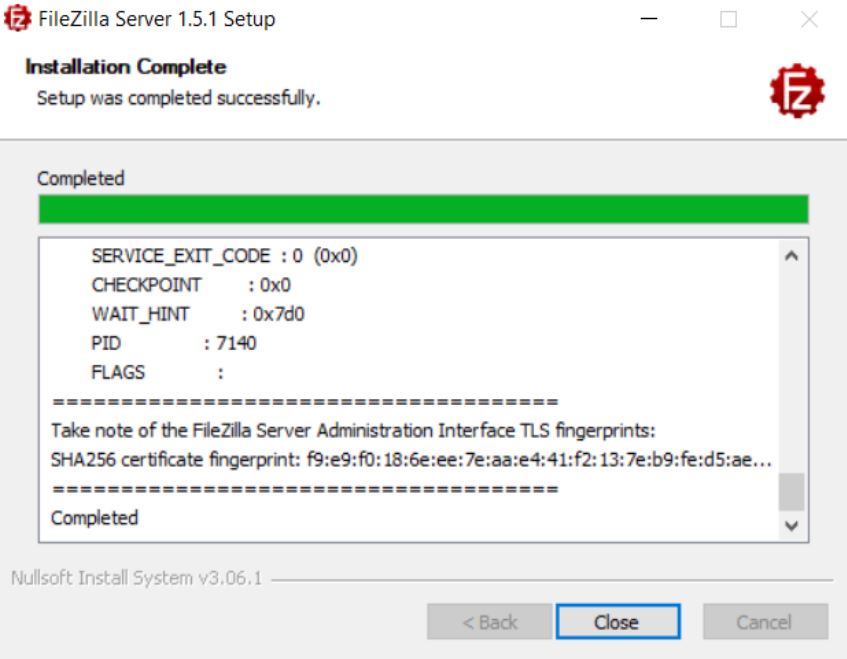
When this screen opens you have successfully completed the installation of FileZilla Server. Close the installer.
Connect to the Admin Interface
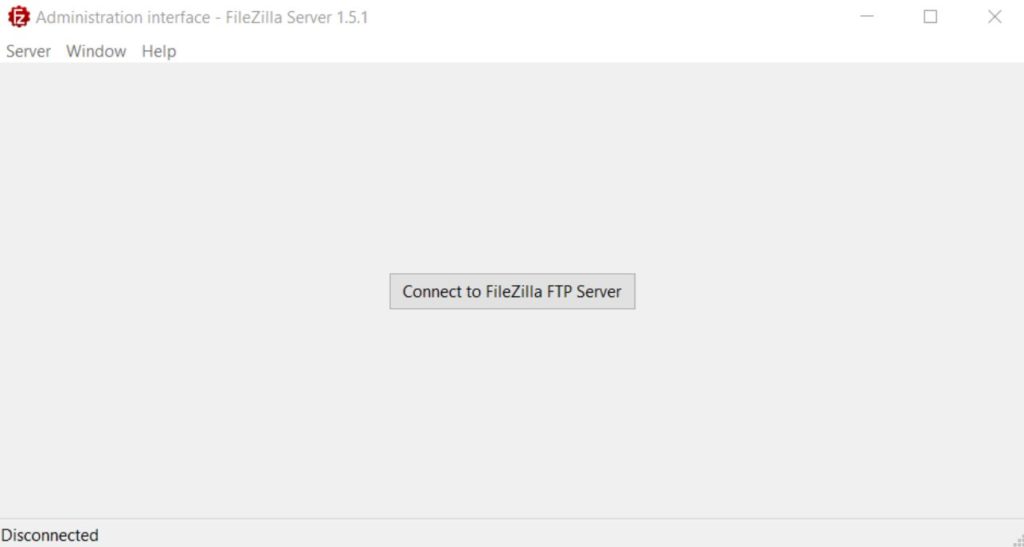
The administration interface will open once you have closed the installer. Click “Connect to the FileZilla FTP Server” to get started.
Input Connection Information
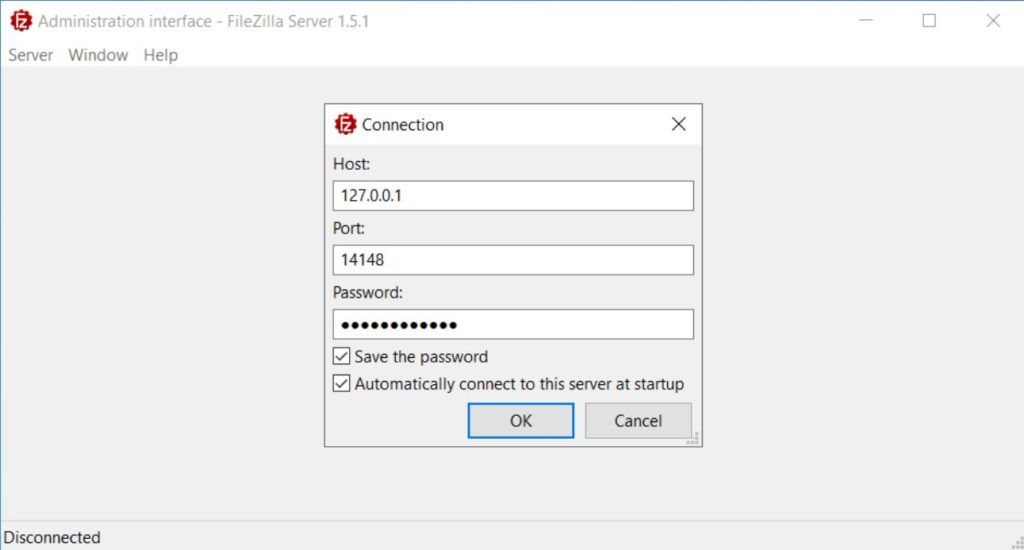
Type in the administration password that you entered during the installation. Then click on OK to continue.
Verify Server Fingerprint
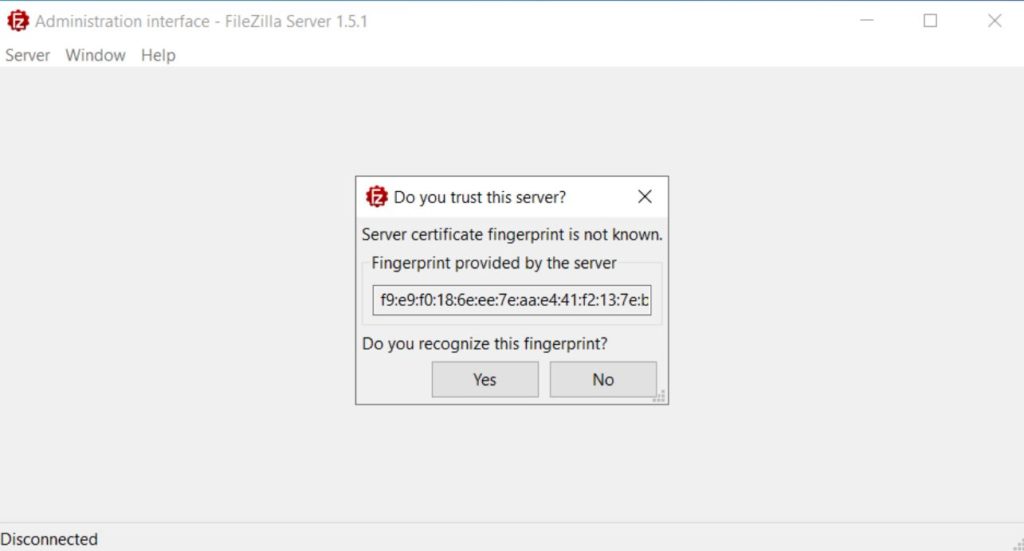
You will be asked to verify the certificate fingerprint since it is the first time you have opened it. Click “Yes” to verify.
Admin Interface Started
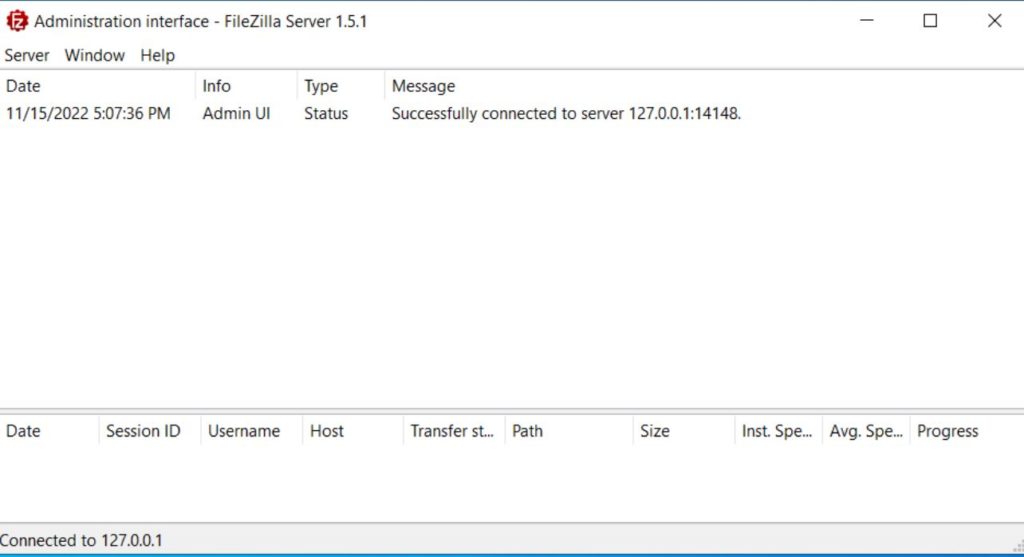
Afterwards you will be connected to the FileZilla FTP Server administrator interface. We now have to configure our users.
Open FTP Server Configuration
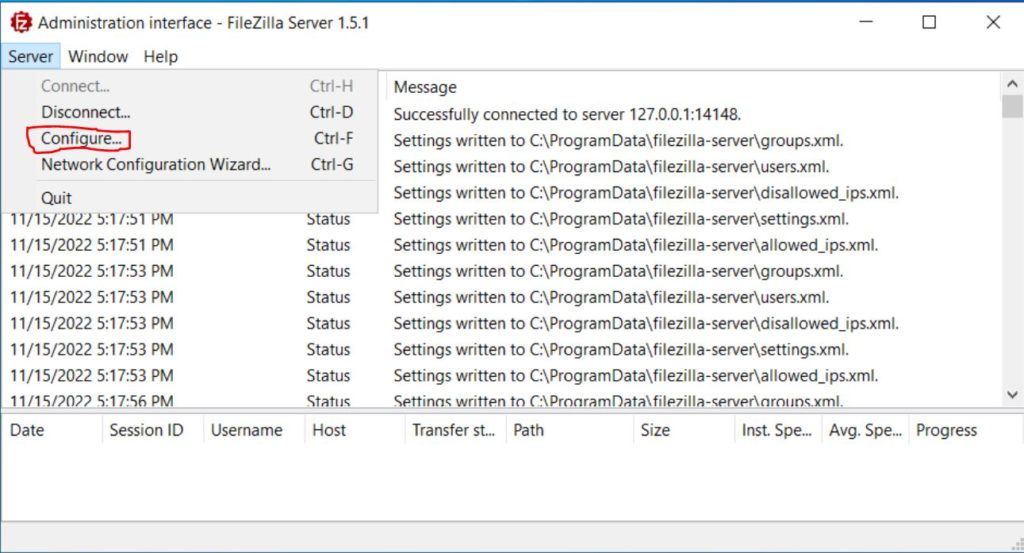
Click on “Server” in the top left corner and then click “Configure…”. This will open the server configuration screen.
Navigate to the Users Screen
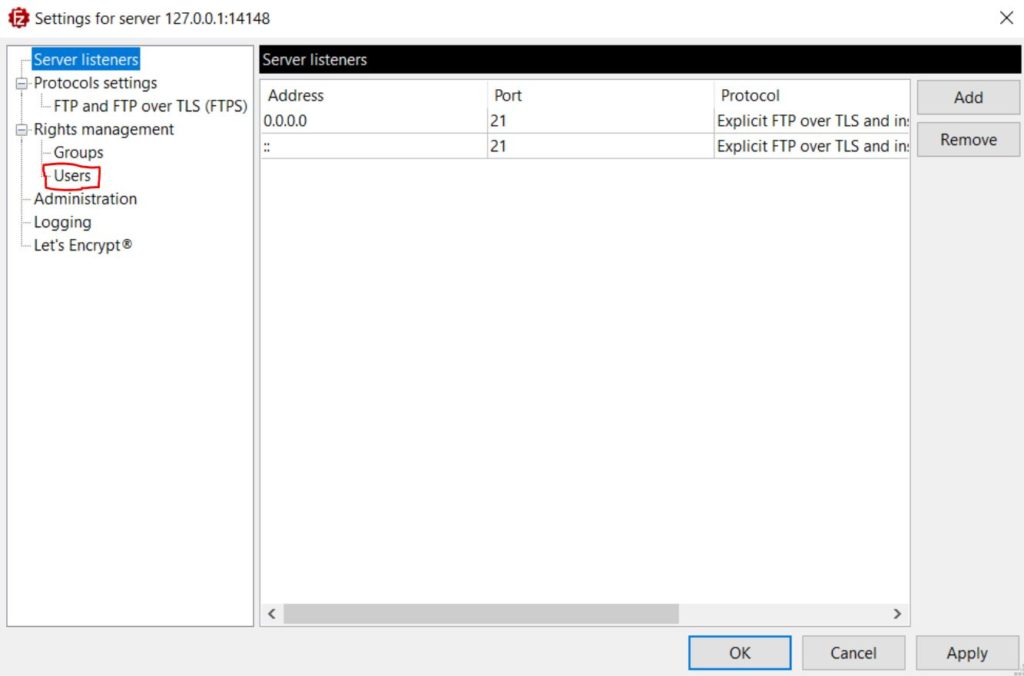
Once the server configuration opens, click on the “Users” row in the left column.
Add a New User
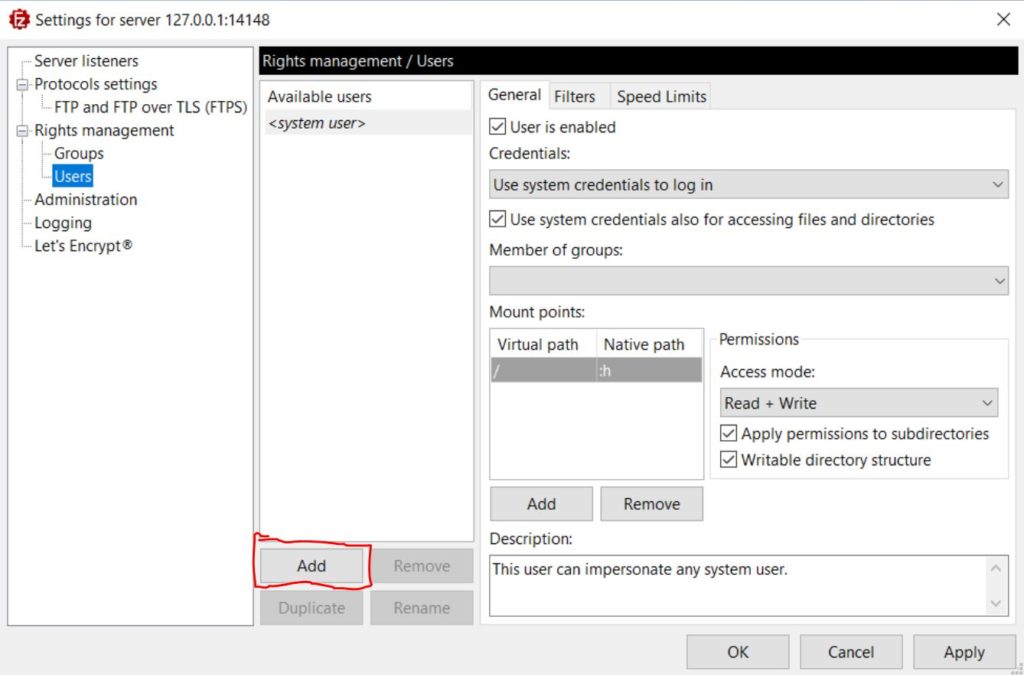
Next click on the “Add” button in the middle column to add a new user.
Configure the User and Mount Points

Type in a name for the new user. Then you will need to fill in a few fields in the left column. Type a password for the user, then set a “Virtual path” and a “Native path”. The virtual path can be anything you want. I recommend just forward slash. The Native path is the directory on the server which you want users to be able to read and write from. In my example I am using the “C:\” path to share the whole computer. Set this to any directory you wish. Once you click “Apply” and “OK” you will be done configuring the FTP server.
Open Windows Defender Firewall
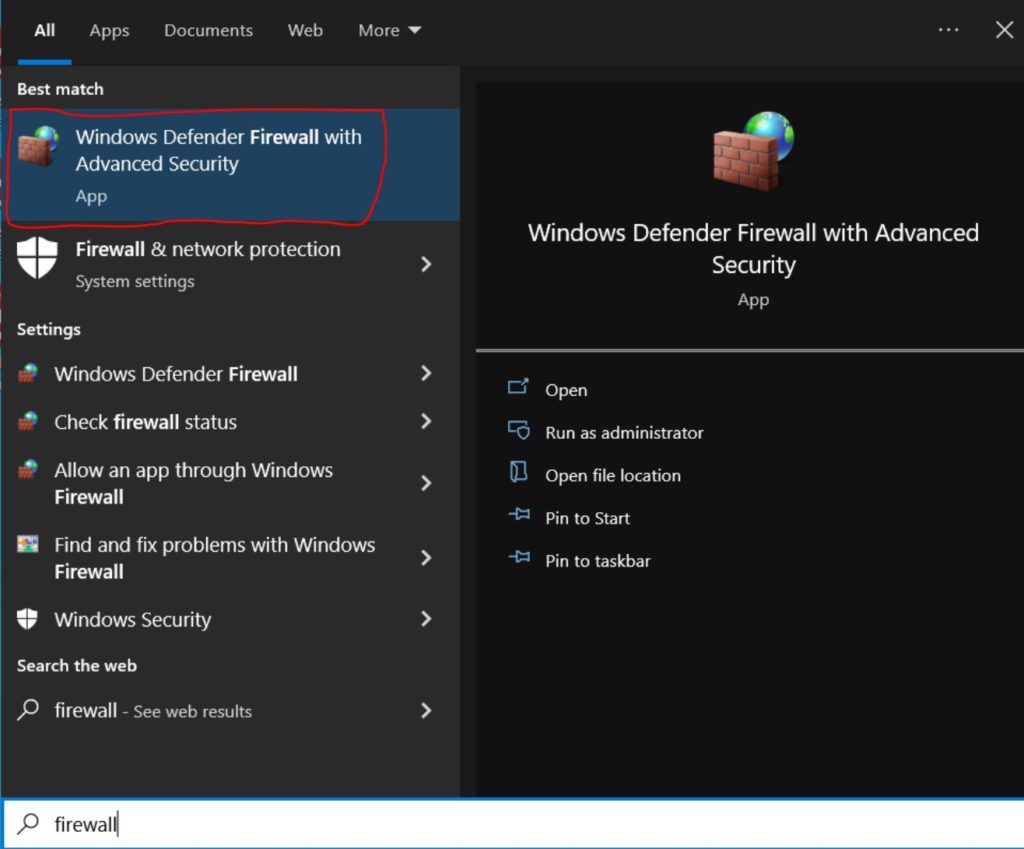
The next step is to configure the Windows Defender Firewall. Open the start menu and search for “firewall”. Then open the “Windows Defender Firewall with Advanced Security” application.
Navigate to Inbound Rules
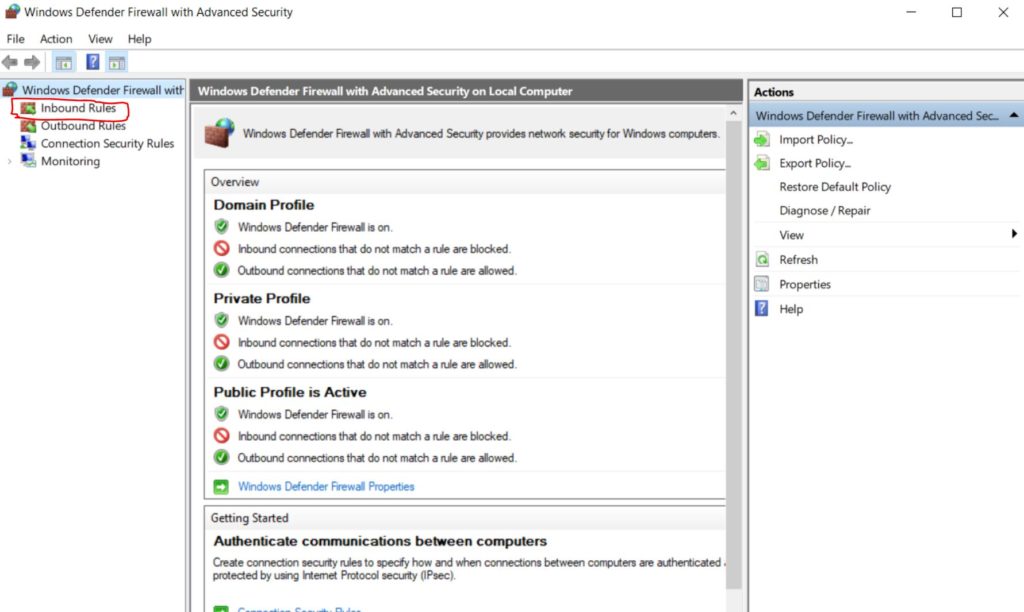
Once it has opened navigate to the “Inbound rules” by clicking on it in the left side column.
Create a New Inbound rule
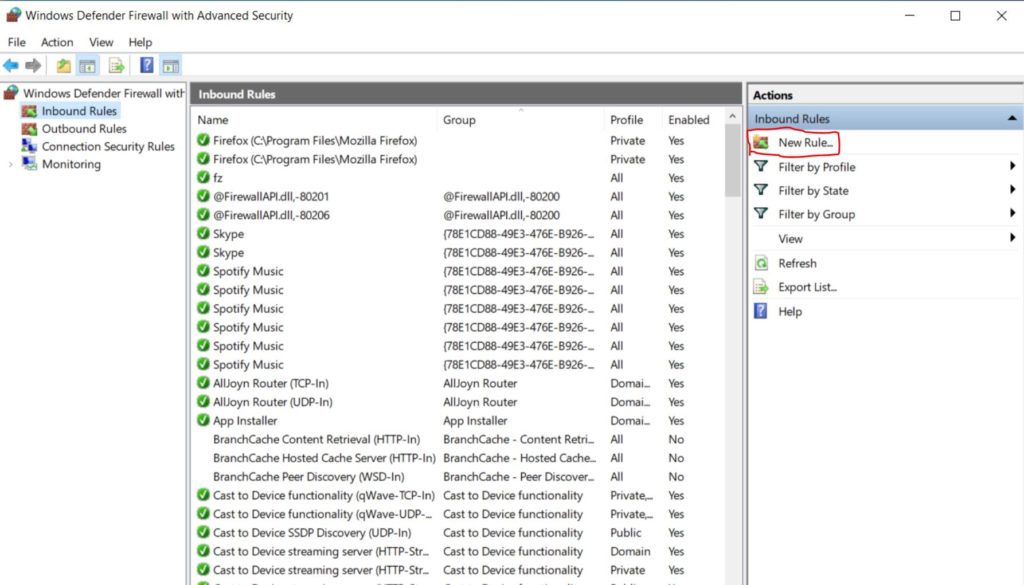
Next click on the “New Rule…” button in the right side column.
Choose the Firewall Rule Type
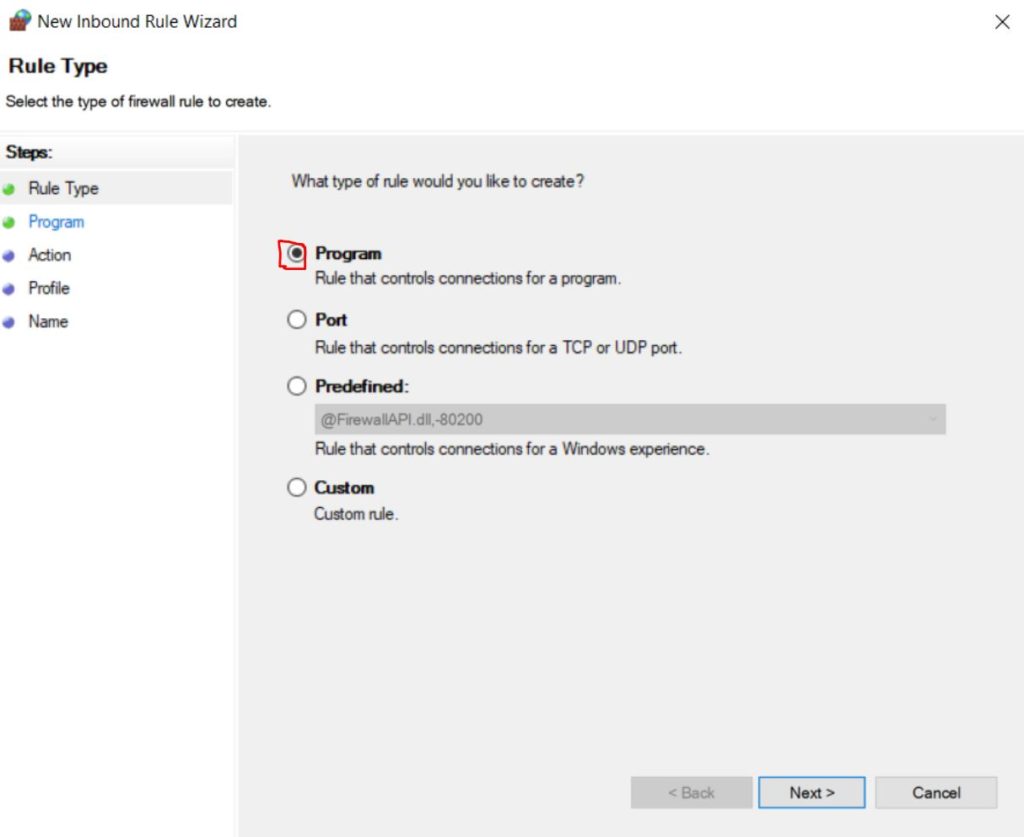
Now you will be asked which type of firewall rule you would like to create. Select the “Program” option from the list.
Select a Program Path
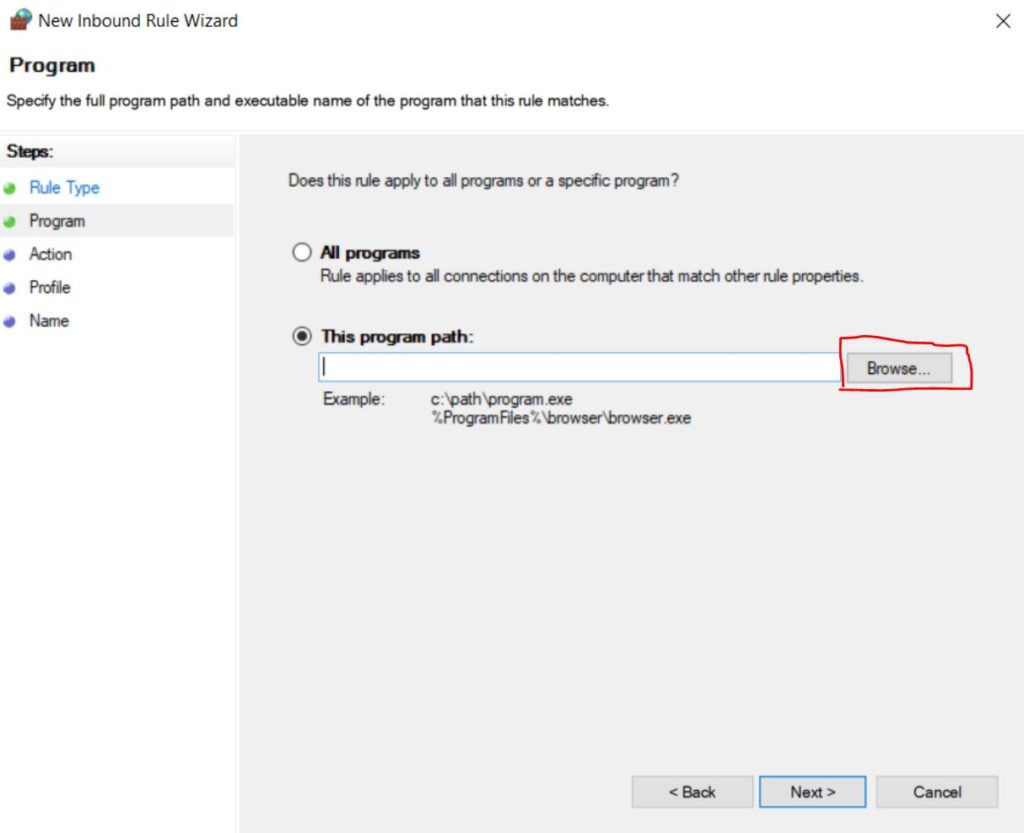
Click on the “This program path” radio button, then click “Browse…”.
Select the Program to Allow
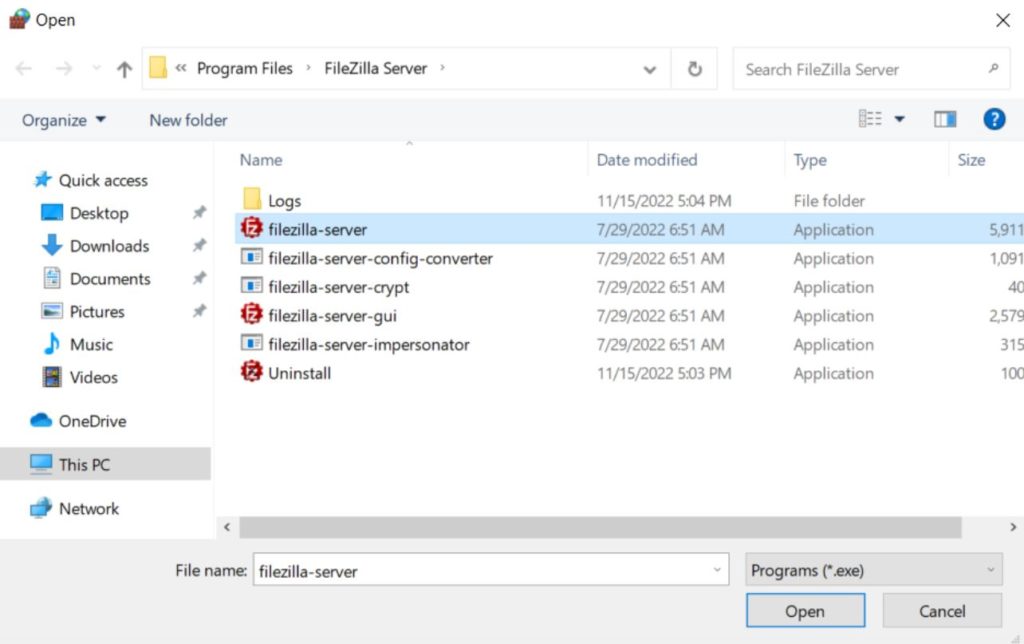
Navigate to the FileZilla Server installation folder. It is usually located at “C:\Program Files\FileZilla Server”. Once you find the folder click on the “filezilla-server” executable, then click the “Open” button.
Choose the Firewall Rules Action
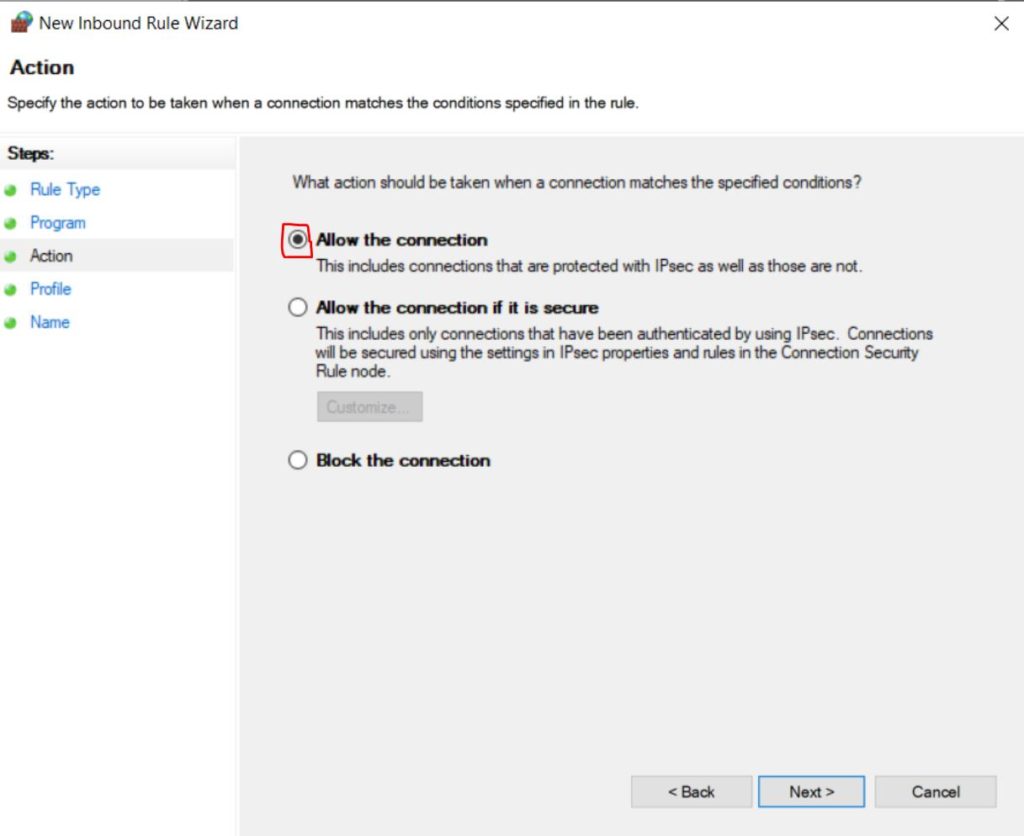
Next select the “Allow the connection” radio button. Then click the “Next” button.
Select Profile Rules
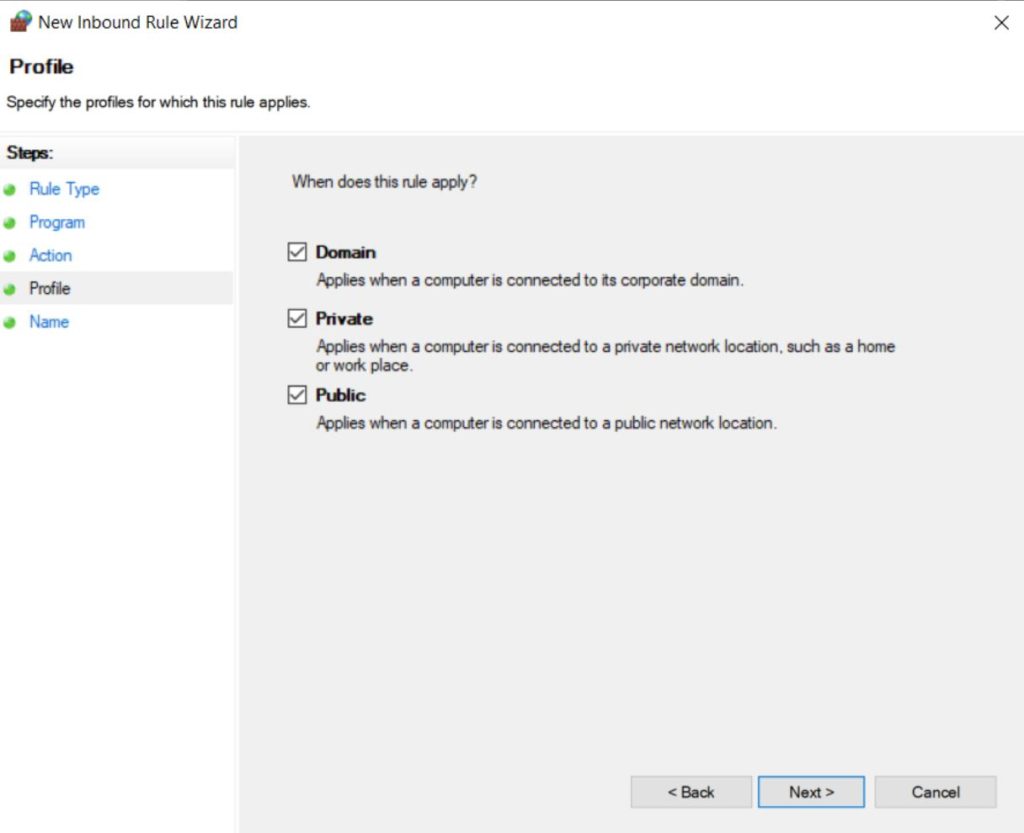
You can use the default settings on this screen. Click the “Next” button.
Select a Name for the Firewall Rule
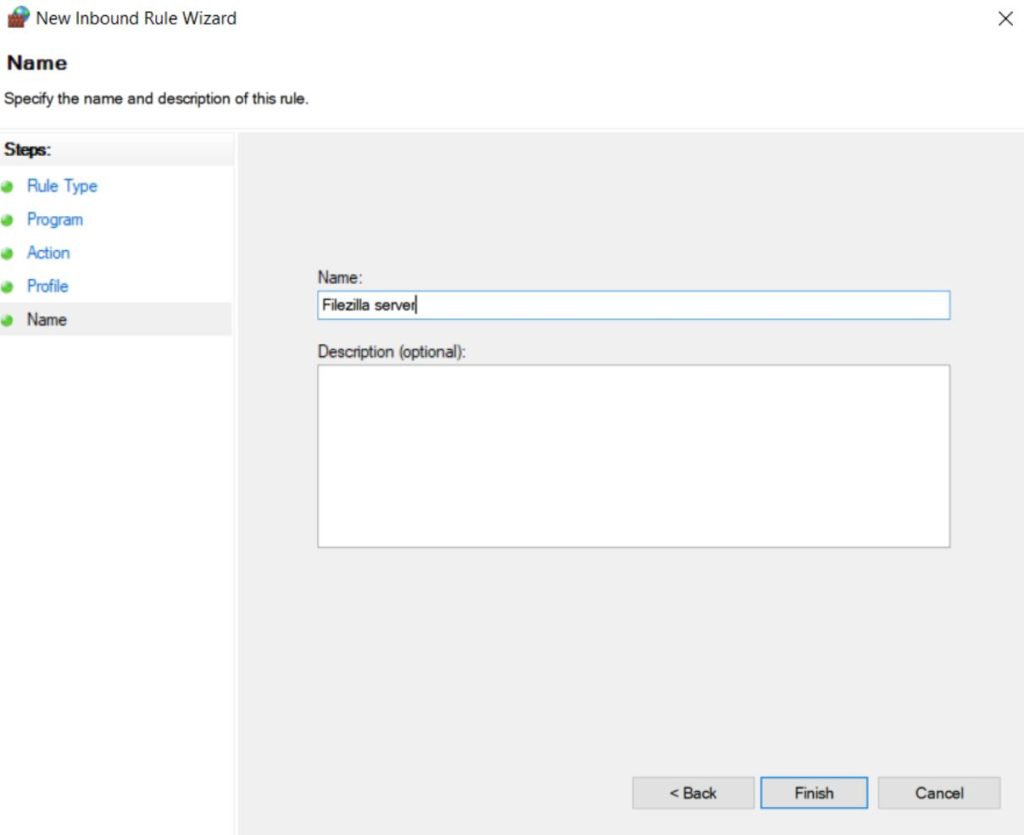
Finally type in a name for the firewall rule. This can be anything you would like.
Open the FileZilla Site Manager
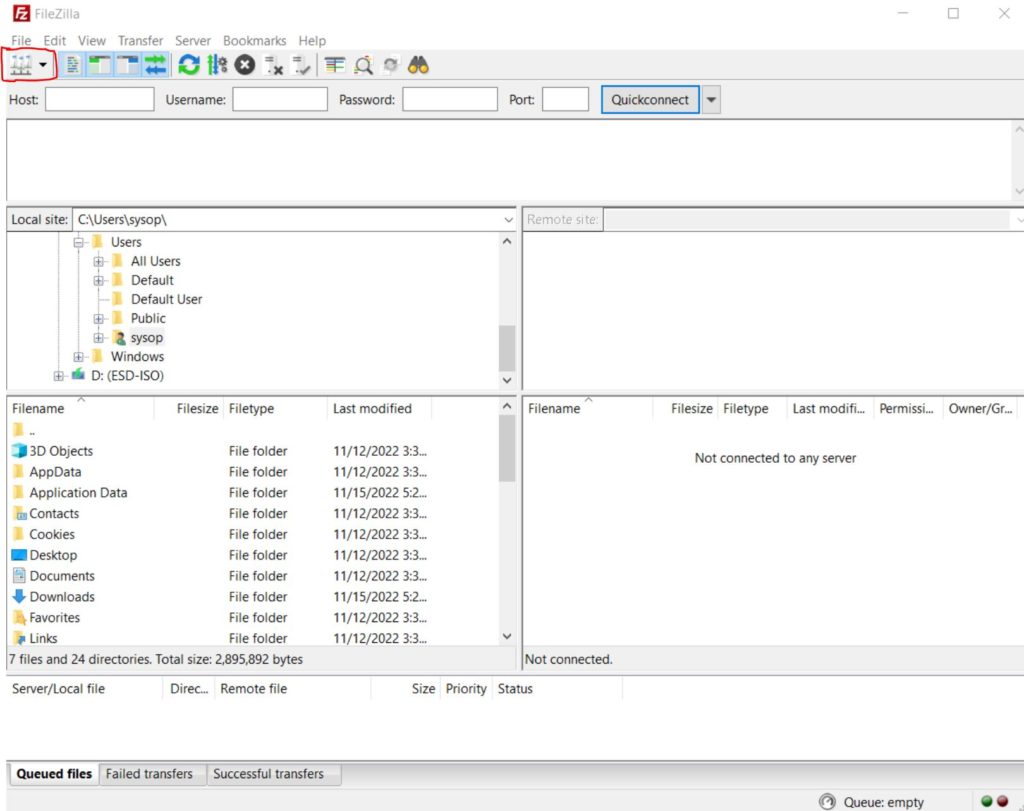
At this point everything should be configured properly. We can now test the FTP connection. Open FileZilla (Client), then click on the “Site Manager” button in the upper left hand corner.
Add a New Site
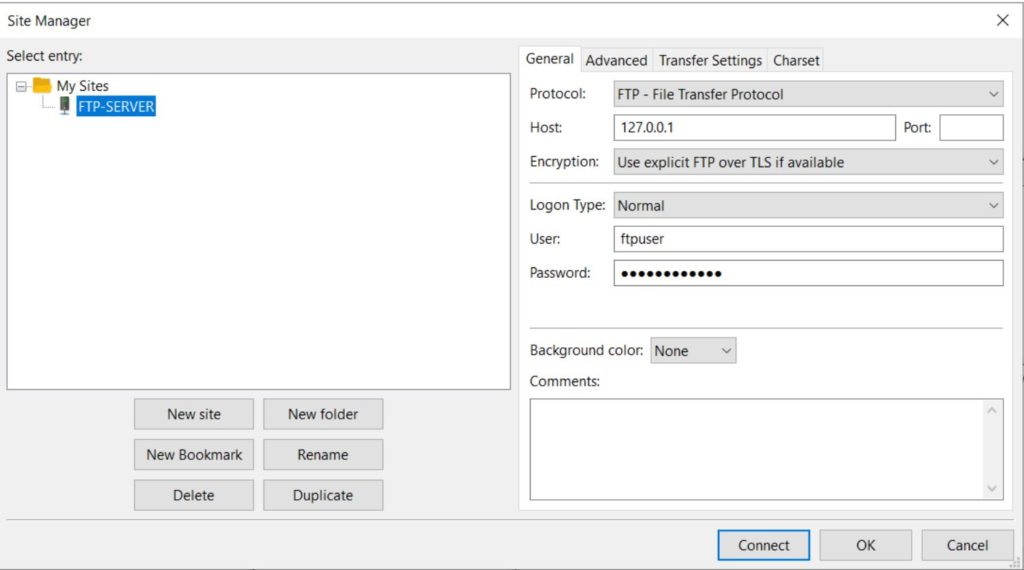
Click on the “New site” button. You will then be asked to type a name for it. Next type in the IP address for the server in the “Host” box. You can find the IP by opening a command prompt on the server and typing “ipconfig”. Afterwards type in the username and password you created earlier for the new user. Now click on the “Connect” button.
Verify TLS Certificate

Since this is the first time connecting to the server it will ask us to verify the TLS certificate. Check the box to “always trust this certificate”, then click the “OK” button.
FTP Server Test Successful
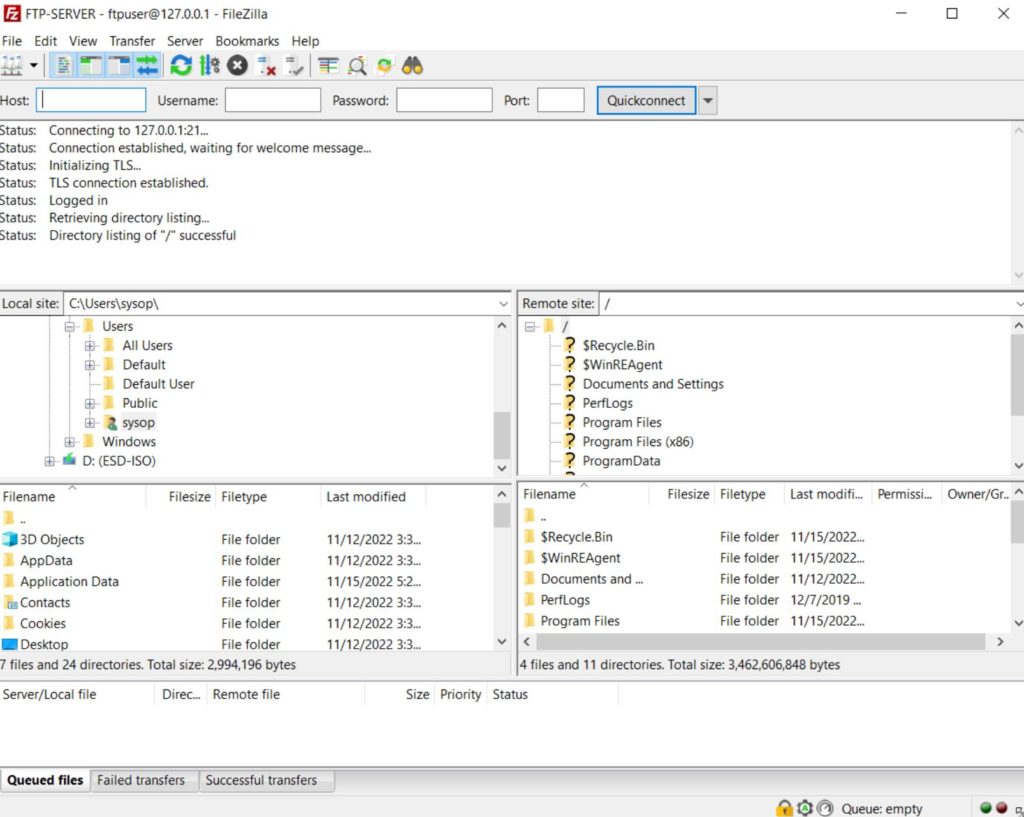
If all the steps were followed correctly you should now be connected to your new FTP server. You can test that it is working properly by copying a file to the server. If you want to access the server outside of your local network you will need to port forward the IP address of the server on port 22. The instructions for this vary depending on the model of your router. You should be able to find a good tutorial by Googling “YOUR ROUTER NAME port forwarding guide”. See are other articles below for additional server related tutorials.
Questions?
If you have any questions or comments feel free to leave them below.
Related Resources
View our 5 Reasons to Switch from Windows 10 to Linux.
Learn How to Permanently Disable Windows Defender.
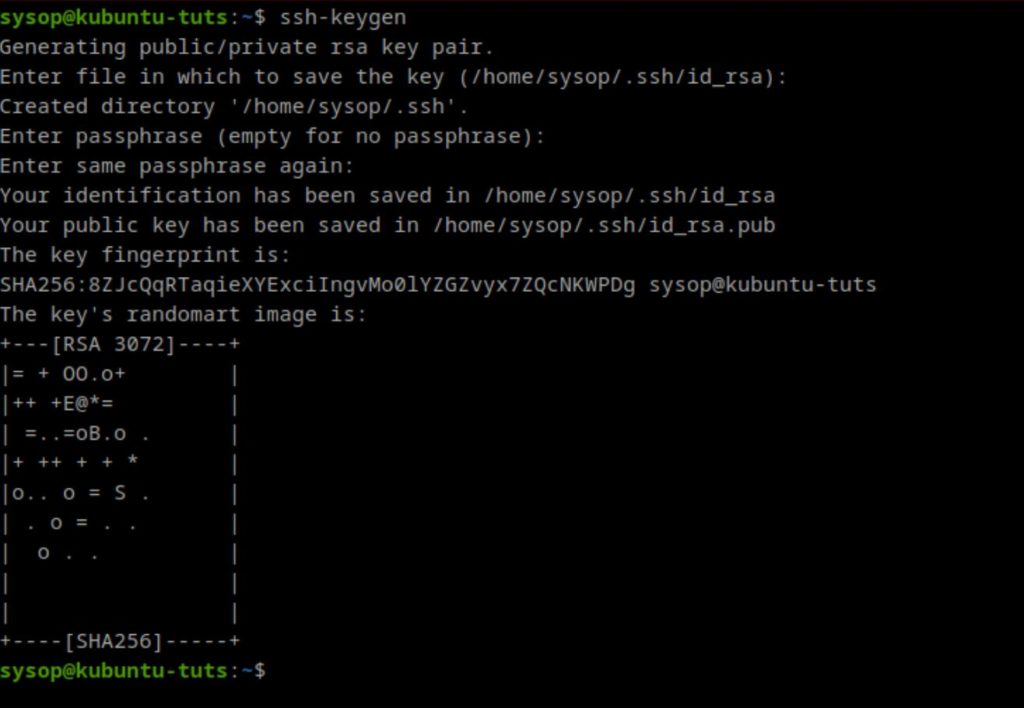
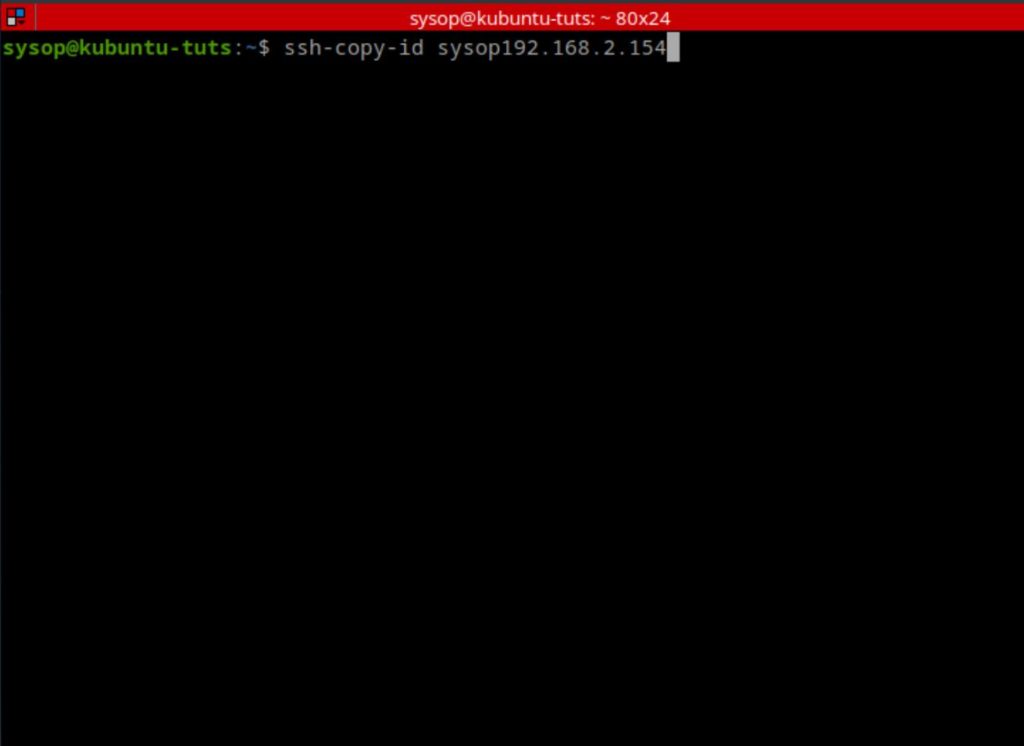
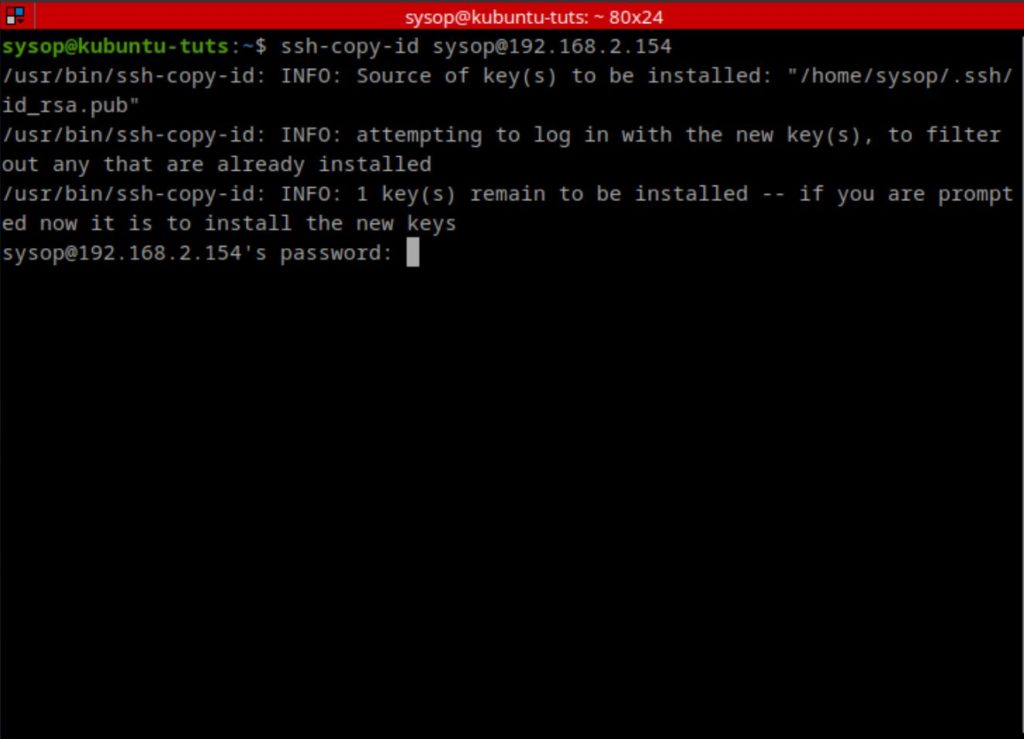
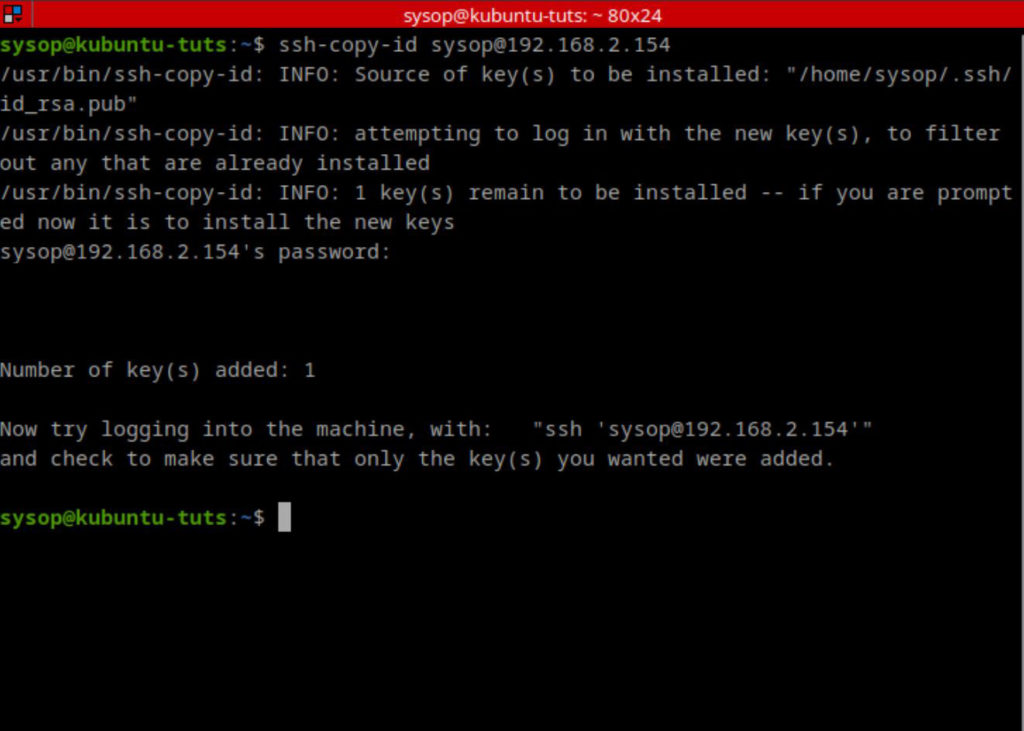
Check out How to Setup OpenSSH with Keys on Ubuntu 22.04.
View our How to Mount an SMB (Samba) Share in Linux with cifs-utils tutorial.
Learn How to Create a Mapped Network Drive in Windows 10.
View all of our available online tools and converters at Formatswap.com.