In this tutorial you will learn how to create a deepfake video using DeepFaceLab. This application uses machine learning to swap almost any face from a video for one that you choose. DeepFaceLab is currently the best software by far for making deepfakes. In this tutorial we will be using the Windows 10 operating system. However the steps are pretty much the same if you are using Linux. So you should be able to utilize this tutorial with either operating system. It is advised that you have a powerful GPU such as a Nvidia GTX 1060 or better for creating deepfakes. If you want the best experience possible I would recommend you use a RTX 3080 or RTX 3090 graphics card. The software will still work with a low end GPU, but it could take multiple weeks to train your model. Having a high end GPU will also allow you to render the face swaps in a higher resolution. To learn how to create a deepfake continue reading below.
Download DeepFaceLab
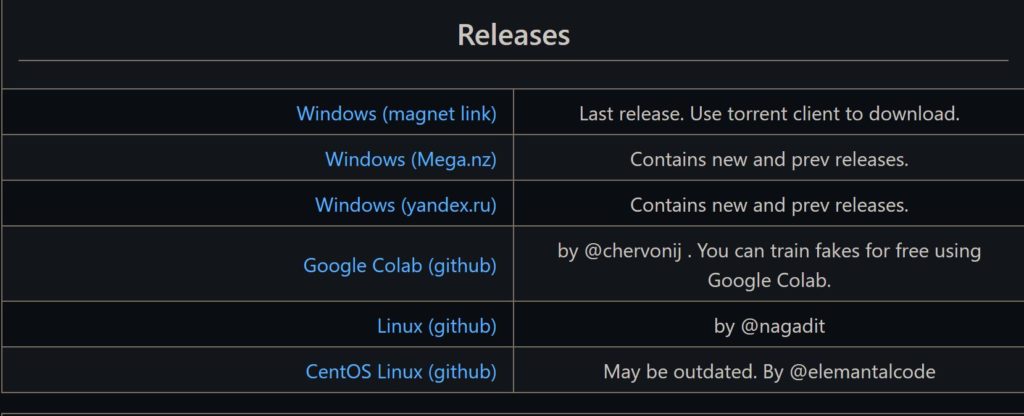
The first step is to download the latest version of DeepFaceLab. You can do so by going to the DeepFaceLab Github page and scrolling down to releases. Click on the Windows (Mega.nz) link to download the correct release for your graphics card. If you are installing in Linux you will have to follow the instructions provided on the Linux (github) page.
Choose Version
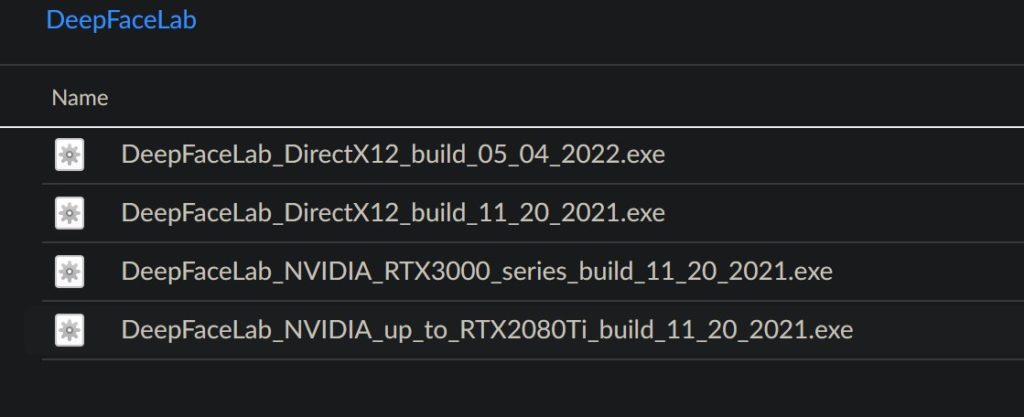
After navigating to the Mega.nz download link you will need to select a version of DeepFaceLab. This is based on which graphics card you have installed. In this tutorial I am using a GTX 1080 so I will download “DeepFaceLab_NVIDIA_up_to_RTX2080Ti_build_11_20_2021.exe”. Choose the version that is correct for your system.
Open the Workspace
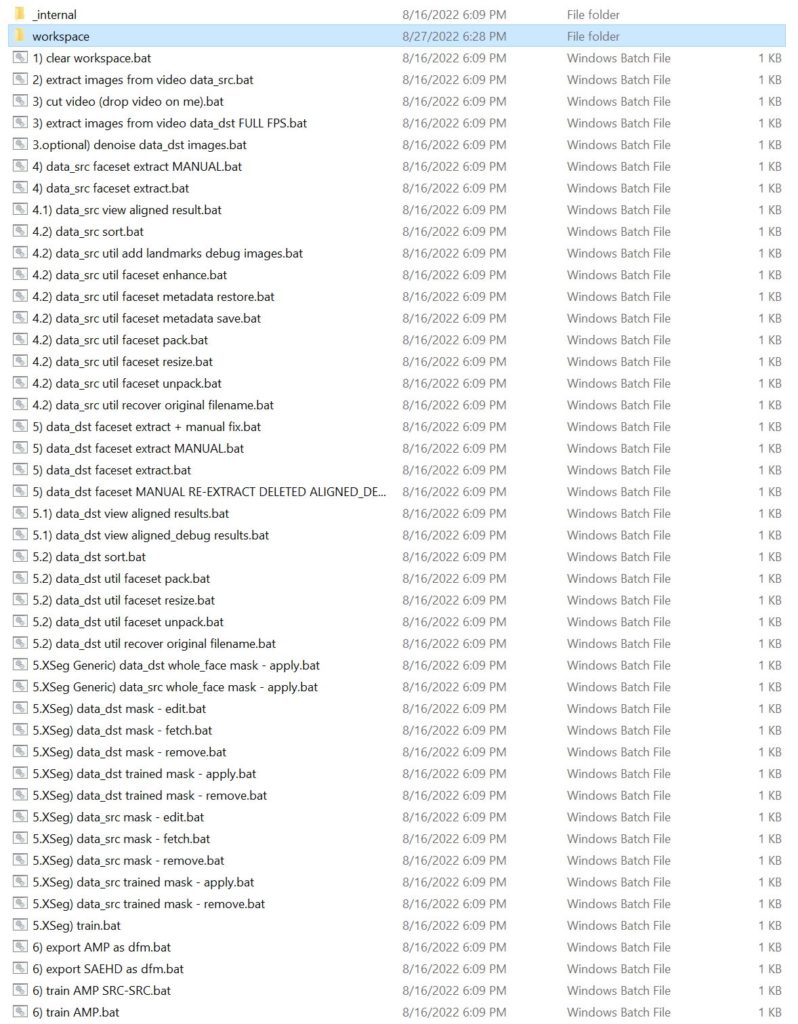
After downloading the application, extract the zip file and open the folder. Your folder should look similar to this.
Collect source videos
This is by far the most important step of getting a good result from the process. You need to select a video of your source (persons face you want to copy). As well as a destination video (where you want your source face copied to). You want to find a clip for each that is 5-10 minutes long with multiple angles of the faces. A good source for these videos are interviews on YouTube. Below are the two videos I am going to use. After you download the videos rename the source video to “data_src.mp4” and the destination video to “data_dst.mp4”. Then move both MP4 files into the “workspace” folder.
Source face:
Destination Face:
Extract images from source video
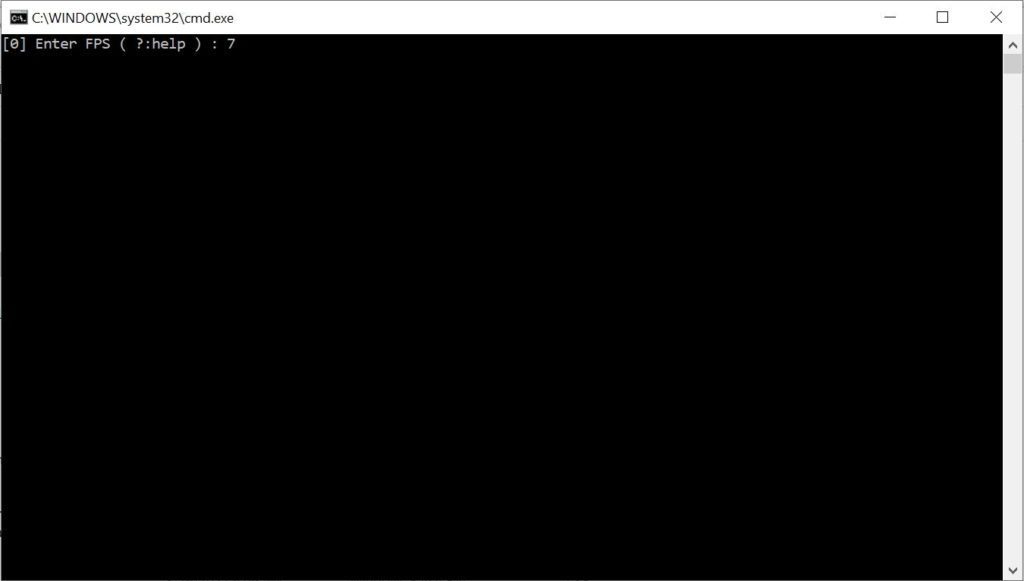
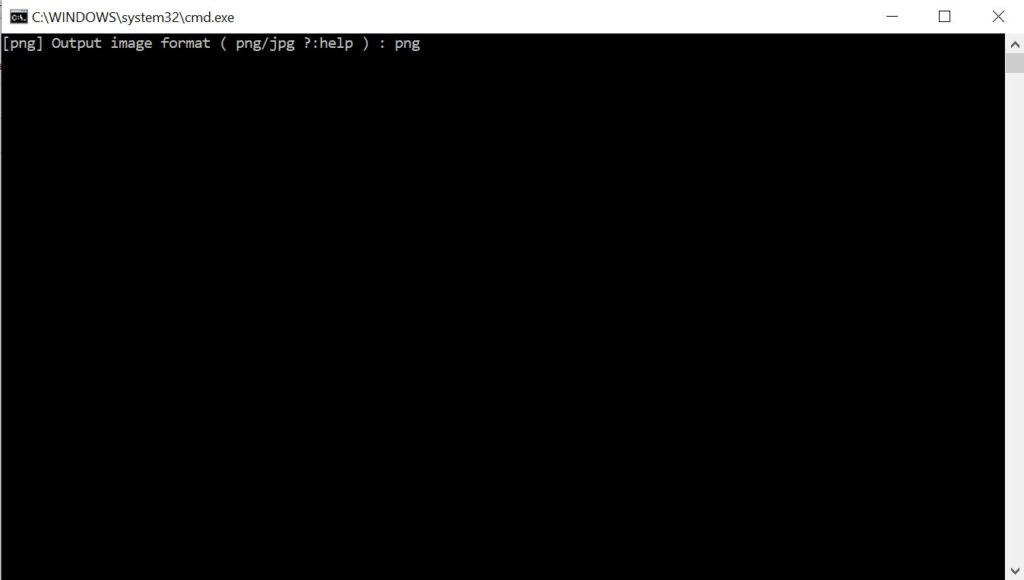
To start we will need to extract the image frames from the source video. Double click on “2) extract images from video data_src.bat”, you will then see the above window open. Type in 7 or 8 and press “Enter”.
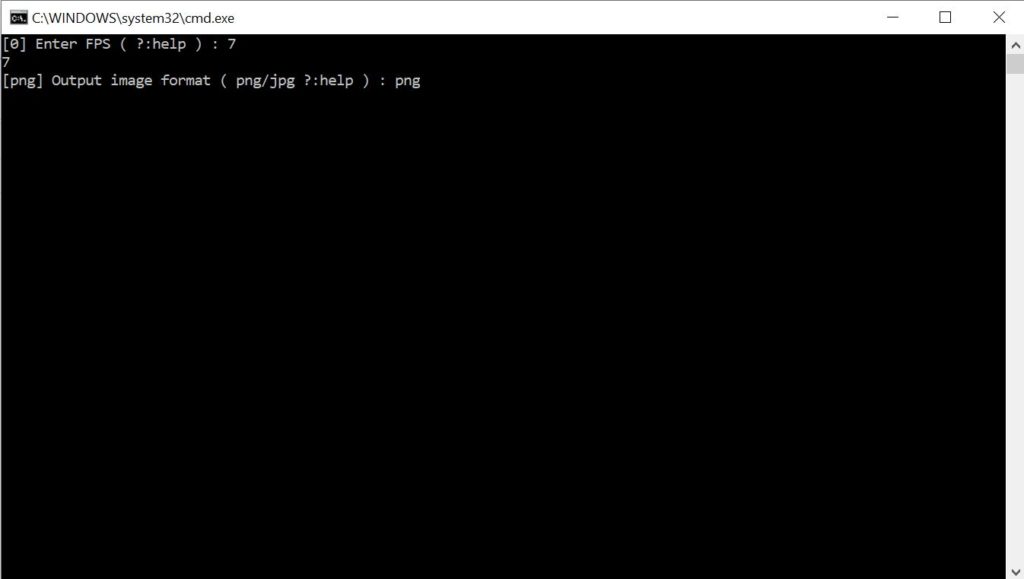
Next type in “png” and press “Enter”.
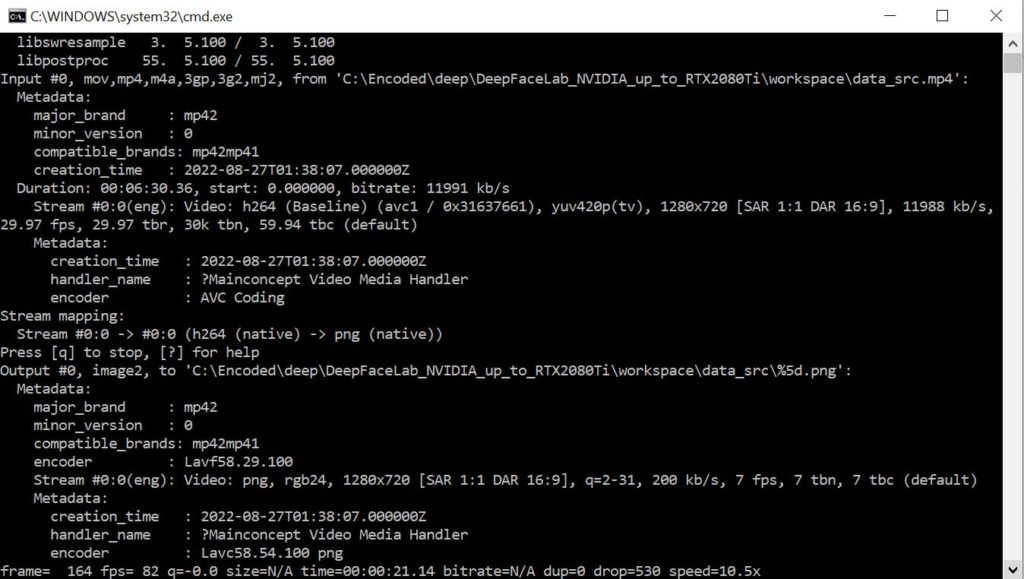
Wait for the extraction process to complete.
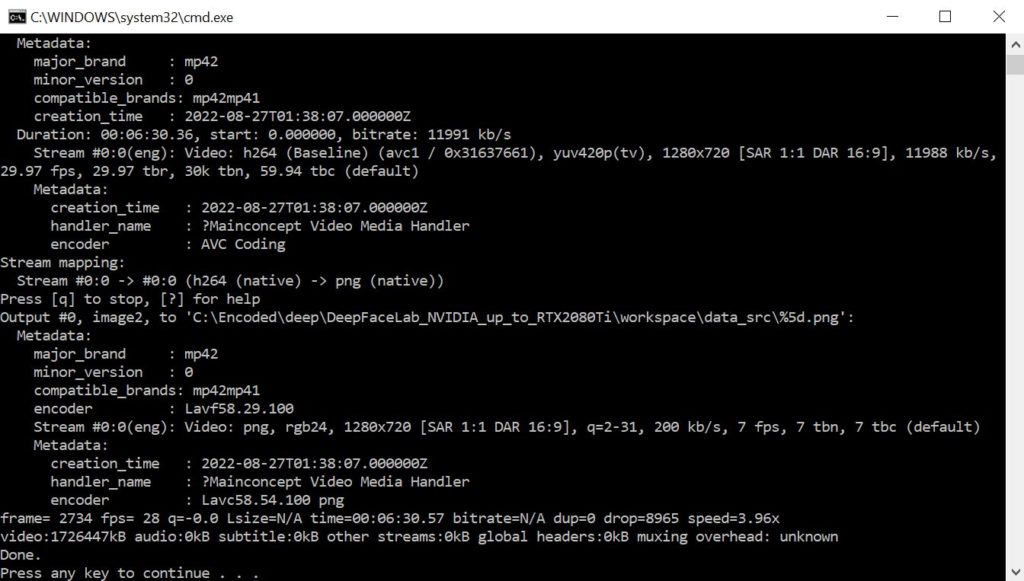
Once you see this screen the process is complete and you can close the window.
Extract images from destination video
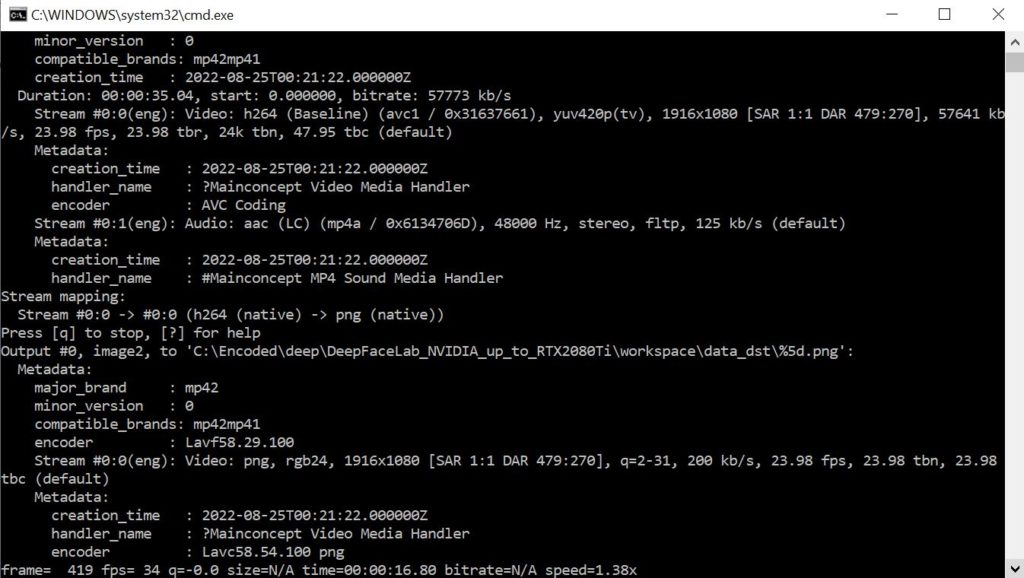
Next you need to extract every frame from the destination video as an image. Double click on “3) extract images from video data_dst FULL FPS.bat”. You will see the above window open. Type in “png” and press “Enter”.
Wait for all of the destination images to be extracted.
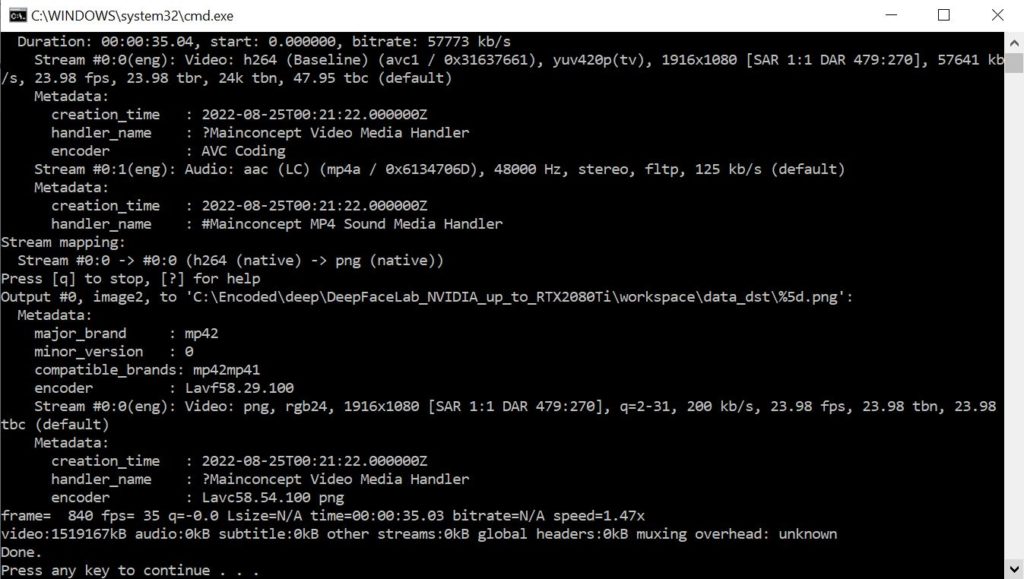
Once you see this screen the process is complete and you can close the window.
Extract the source video’s faceset
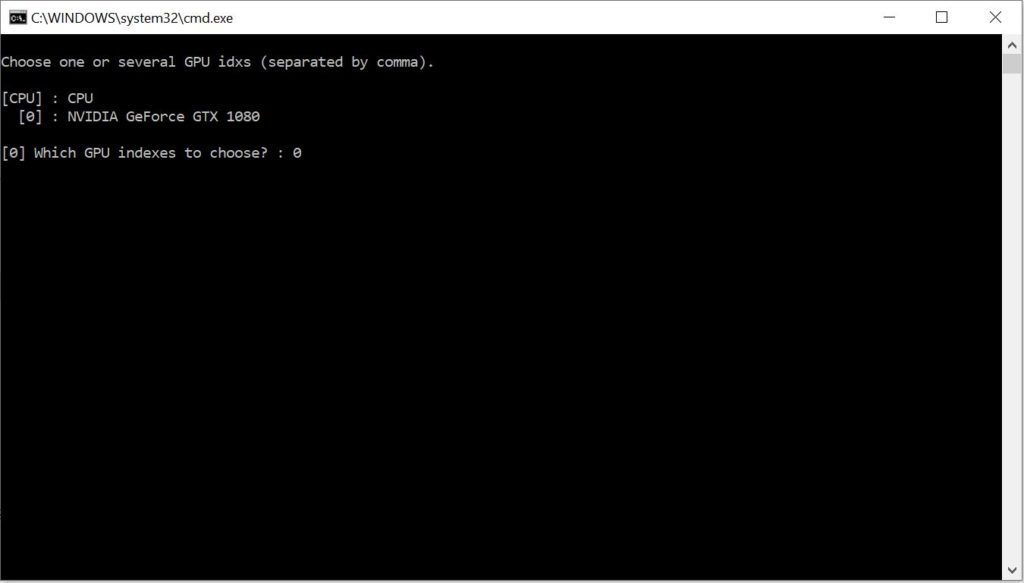
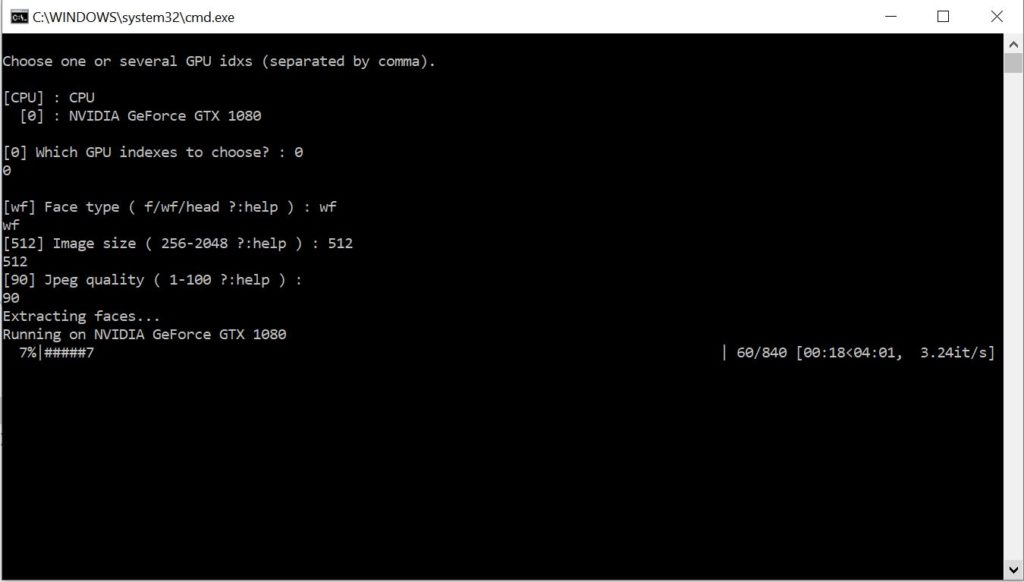
Next you will need to extract the source video’s faceset images. To begin double click on “4) data_src faceset extract.bat”. It will open the window you see above. Select your GPU device and press “Enter”.
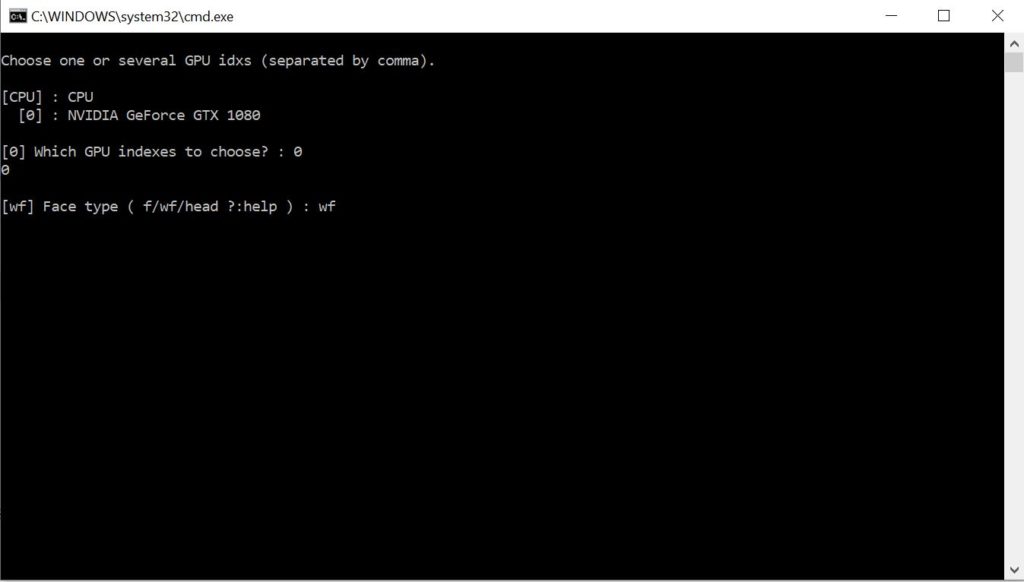
Afterwards you will be asked which face type to use. Type in the default option “wf” (whole face) and press “Enter”.
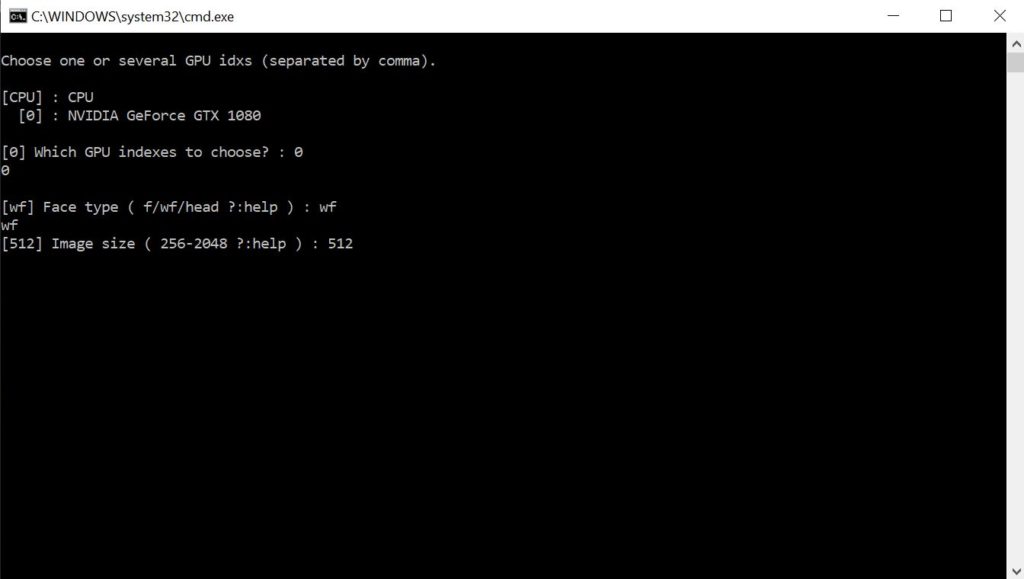
Then you will select the faces image size. Type in “512” and press “Enter”.
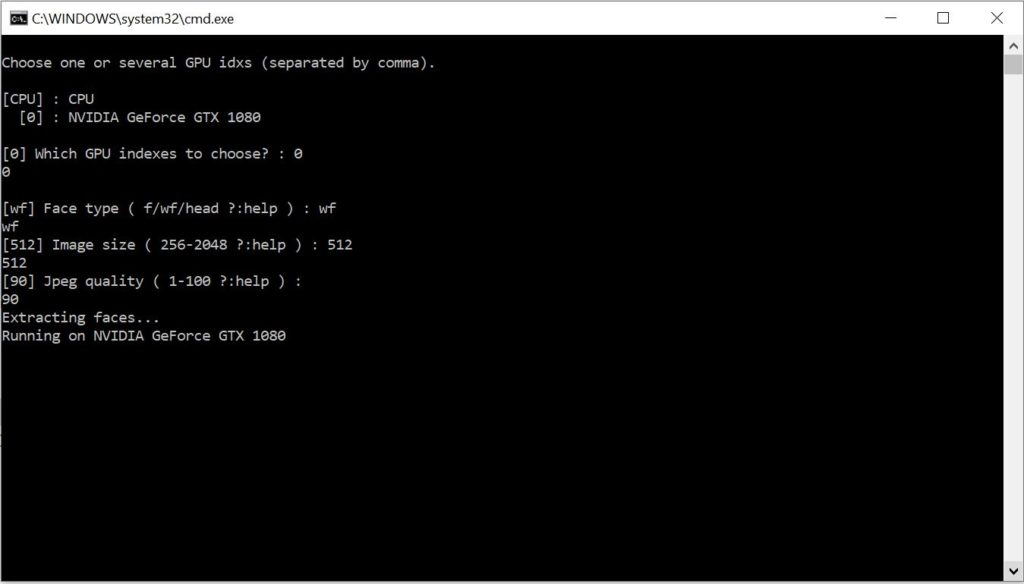
Next set the jpeg quality to “90”. Once you press “Enter” the face extraction process will start.
Wait for the extraction process to complete.
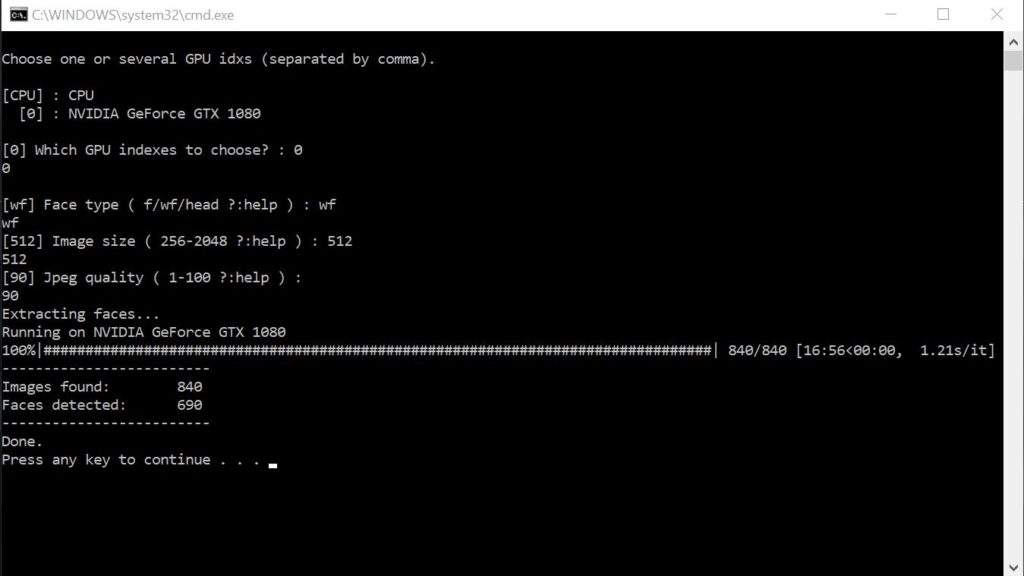
You will see this screen once the source face extraction is complete. Press “any key” to exit and close the window.
Extract the destination video’s faceset
The destination video face extraction process will be similar to the source extraction. To begin double click on “5) data_dst faceset extract.bat”. Once the window opens, select the GPU device and press “Enter”.
Type in “wf” and press “Enter” to use the whole face.
Set the face image size to “512” then press “Enter” to continue.
Finally set the jpeg quality to “90” and press “Enter”.
Wait for the destination face extraction process to complete.
At completion you will see this screen. You can press “any key” to save and exit. At this point you have both of your videos faces extracted and ready for use in the deepfake video.
Sort the source and destination faceset’s
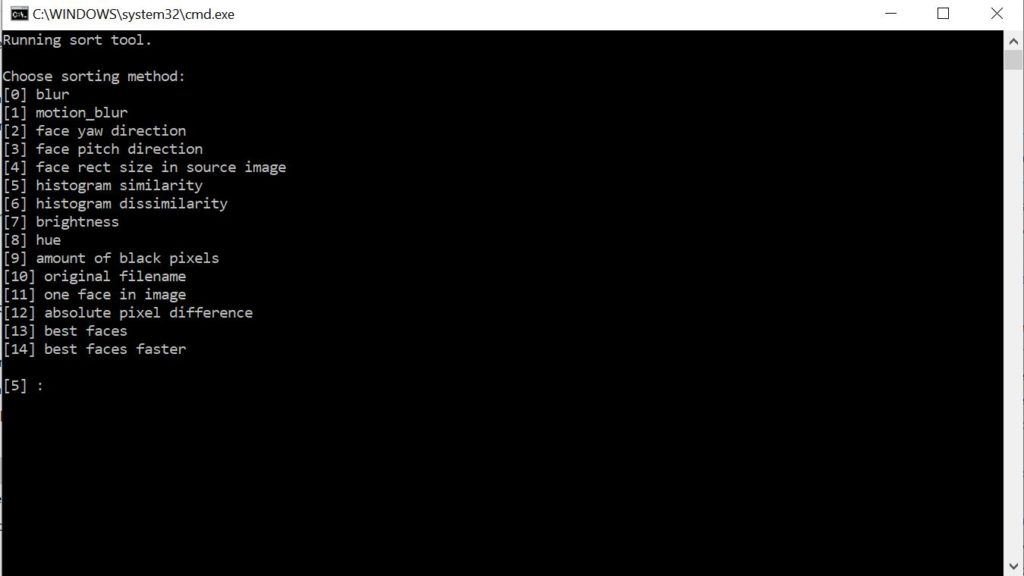
In this step we will be sorting the faces by similarity to make it easier to remove blurry and unwanted faces. To sort the source faces double click on “4.2) data_src sort.bat”. You will see the above screen. Type in “5” and press “Enter”.

Wait for the sorting process to complete.
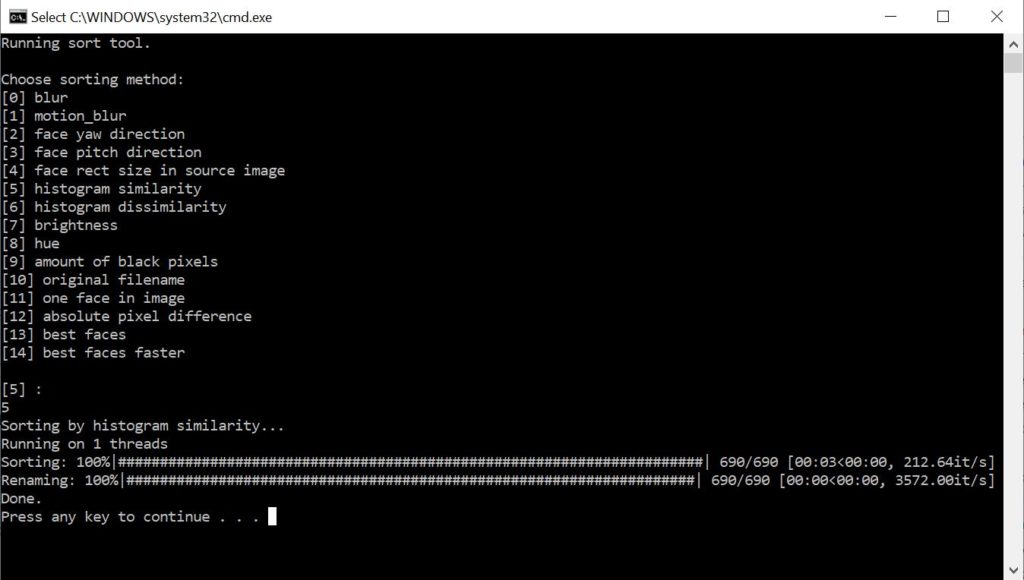
The source faces are now sorting by similarity. You now need to sort the destination faces. Double click on “5.2) data_dst sort.bat”. After the terminal window opens repeat the same steps above that you used to sort the source face.
Remove unwanted face images
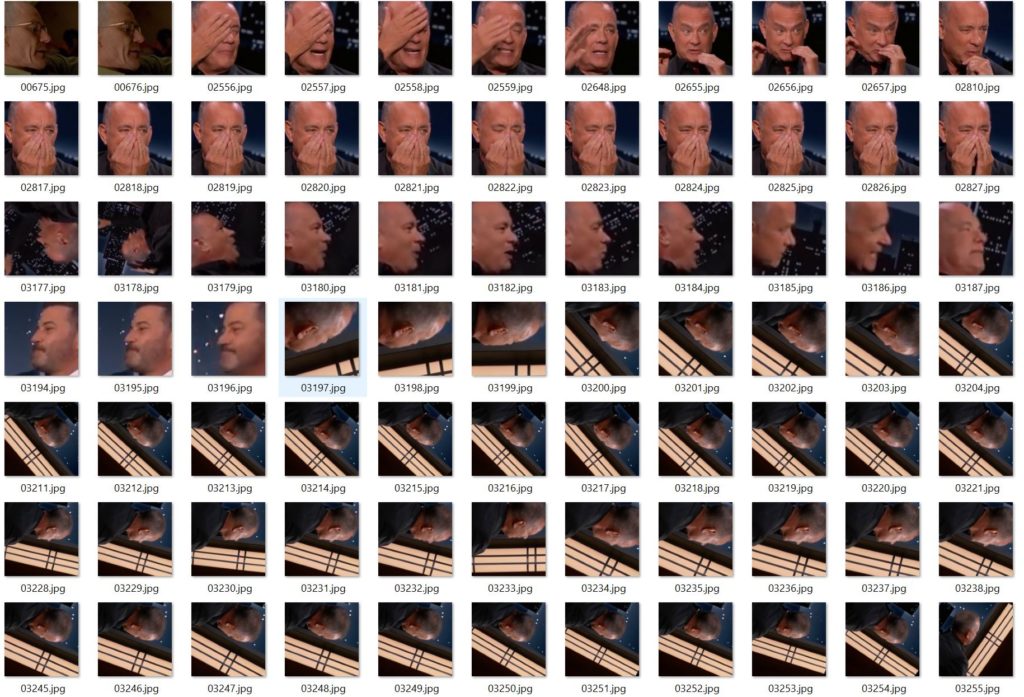
This is the last step before beginning to train the model. It is very important to complete this step to obtain a good result. Open the “workspace” folder and navigate to the “data_src” folder. Finally open the “aligned” folder and delete all images that do not contain a face, are blurry, or have hands in front of the face. After you complete this step, repeat the same by navigating to the “data_dst” then the “aligned” folder. Above are some examples of bad photos that I would remove. Use your best judgement when deciding which photos to remove.
Train the deepfake model
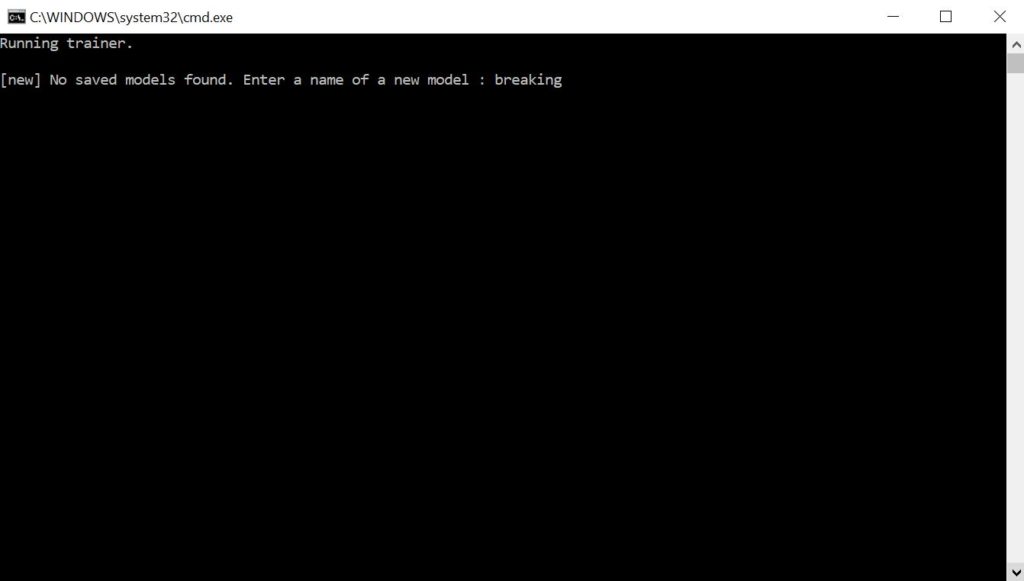
Now you will need to train the model. There are a few training batch files to choose from. If you are new to making deepfakes I would recommend the Quick96 model. To get started double click on “6) train Quick96.bat”.
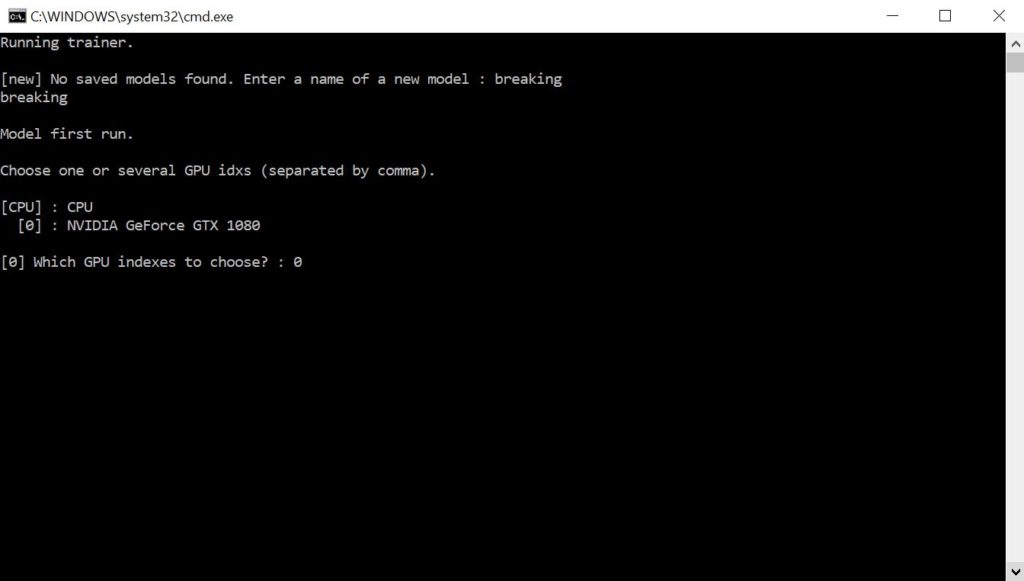
Select the GPU device to use for training. If you have multiple GPU’s you will see them here. Unfortunately you are currently only able to use one GPU at a time. Once you press “Enter” the model training will begin. Now you will need to wait for the model to train. Within 24 hours you should start to see the faces in the preview window. I recommend you train the model for at least 7 days to get high quality results. If you need to use your computer for something else you can press “CTRL+C” to save and exit. The next time you open the Quick86 trainer it will resume from the last saved iteration.
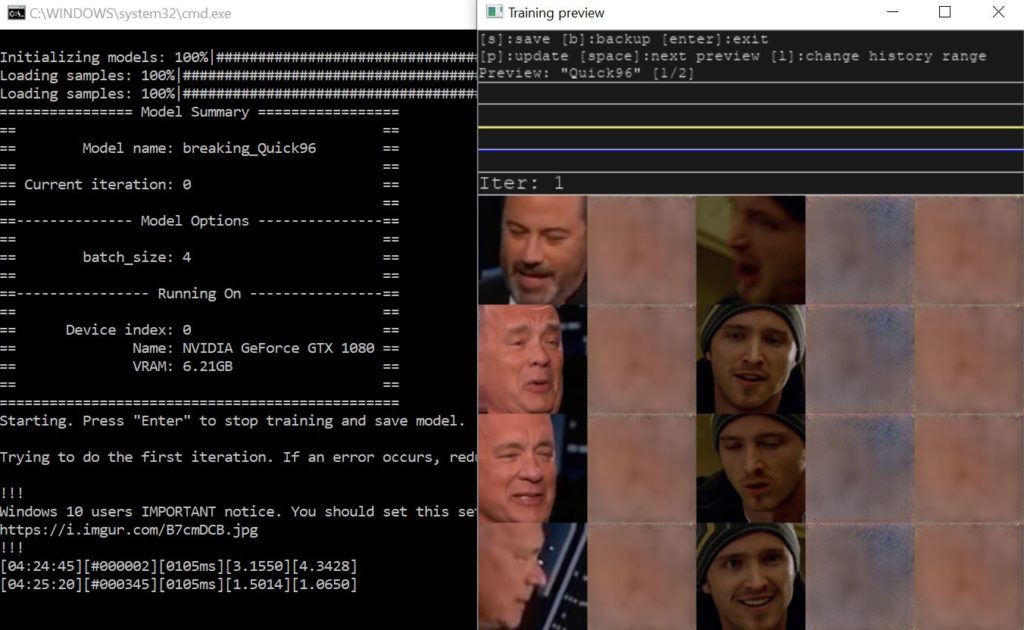
Preview at 1 iteration.
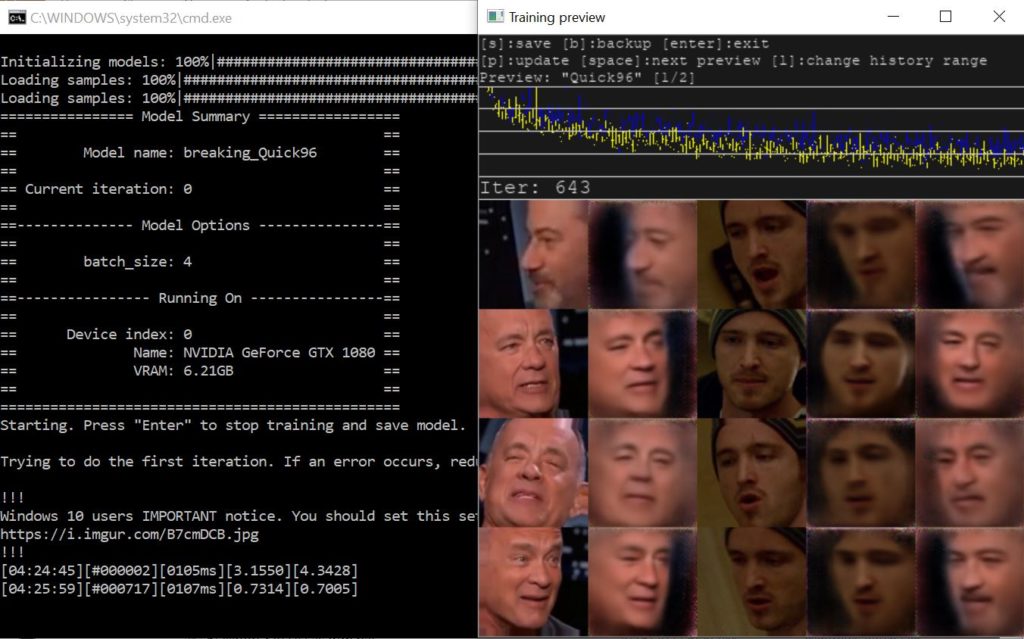
Preview at 643 iterations.
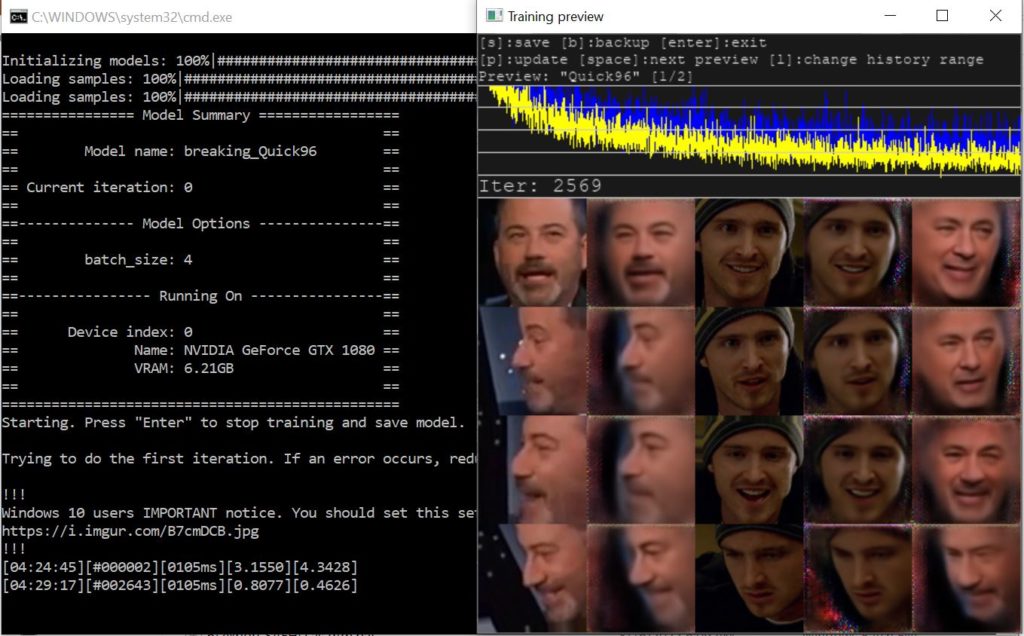
Preview at 2,569 iterations.
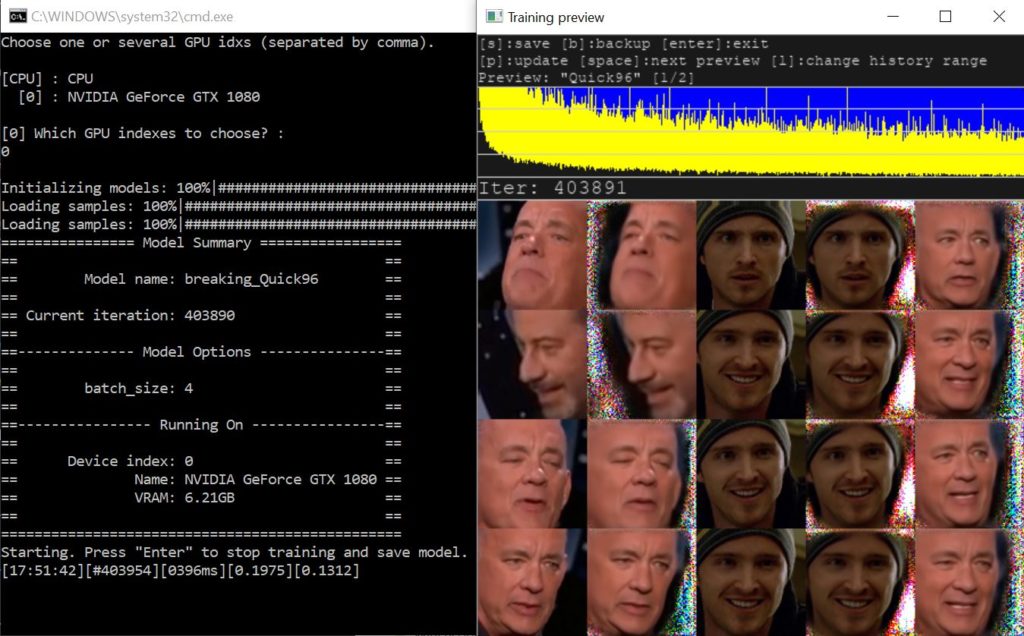
Preview at 403,891 iterations.
Merge the deepfake video
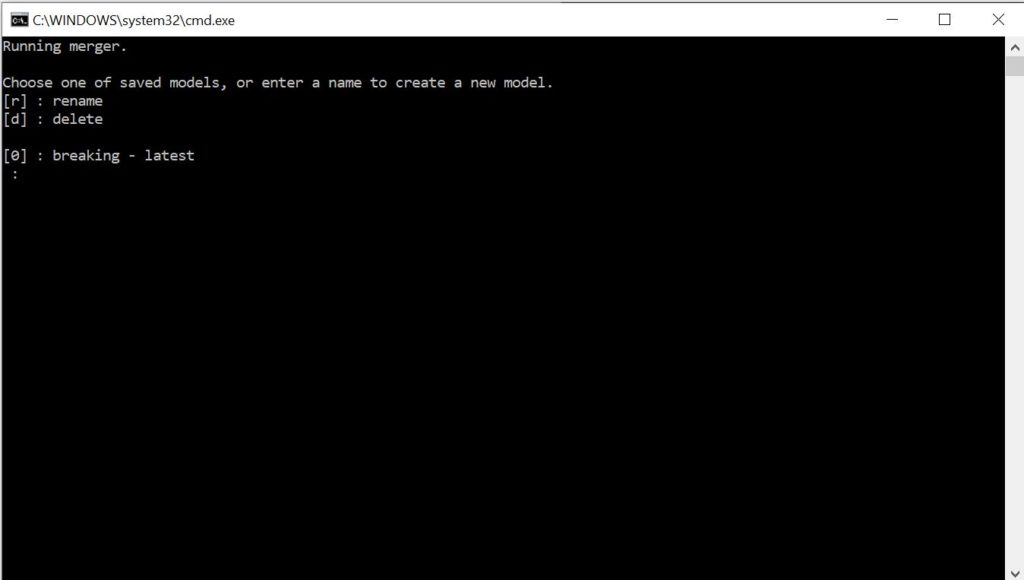
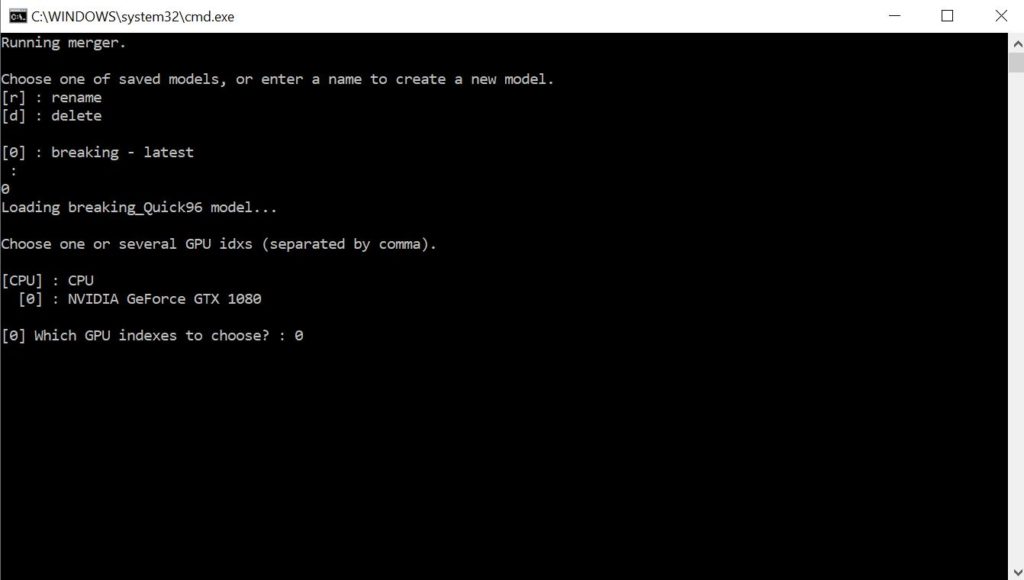
Next you will need to merge the faces into each frame of the video. This replaces the destination face with the source face for each frame. The merging process will also allow you to adjust the blur, erode mask, and color matching profile. This will allow you to get a more realistic final result. “Double click on “7) merge Quick96.bat”. Then type “0” and press “Enter” to load the model.
Select the GPU device to use for the merging process.
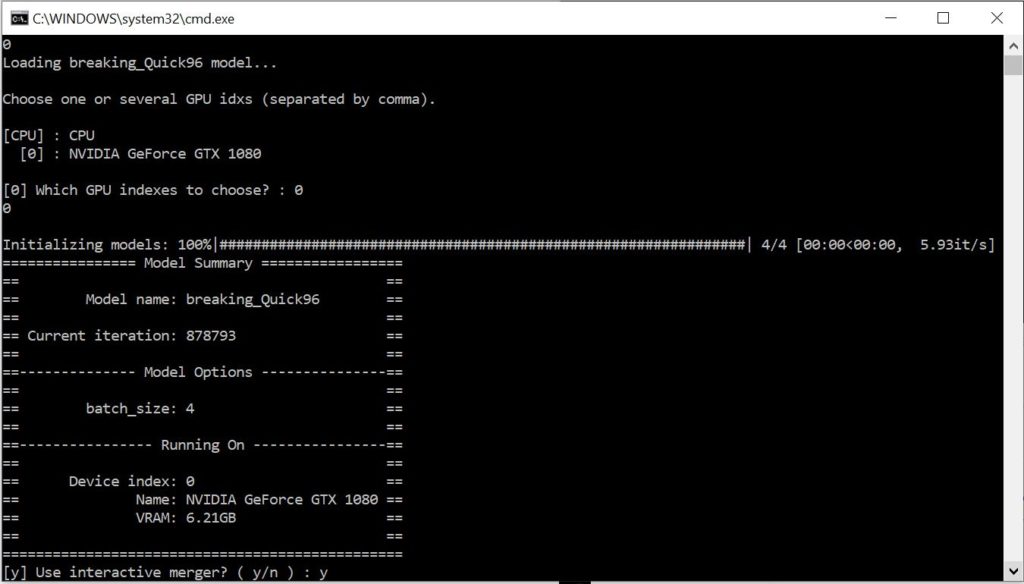
Type “y” and press “Enter” to use the interactive merger tool. The interactive merger allows you to visualize the changes you are making.
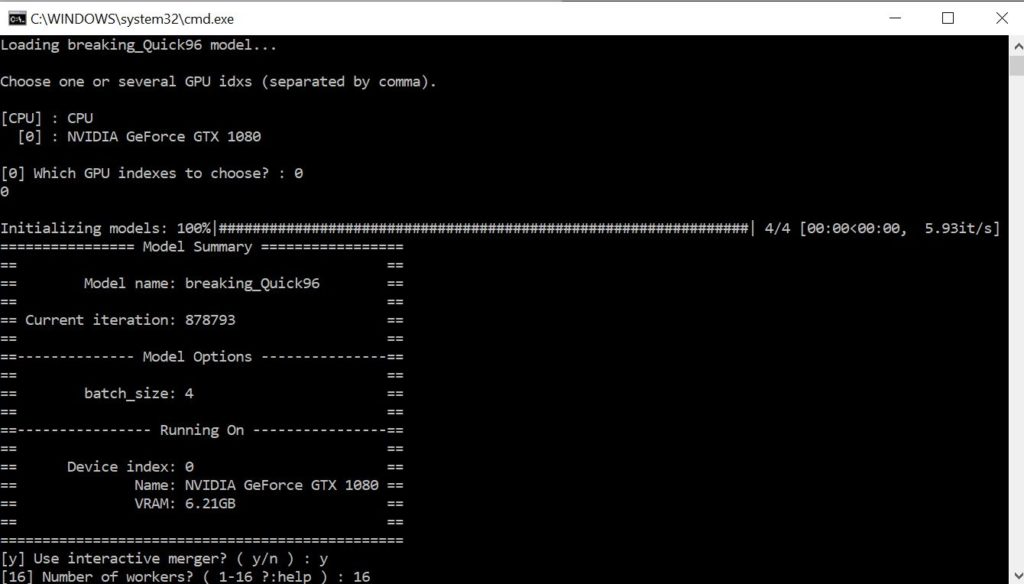
Set the number of workers to “16” and press “Enter”. If you have any issues with the interactive merger opening you should reduce the number of workers.
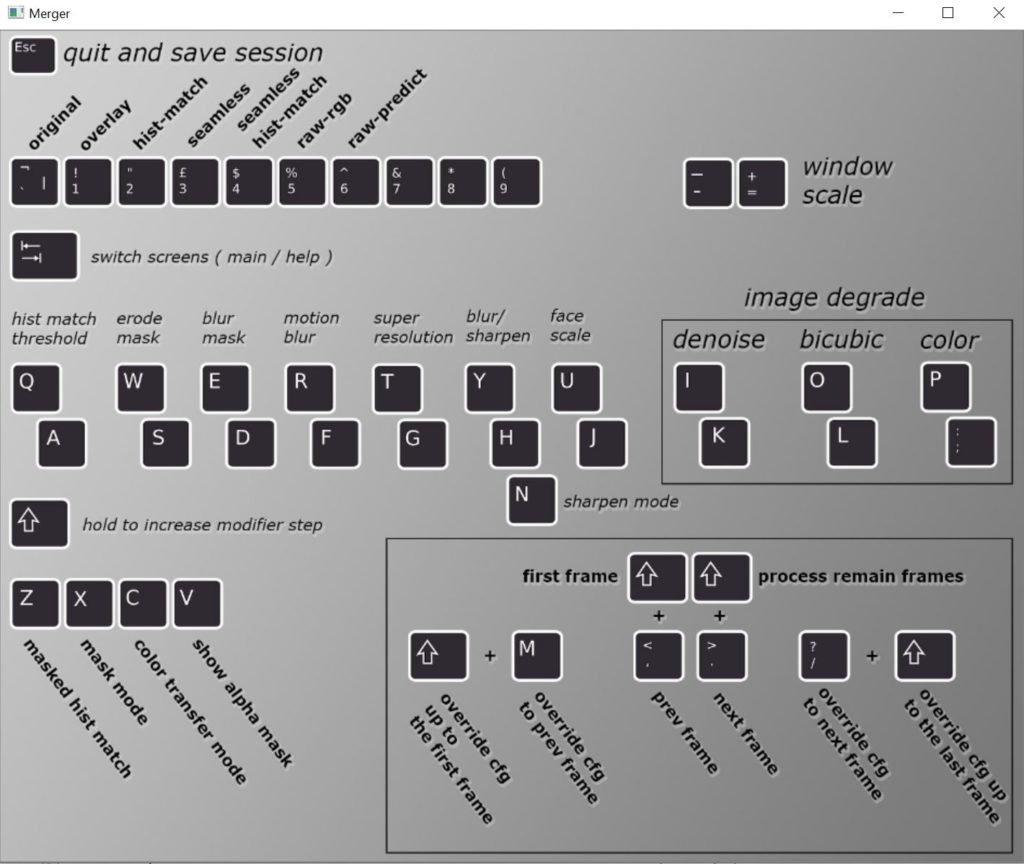
The above screen will open. These are the different shortcut keys for the merge tool. You are able to adjust many parameters, but we will be changing just a few of them. To begin click anywhere in the gray box and press “Tab”.
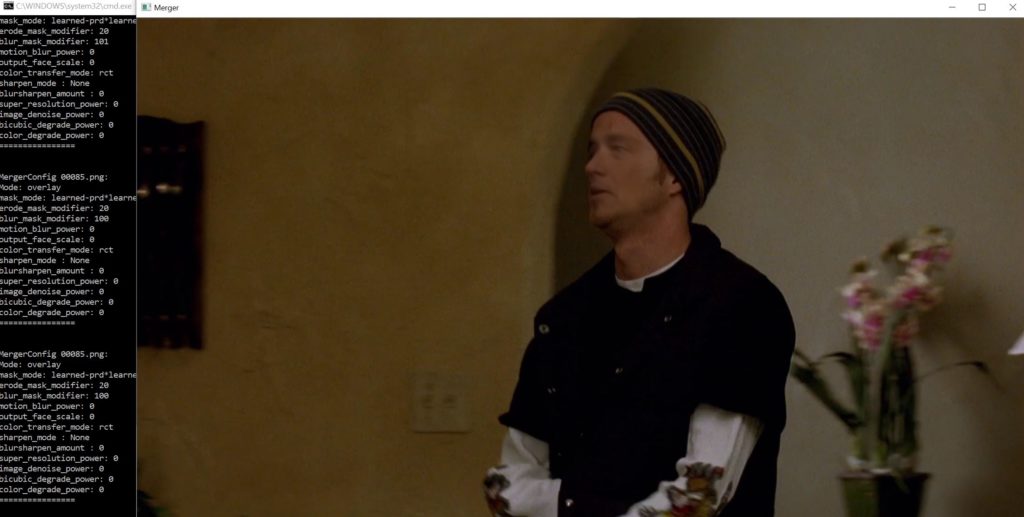
You will then see the videos first frame as well as different values in the terminal. If you just see a black screen use the less than symbol “>” until you get to the first frame to show the face. Now you will have to change the erode_mask_modifier as well as the blur_mask modifier. This will help the face seem more realistic during scenes with heavy movement. To do this press the “W” key 20 times. Then press the “E” key 100 times. After doing this your values will be set. To start the merge press shift plus forward slash “SHIFT+/”, then press shift plus the less than key “SHIFT+>”.
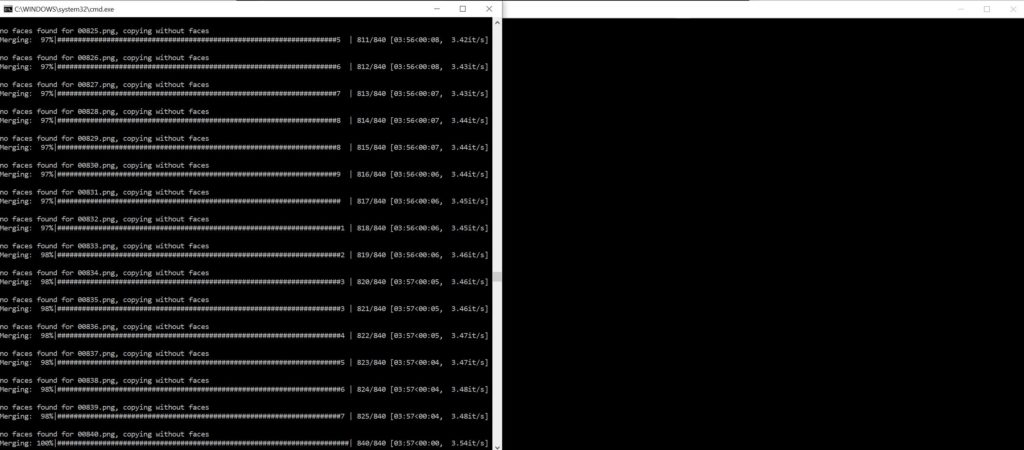
You will see the “merging” progress bar fill up. Once it gets to 100% the merge is complete.
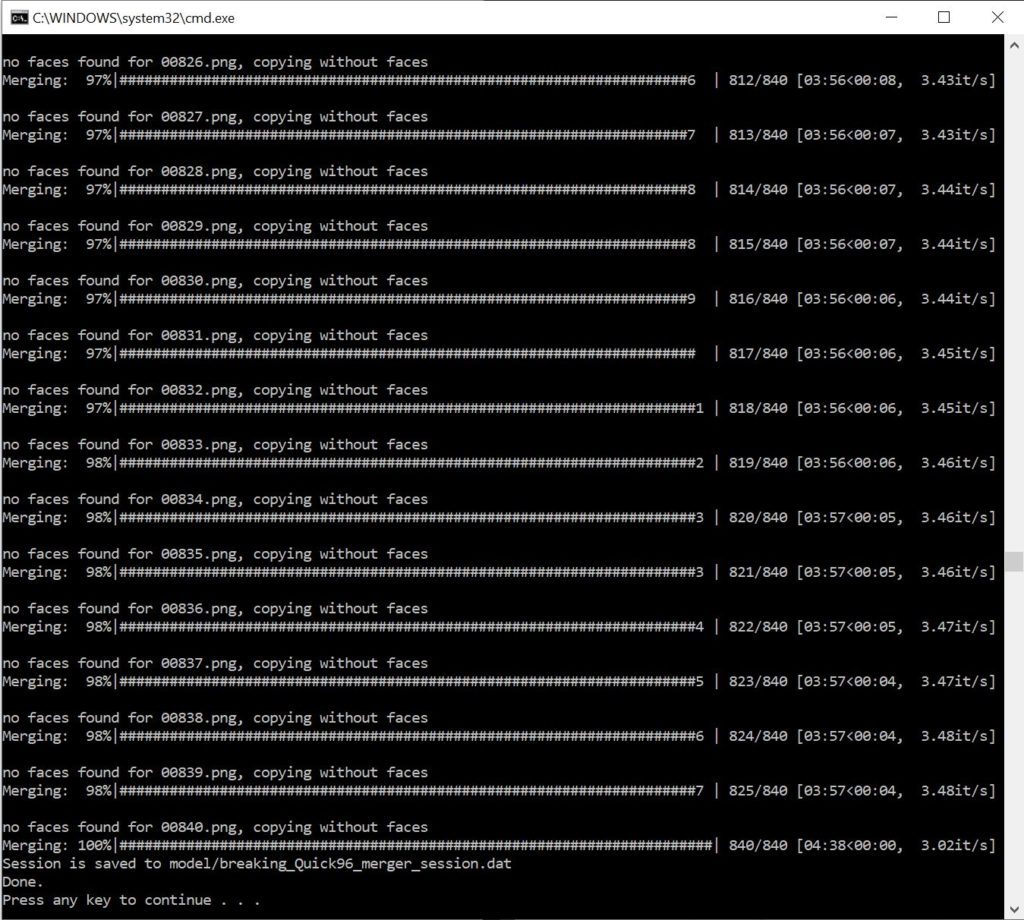
After the video has finished merging click on the video output window and press “Escape” to save and close the merge.
Export the video file
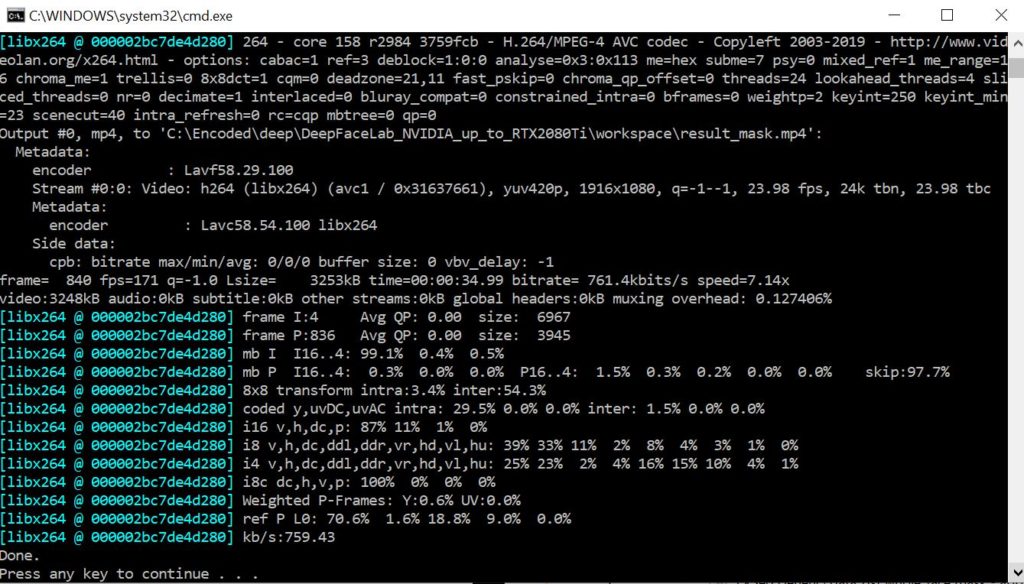
The final step is to export the video as a MP4 file. Double click on “8) merged to mp4 lossless.bat” to begin the process. Once you see the above screen you have completed the deepfake tutorial. Navigate to “workspace” to find your video file. It will be saved as “result.mp4”.
This is the result of the process after training for 1,000,000 iterations. If you want a better result you can train for longer, use a RTX 3090 graphics card, and or provide more source video material to improve the models quality.
Questions?
If you have any questions or comments feel free to leave them below.
Related Resources
View our Deep Learning Image Style Transfer Tutorial Using Neural Style Pt.
Check our our The Best Mechanical Gaming Keyboards to Purchase in 2023 article.
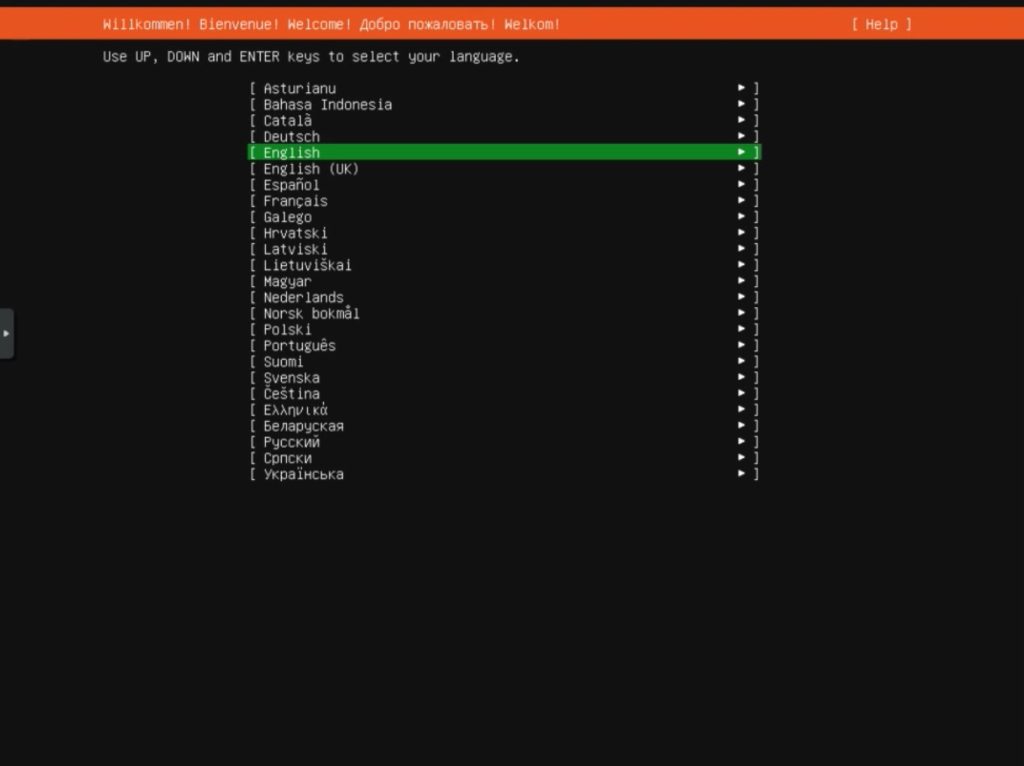
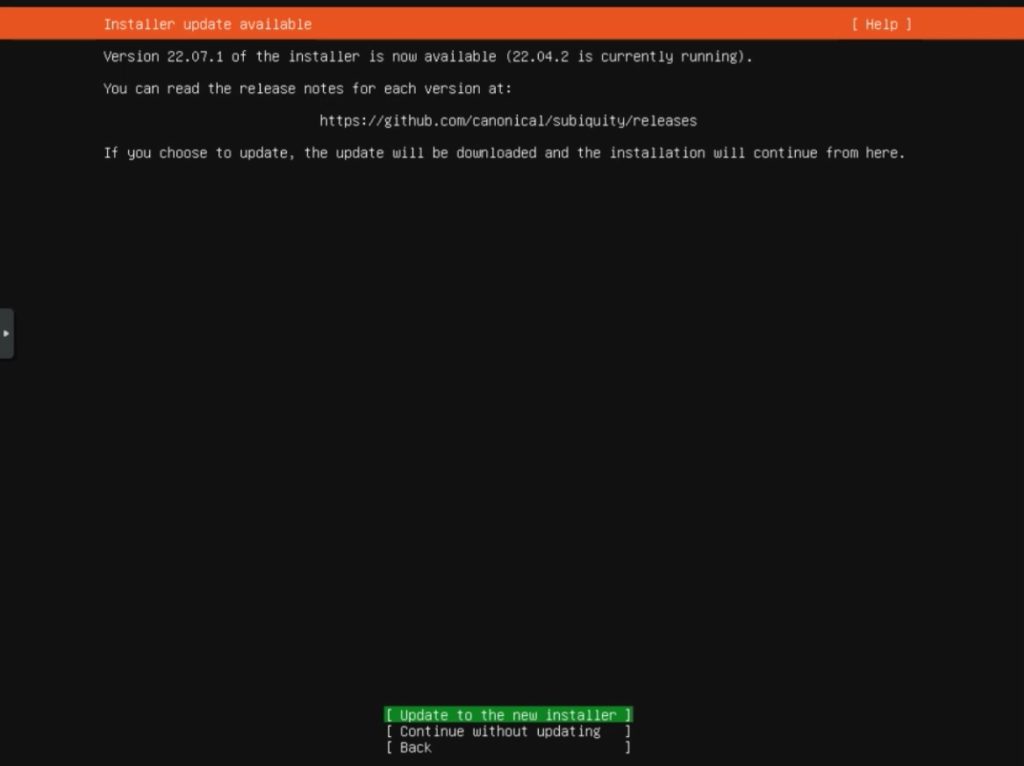
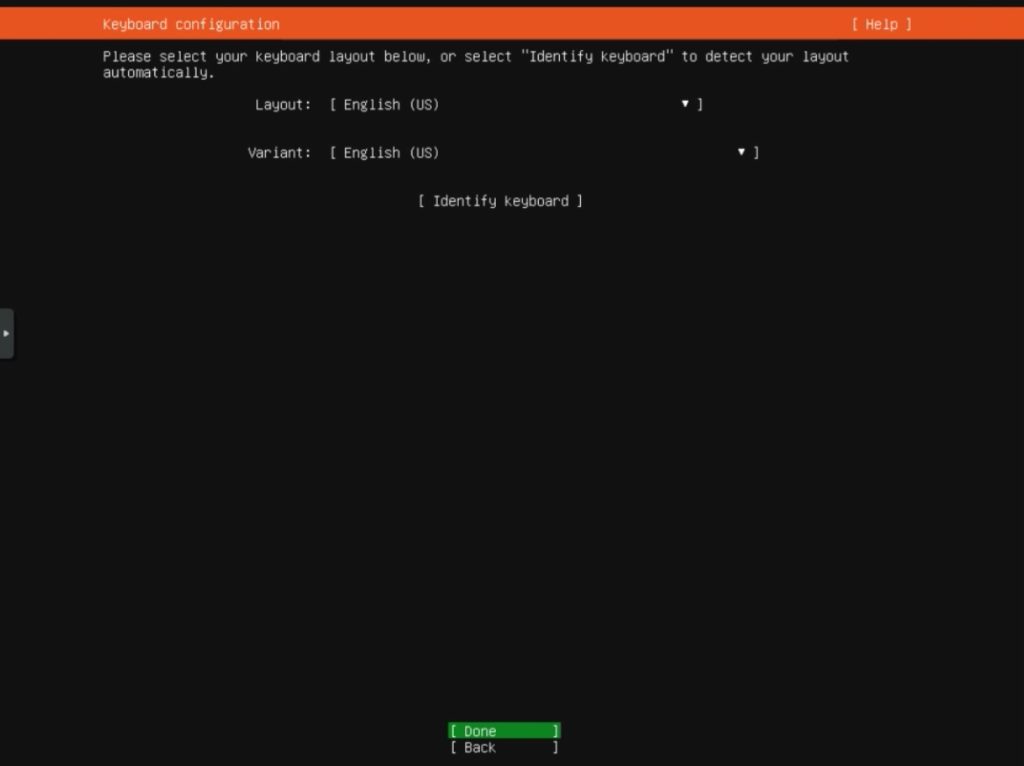
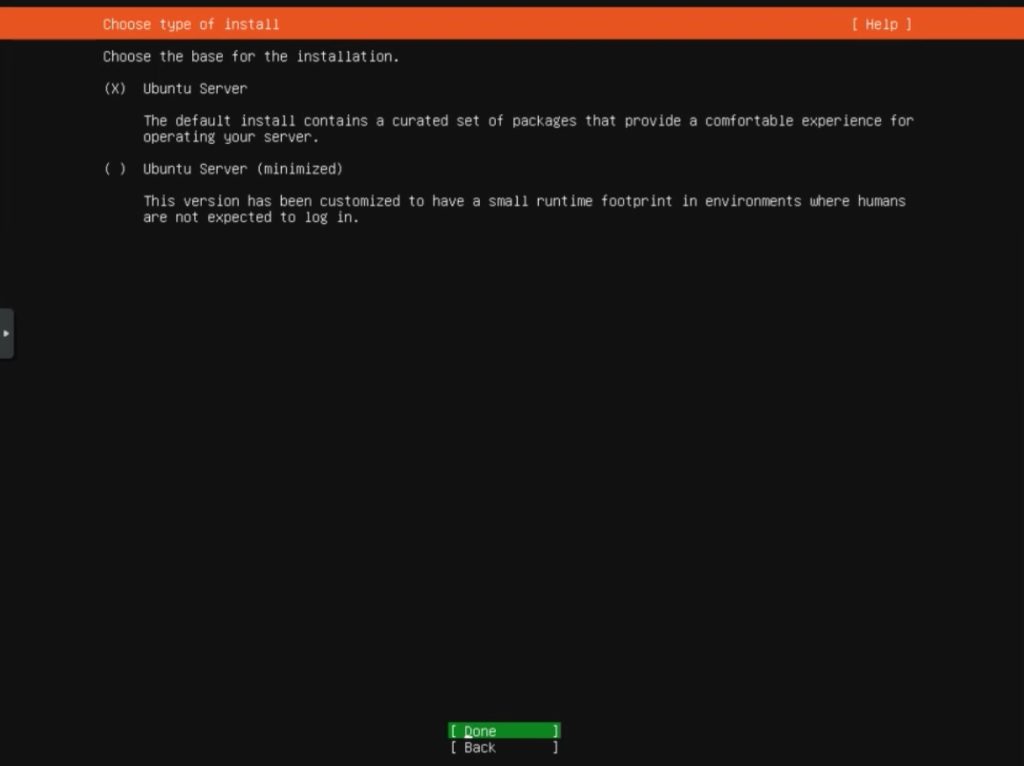
Learn How to Install Ubuntu Server 22.04 [Step by Step].
Click here to learn How to Install MySQL on Ubuntu Server 22.04 LTS.
View our other Machine Learning Tutorials.
Learn How to Mount an SMB (Samba) Share in Linux with cifs-utils.
View all of our available online tools and converters at Formatswap.com.
Affiliate Disclaimer:
This website may contain affiliate links. This means we may receive a small commission if you purchase through our links. However, this does not impact our reviews and comparisons, as we only promote products we personally believe in. We are independently owned and the opinions expressed here are our own.