How to Install and Configure Apache Tomcat 10 on Ubuntu 22.04

apache tomcat ubuntu splash image

Apache Tomcat 10 is a powerful tool for deploying Java-based web applications, and if you’re running Ubuntu 22.04 you can easily harness its capabilities. In this easy to follow tutorial we’ll walk you through the straightforward process of installing and configuring it on your Ubuntu 22.04 system.

Whether you’re a seasoned developer or new to web development, this guide simplifies the installation and setup. By the end of the tutorial you’ll have Apache Tomcat 10 up and running on your Ubuntu 22.04 machine. This will have you ready to host your Java web applications.

Let’s get started with this quick guide to Apache Tomcat 10 on Ubuntu 22.04. Tomcat 10 will open up a new world of possibilities for your web development projects.

Update and Upgrade Ubuntu 22.04

update ubuntu 22.04

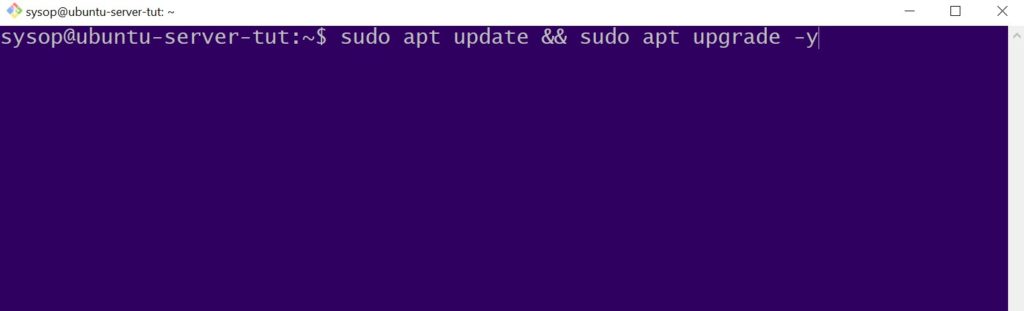
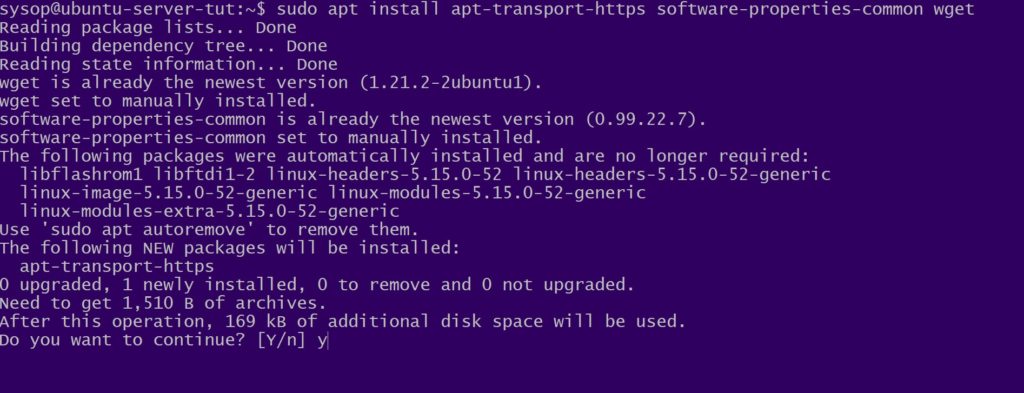
The first step to installing Apache Tomcat is to update and upgrade your system. Use the following apt command.

sudo apt update && sudo apt upgrade -y

Download and Install Java Development Kit

download java jdk

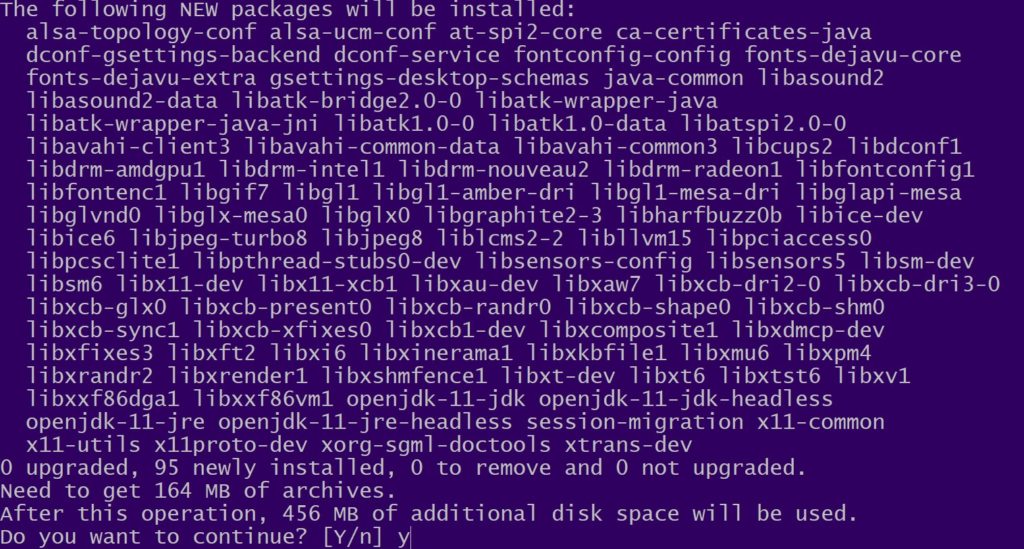
Next we need to install the Java Development Kit (JDK) package. Install the latest version will the apt command below.

sudo apt install openjdk-11-jdk 

Verify Java Version

verify java version

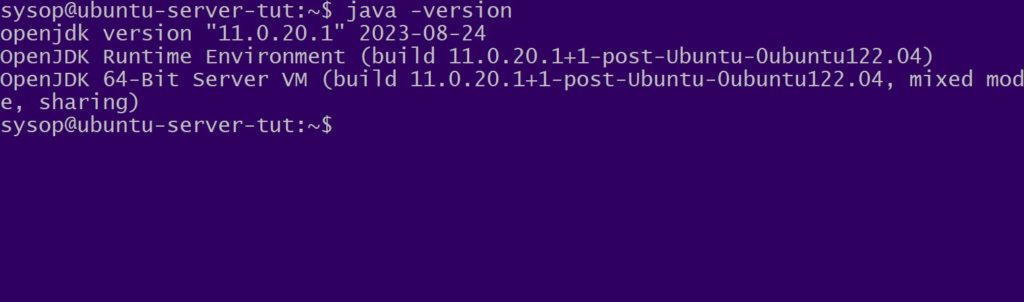
After installing the Java JDK we will want to verify the version, and that it was installed correctly. Use the java command shown below.

java -version

Create a User for Tomcat

create linux user for tomcat

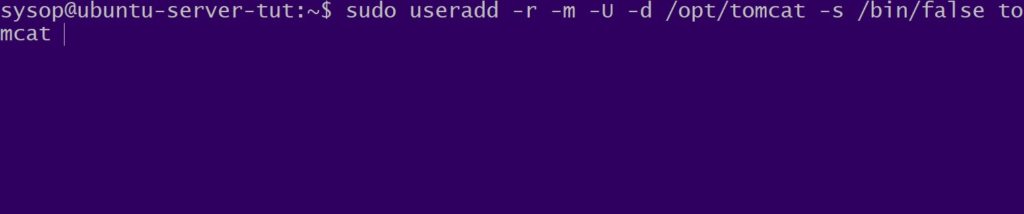
The next step will be to create a Linux user account to manage our Apache Tomcat installation. Use the useradd command to create the user.

sudo useradd -r -m -U -d /opt/tomcat -s /bin/false tomcat 

Download Apache Tomcat 10

download apache tomcat 10

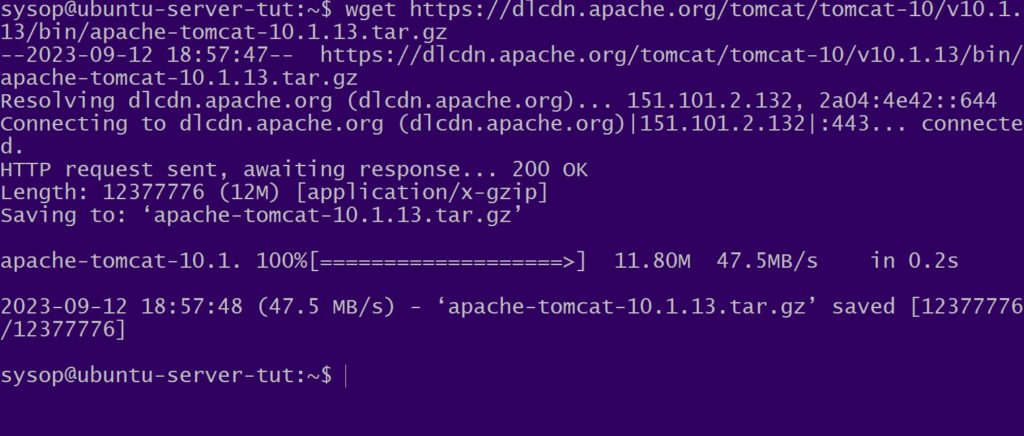
Once we have finished creating our user we will download Tomcat. Use wget to download the latest version with the below command.

wget https://dlcdn.apache.org/tomcat/tomcat-10/v10.1.13/bin/apache-tomcat-10.1.13.tar.gz

Extract Apache Tomcat

extract apache tomcat

Now that we have downloaded Tomcat we need to extract it. Use the tar command below to extract the archive into the /opt/tomcat folder.

sudo tar xzf apache-tomcat-*.tar.gz -C /opt/tomcat

Executable Files and Permissions

set permissions and make files executable

The next thing we will do is set the permissions of the /opt/tomcat folder.
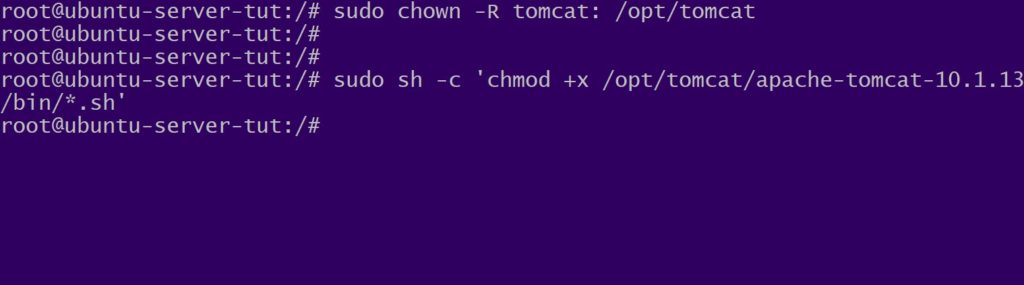
sudo chown -R tomcat: /opt/tomcat

After you set the permissions you will need to make all of the .sh files in the /opt/tomcat folder executable. Use the following sh command.

sudo sh -c 'chmod +x /opt/tomcat/apache-tomcat-10.1.13/bin/*.sh'

Create Tomcat Users

create a user for tomcat

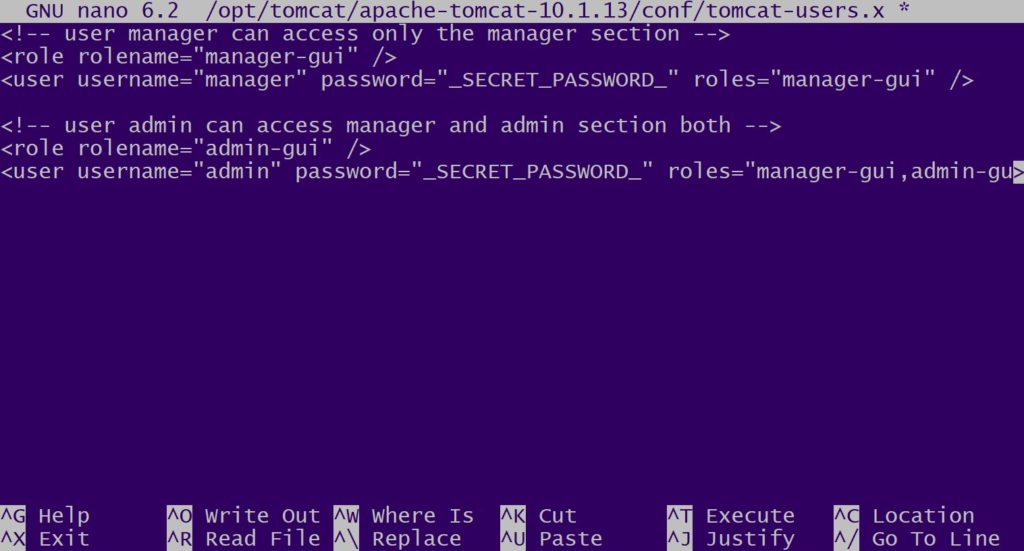
Next we will create the Tomcat user accounts using the tomcat-users.x file. First create the file with the nano command.

sudo nano /opt/tomcat/apache-tomcat-10.1.13/conf/tomcat-users.xml 

Then add the following text replacing _SECRET_PASSWORD_ with the passwords you wish to use. Save the file when finished.

<!-- user manager can access only the manager section -->
<role rolename="manager-gui" />
<user username="manager" password="_SECRET_PASSWORD_" roles="manager-gui" />
 
<!-- user admin can access manager and admin section both -->
<role rolename="admin-gui" />
<user username="admin" password="_SECRET_PASSWORD_" roles="manager-gui,admin-gui" />

Allow External Connections to Tomcat

allow external connections in manager context.xml file

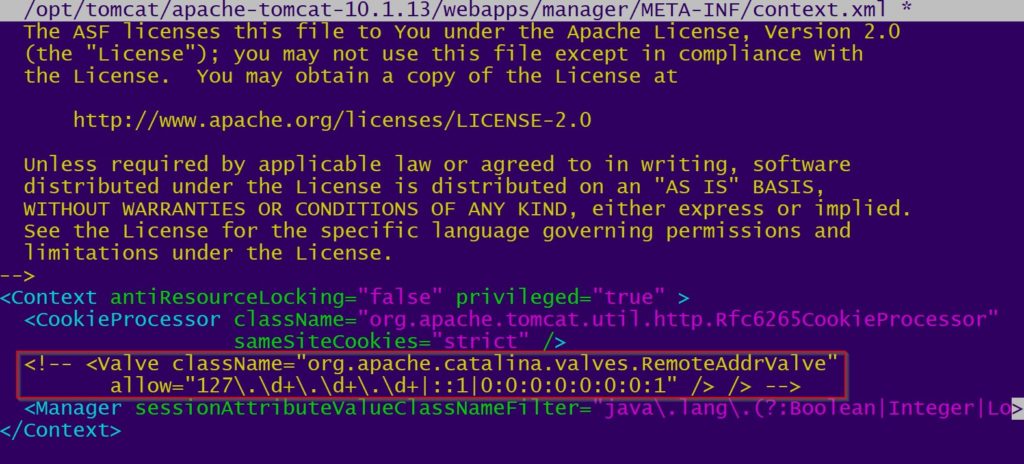
After you had created the users you will want to make Apache Tomcat accessible externally. The first thing is to open the context.xml file with nano.

sudo nano /opt/tomcat/apache-tomcat-10.1.13/webapps/manager/META-INF/context.xml

Once the file is open comment out the following section shown in the red box of the above screenshot.

<!-- <Valve className="org.apache.catalina.valves.RemoteAddrValve"
         allow="127\.\d+\.\d+\.\d+|::1|0:0:0:0:0:0:0:1" /> -->

Additionally Edit the Host Manager Context.xml File

allow external connections in host manager context.xml file

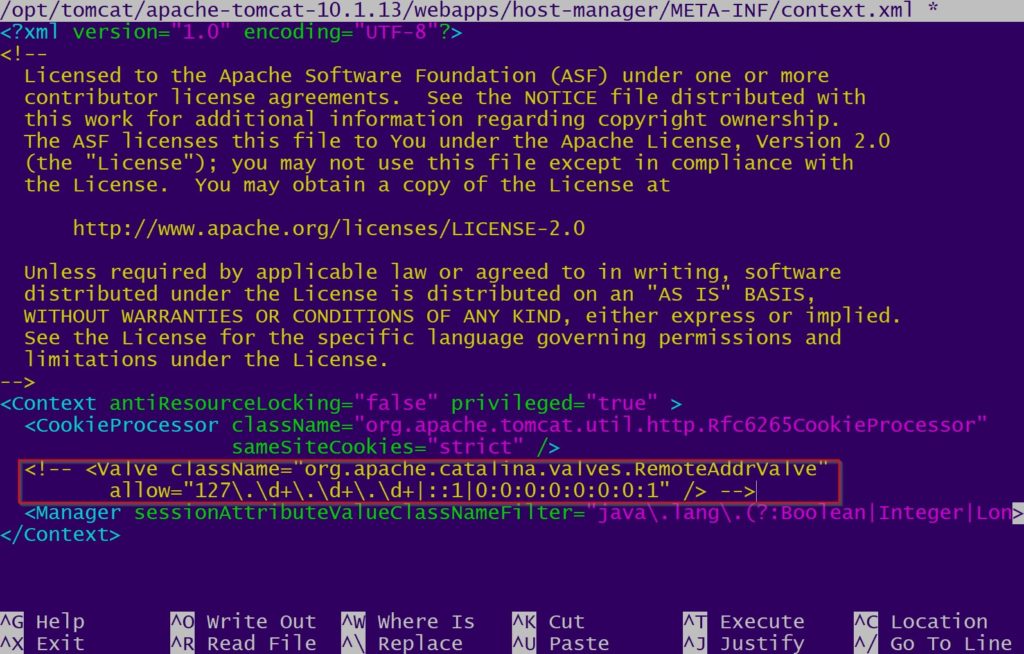
Additionally we have to comment out a section of the host manager context.xml file. This is also needed to allow external access. Open the file with nano.

sudo nano /opt/tomcat/apache-tomcat-10.1.13/webapps/host-manager/META-INF/context.xml

Then comment out the following line. After saving the file your Tomcat should be accessible from outside your network.

<!--<Valve className="org.apache.catalina.valves.RemoteAddrValve"
         allow="127\.\d+\.\d+\.\d+|::1|0:0:0:0:0:0:0:1" /> -->

Create Systemd Service File

create a systemd service file

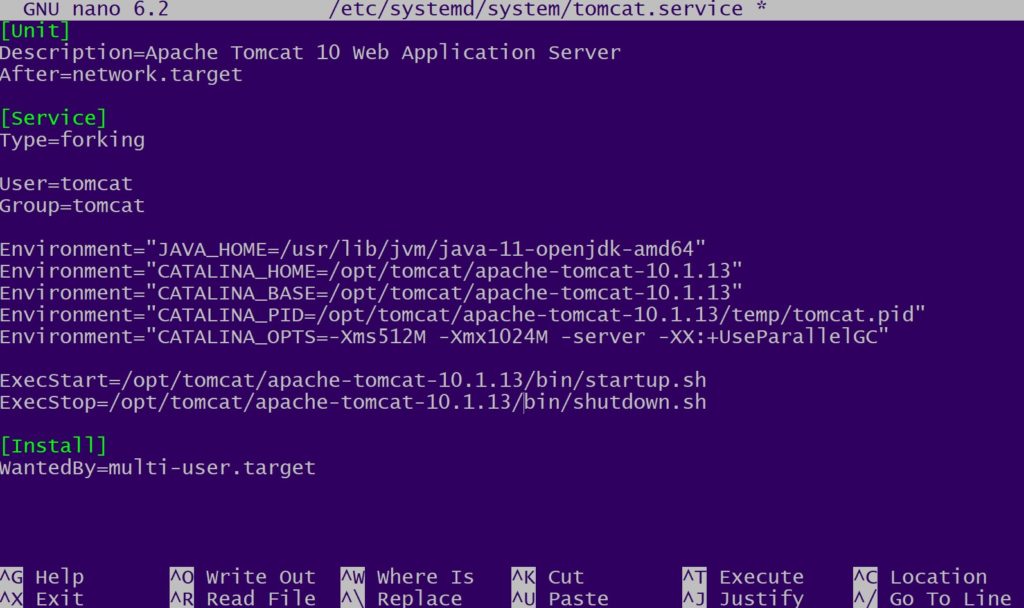
Next we will created a systemd service file to manage Apache Tomcat. First create the file with the nano text editor.

sudo nano /etc/systemd/system/tomcat.service 

Then add the following text. Save the file after adding it.

[Unit]
Description=Apache Tomcat 10 Web Application Server
After=network.target
 
[Service]
Type=forking
 
User=tomcat
Group=tomcat
 
Environment="JAVA_HOME=/usr/lib/jvm/java-11-openjdk-amd64"
Environment="CATALINA_HOME=/opt/tomcat"
Environment="CATALINA_BASE=/opt/tomcat"
Environment="CATALINA_PID=/opt/tomcat/temp/tomcat.pid"
Environment="CATALINA_OPTS=-Xms512M -Xmx1024M -server -XX:+UseParallelGC"
 
ExecStart=/opt/tomcat/bin/startup.sh
ExecStop=/opt/tomcat/bin/shutdown.sh
 
[Install]
WantedBy=multi-user.target

Reload Systemctl Daemon

reload systemctl daemon

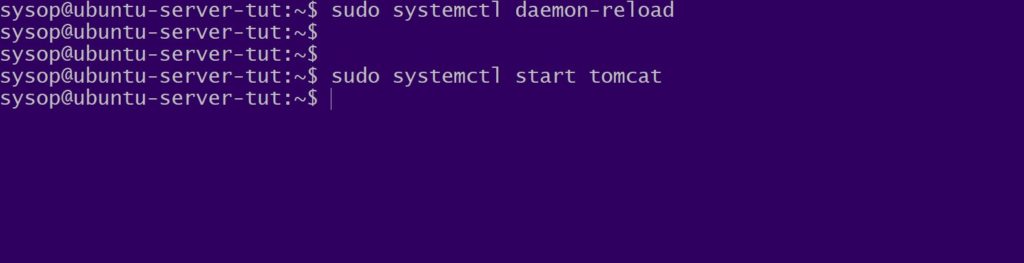
After creating the service file we will reload the daemon.

sudo systemctl daemon-reload

As well as start the Apache Tomcat application.

sudo systemctl start tomcat

Check Tomcat Status

check status of tomcat

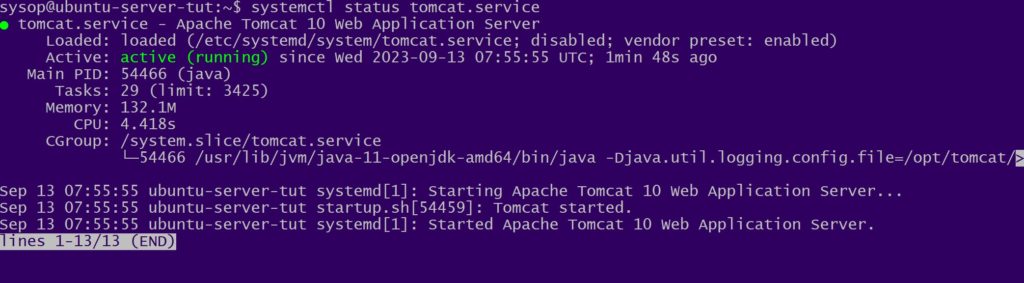
Next we will check the current status of Tomcat to make sure it started correctly.

sudo systemctl status tomcat.service

Enable Tomcat to Start at Boot

enable tomcat at boot

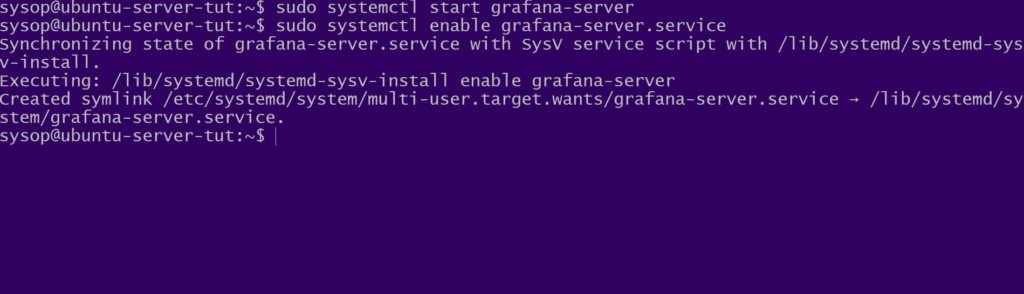
After that set Apache Tomcat to start at system boot with the systemctl enable command.

sudo systemctl enable tomcat

Configure UFW Firewall

allow tomcat port through firewall

Now we can allow Tomcat through the ufw firewall. Use the following command to allow it.

sudo ufw allow 8080

Test Tomcat Configuration

test apache tomcat

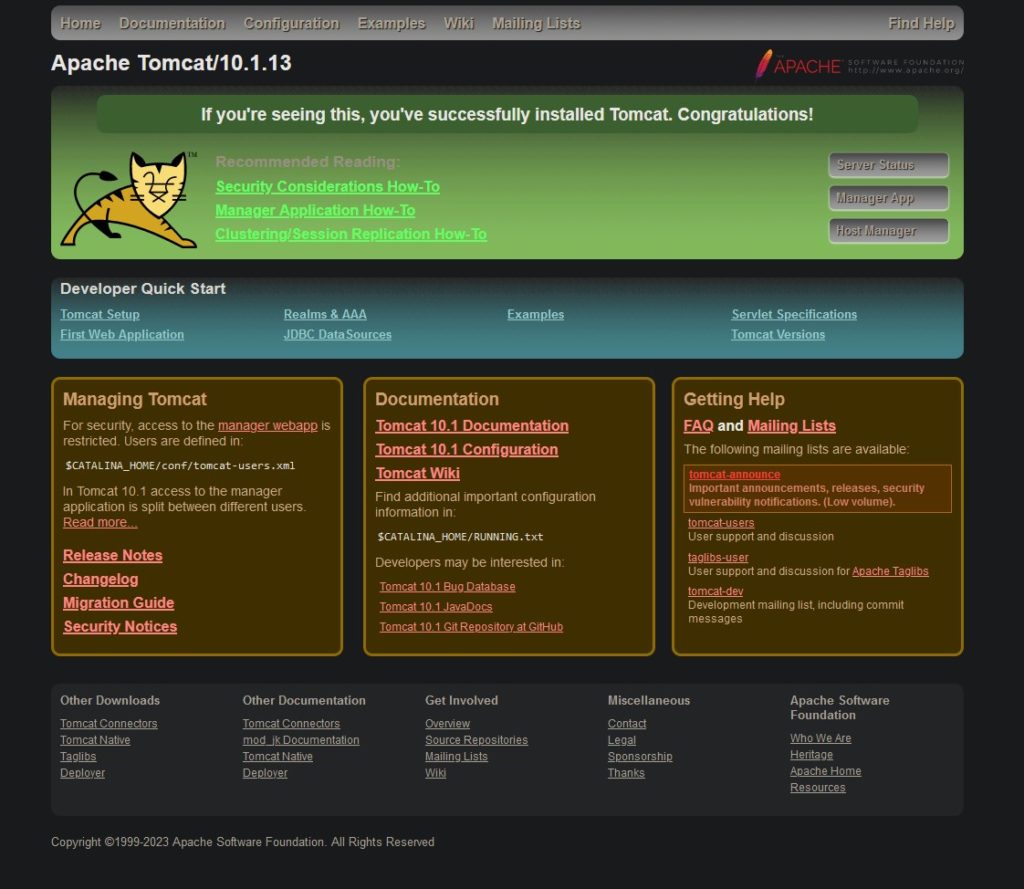
The final step of installing Apache Tomcat is to navigate to the application. Open a web browser and go to http://UBUNTU_IP_ADDRESS:8080/ replacing the IP with the IP of your box. If everything is successful you should see a page similar to the above. You have now successfully installed Apache Tomcat 10 on Ubuntu 22.04.

Questions?

If you have any questions or comments feel free to leave them below.

Related Resources

View our How to Setup Nginx as a Reverse Proxy on Ubuntu 22.04 LTS.

Learn How to Install Ubuntu Server 22.04 [Step by Step].

Check out our How to Easily Create a Bootable Linux USB Drive using Rufus article.

View our How to Setup an SFTP Server on Ubuntu 22.04 using OpenSSH tutorial.

Learn more cool things in Linux with our Linux Tutorials.

View all of our available online tools and converters at Formatswap.com.

How to Install and Configure Grafana on Ubuntu 22.04

grafana splash image

In this tutorial you will learn the installation process of Grafana on Ubuntu 22.04. Grafana is renowned for its versatility and powerful data visualization capabilities. It has become an essential tool for monitoring and analyzing data across various industries and applications. Whether you’re a seasoned systems administrator or a curious enthusiast eager to use the potential of Grafana for your data driven needs, this guide will provide you with clear instructions to set up Grafana on your Ubuntu 22.04 system. Let’s dive in and unleash the potential of Grafana for your data visualization and monitoring endeavors.

Install Prerequisite Packages

install prerequisite packages

The first step for installing Grafana is to download and install all of the prerequisite packages. Install them using the apt command below.

sudo apt install apt-transport-https software-properties-common wget

Import Grafana GPG Key

install grafana gpg key

Next we need to import Grafanas repository GPG key. First create a keyrings folder with the mkdir command. Then download the key with the wget command.

sudo mkdir -p /etc/apt/keyrings/

wget -q -O - https://apt.grafana.com/gpg.key | gpg --dearmor | sudo tee /etc/apt/keyrings/grafana.gpg > /dev/null

Add The Grafana Repository

add the grafana repository

Now we will add the stable Grafana repository. Use the echo command to add it to your sources.list file.

echo "deb [signed-by=/etc/apt/keyrings/grafana.gpg] https://apt.grafana.com stable main" | sudo tee -a /etc/apt/sources.list.d/grafana.list

Update Ubuntu 22.04

update ubuntu 22.04

Afterwards we will use apt to update Ubuntu 22.04.

sudo apt update

Start and Enable Grafana Service

enable and start grafana service

Next we will start and enable the grafana-server package. Use the systemctl start and enable commands to complete this step.

sudo systemctl start grafana-server

sudo systemctl enable grafana-server.service

Test Grafana Login

login to the test grafana account

Navigate to the login page of your new Grafana installation by navigating to http://SERVER-IPADDRESS:3000 . Replace SERVER-IPADDRESS with the IP address of the server you installed Grafana onto. Then login using the default credentials below.

Username: admin
Password: admin

Start Using Grafana

start using grafana

Once you login you have successfully installed Grafana on Ubuntu 22.04. You can now create a dashboard and get started with Grafana. For more information on getting started see the Grafana Build Your First Dashboard article.

FAQ

What is Grafana, and what is its primary purpose?

Answer: Grafana is an open source platform for monitoring data. Its primary purpose is to visualize and analyze data from different sources, including databases, cloud services, and monitoring systems. This help users gain insights into the performance of their applications and infrastructure.

What data sources can Grafana connect to?

Answer: Grafana can connect to a wide range of data sources, including but not limited to:

  • Time series databases like InfluxDB, Prometheus, and Graphite.
  • Relational databases such as MySQL, PostgreSQL, and Microsoft SQL Server.
  • Cloud monitoring services like AWS CloudWatch and Azure Monitor.
  • Log management systems like Elasticsearch and Loki.
  • Custom APIs through HTTP requests.
  • Many other data sources through community-supported plugins and integrations.

How can I create dashboards in Grafana?

Answer: Dashboards in Grafana are created using the web based interface. Here are the general steps:

  1. Log in to your Grafana instance.
  2. Click on “Create” and then “Dashboard.”
  3. Add a panel to your dashboard.
  4. Configure the panel’s data source, query, and visualization options.
  5. Customize the panel’s appearance and layout.
  6. Add more panels as needed to build a complete dashboard.
  7. Save the dashboard for future use and sharing.

Can Grafana be used for alerting and notifications?

Answer: Yes, Grafana includes alerting and notification features. You can set up alerts based on various thresholds or conditions in your data. When an alert condition is met Grafana can send notifications via various channel, such as email, Slack, PagerDuty, or custom webhooks, helping you to monitor and respond to issues.

Is Grafana suitable for large-scale enterprise environments?

Answer: Yes, Grafana is suitable for both small scale and large scale environments. It is highly scalable and can handle large volumes of data and users. Additionally Grafana supports features like user authentication, access control, and integration with various authentication providers. This makes it a great choice for use in enterprise level environments where security and access control are important considerations.

Questions?

If you have any questions or comments feel free to leave them below.

Related Resources

View our 5 Reasons to Switch from Windows 10 to Linux.

Learn How to Install Ubuntu Server 22.04 [Step by Step].

Check out our How to Easily Create a Bootable Linux USB Drive using Rufus article.

View our How to Setup an SFTP Server on Ubuntu 22.04 using OpenSSH tutorial.

Learn more cool things in Windows with our Linux Tutorials.

View all of our available online tools and converters at Formatswap.com.

How to Effortlessly Convert FLAC to MP3: A Step by Step Guide

flac to mp3 splash image

In the world of digital audio there exists many audio formats. Each have its own unique advantages and drawbacks. One such format is FLAC,short for Free Lossless Audio Codec. Renowned for its unparalleled audio quality and the ability to preserve the finest nuances of your music, FLAC has earned its place among audiophiles. However it’s not always the most convenient format, especially when it comes to compatibility with various devices. This is where FLAC to MP3 conversion comes into play. It offers a solution that strikes a balance between quality and compatibility. In this comprehensive guide we will explore the reasons for converting FLAC to MP3. As well as walk you through the simple step by step conversion process, and introduce you to a highly recommended FLAC to MP3 converter tool that makes the task a breeze.

Why Convert from FLAC to MP3?

Before we begin the conversion process it’s essential to understand why you might want to convert your FLAC files to MP3:

1. Wider Compatibility: FLAC offers unparalleled audio quality. However they are not supported by all devices and software. On the other hand MP3 is a universally recognized format. This makes them compatible with nearly every audio player, smartphone, and computer.

2. Reduced File Size: FLAC files are notorious for their large file sizes that quickly consume storage space on your device. Converting to MP3 significantly reduces file size without compromising audio quality excessively.

3. Streaming Convenience: Many streaming platforms and online music services primarily use MP3 for streaming. This makes it more convenient to enjoy your favorite tunes on these platforms while using less bandwidth.

Converting FLAC to MP3: A Simple Process

Converting FLAC to MP3 has never been easier. Thanks to our recommended FLAC to MP3 converter tool, you can complete the entire process in a few simple steps:

Step 1: Navigate to the Converter Tool

Start by clicking on the provided FLAC to MP3 converter tool link to access the online conversion platform.

Step 2: Upload Your FLAC File

On the converter tool’s webpage, you’ll find a “Browse Files” button. Click on it to select your FLAC file from your computer. The tool will automatically detect and upload the file for conversion.

Step 3: Wait for Conversion Completion

Once you’ve uploaded your FLAC file the tool will automatically begin processing your file and converting it to MP3. This might take a few moments depending on the file size and your internet connection speed.

Step 4: Download Your MP3 File

When the conversion process is complete the tool will automatically download your newly converted MP3 file. Click on the MP3 to play it on your computer or device.

Step 5: Enjoy Your Music

With your MP3 file downloaded you are all set to enjoy your music on a wider range of devices without sacrificing too much in terms of audio quality. Take a moment to listen to a few tracks to ensure the conversion has maintained the sound quality to your satisfaction.

Advanced Considerations for Audiophiles

For those with discerning ears, consider these additional tips:

1. Bitrate Control: Bitrate affects both audio quality and file size. Higher bit rates like 320 kbps offer superior quality but result in larger files. Lower bitrates such as 128 kbps reduce file size but may compromise quality. Experiment with different bitrates to find the right balance.

2. Preserve FLAC Files: Always retain your original FLAC files. This ensures you can revert to the FLAC format if you require the highest audio quality for specific purposes.

3. Opt for Lossless to Lossy Converters: Utilize high quality converters to minimize audio quality loss during the conversion. The FLAC to MP3 converter tool we recommend preserves audio fidelity by using a 320 kbps bitrate.

Conclusion

In conclusion converting FLAC to MP3 simplifies compatibility while maintaining reasonable audio quality. Thanks to the user friendly FLAC to MP3 converter tool, the process is quick and accessible. Explore the versatility of your music collection, whether for streaming, sharing, or conserving storage. Convert your FLAC files to MP3 effortlessly and enjoy your music on various devices. Embrace the era of accessibility without compromising audio quality. Enjoy your favorite tunes anytime and anywhere!

As technology advances the importance of versatility and accessibility in audio formats becomes increasingly evident. By learning about FLAC to MP3 conversion you can make your music collection more versatile and accessible than ever before. Whether you’re looking to stream your tunes, share them with friends, or simply save space on your device, the conversion process allows you to do so without compromising too much on audio quality. So go ahead and easily convert your FLAC files to MP3. Let your music be enjoyed wherever you go.

Questions?

If you have any questions or comments feel free to leave them below.

Related Resources

View our 5 Reasons to Switch from Windows 10 to Linux tutorial.

Learn How to Generate Images From Text Prompts with Python and TensorFlow.

Check out our How to Setup OpenSSH with Keys on Ubuntu 22.04 tutorial.

View our How to Install and Remotely Access Squid Proxy on Ubuntu 22.04 tutorial.

Learn How to Setup Nginx as a Reverse Proxy on Ubuntu 22.04 LTS.

Learn How to Create a Windows 10 Virtual Machine Using VirtualBox on Ubuntu 22.04.

View all of our available online tools and converters at Formatswap.com.