How to install Kali Linux 2022.3 [step by step]

install kali splash image

In this tutorial you will learn how to install the Debian based Kali Linux operating system. Kali is designed for digital forensics as well as penetration testing. Kali is very useful to have installed if you are currently in or entering into the cyber security field. One of the main benefits of Kali Linux are its approximately 600 penetration testing tools preinstalled.

Download Latest Kali Version

The first step is to download the latest version of Kali Linux from the official website.

Download Kali Linux 2022.3

Boot USB or Select ISO

kali install screen

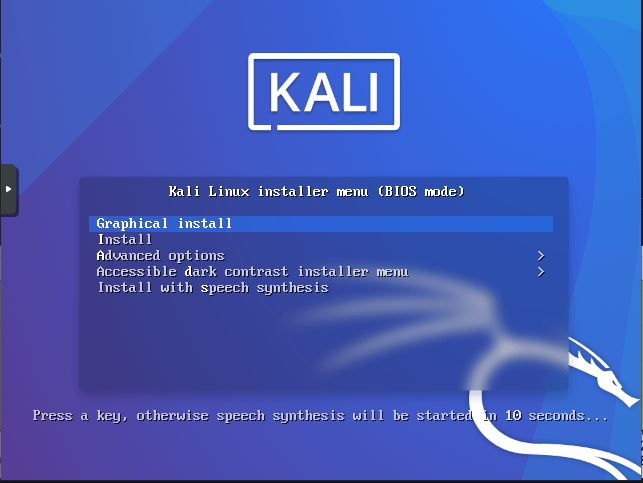
Next you will need to make a bootable USB drive using the Kali ISO file. You can read this tutorial on creating a bootable Linux USB drive using Rufus to learn more. After you create the bootable Kali USB drive, insert it into your computer and select the USB at boot. If you are using a virtual machine, simply select the Kali ISO as your boot device. Once you are booted into the installer, select “Graphical Install”.

Select System Language

kali select language

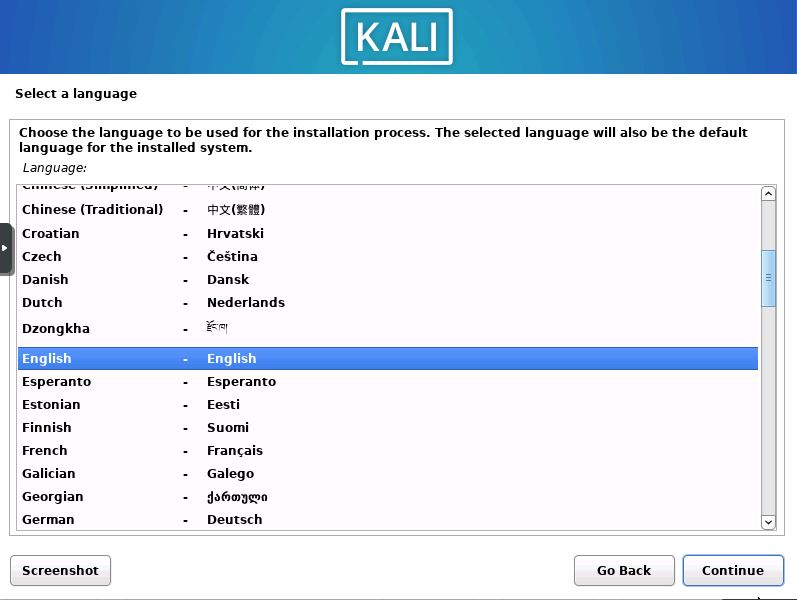
Now you will select the language you would like to use.

Select Location

select location

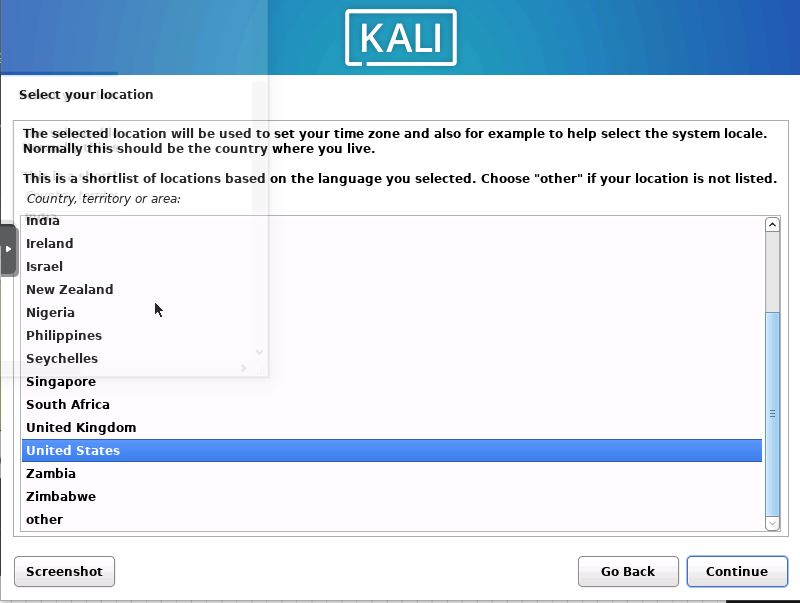
Next select your location.

Select Keyboard Layout

select keyboard layout

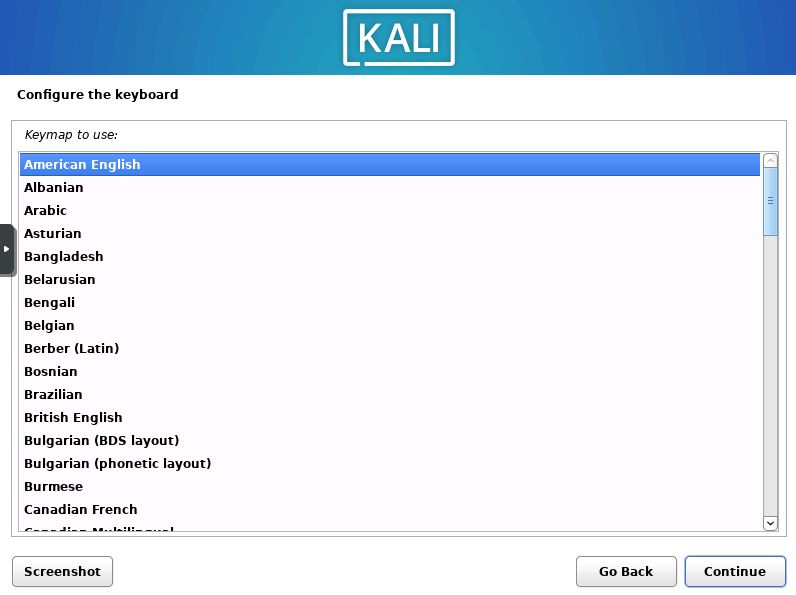
Afterwards you will need to select a keyboard layout.

Choose Hostname

choose a hostname

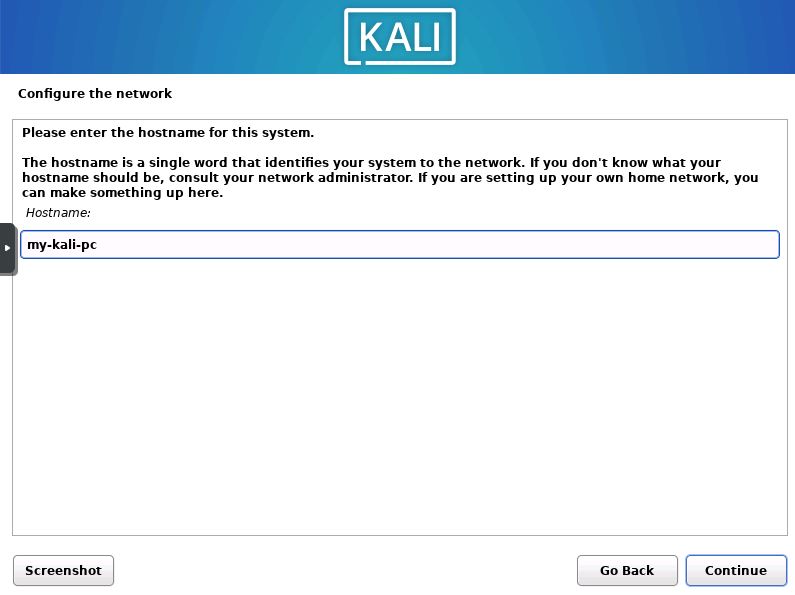
Now you will choose a hostname for the installation. You can enter any name you would like into the box.

Enter Domain Name (optional)

enter a domain name

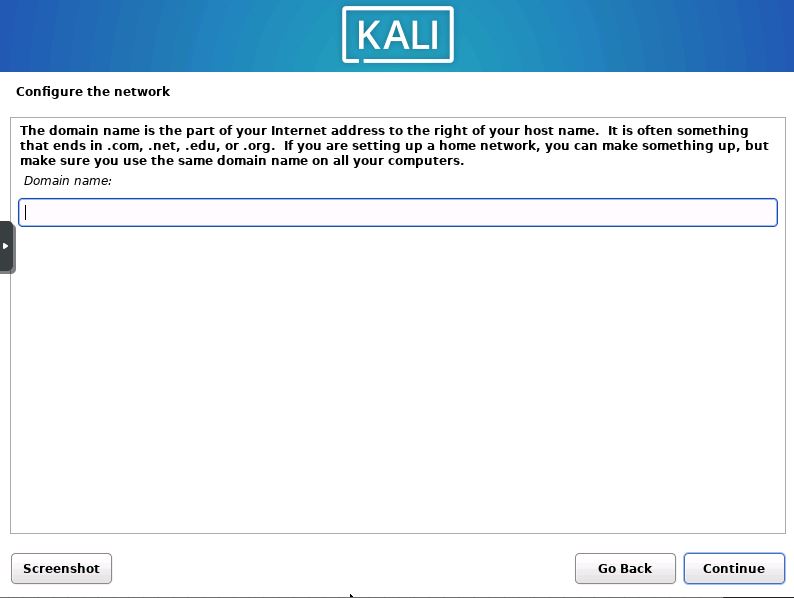
The next step is to select a domain name. This step is optional, and usually unused. So I will be skipping it.

Set Account Name

set up accouont

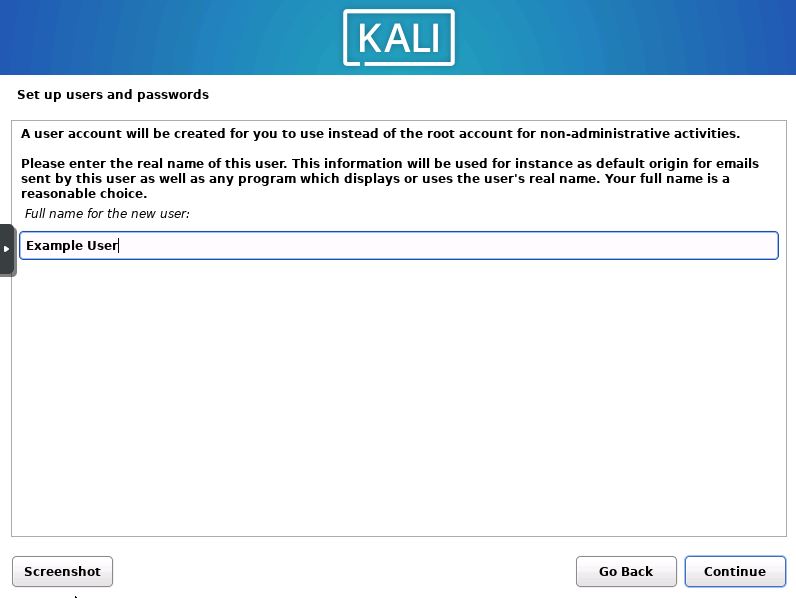
Now you will enter the full name for the new user, afterwards press the “Continue” button.

Enter a Username

choose a username

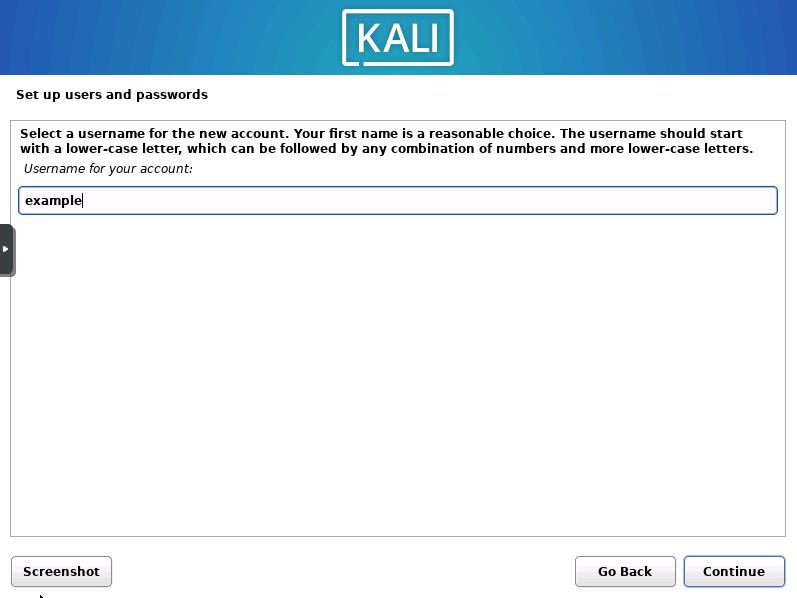
Next you will need to set the username for the account. Enter it into the box and then press “Continue”.

Choose a Password

choose a password

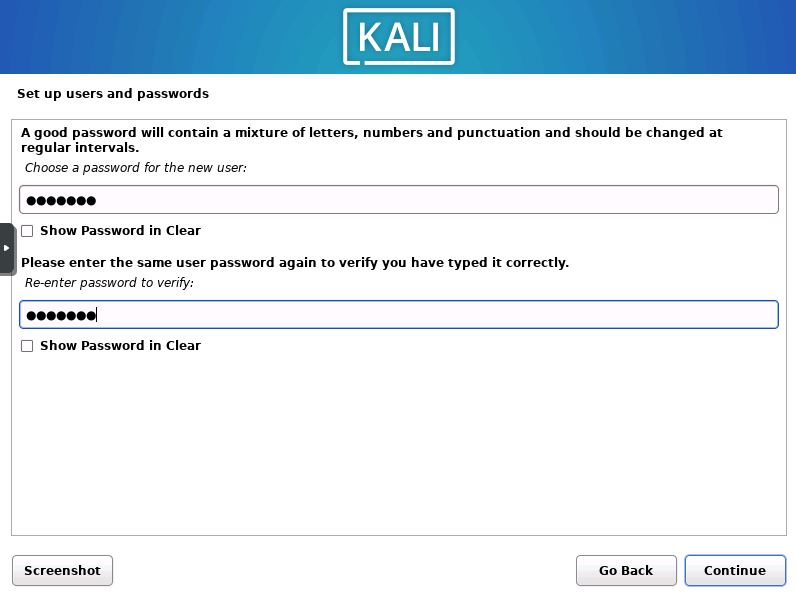
After setting the username you will need to create a password for the new user. Enter the password and confirmation password.

Select the Timezone

select a timezone

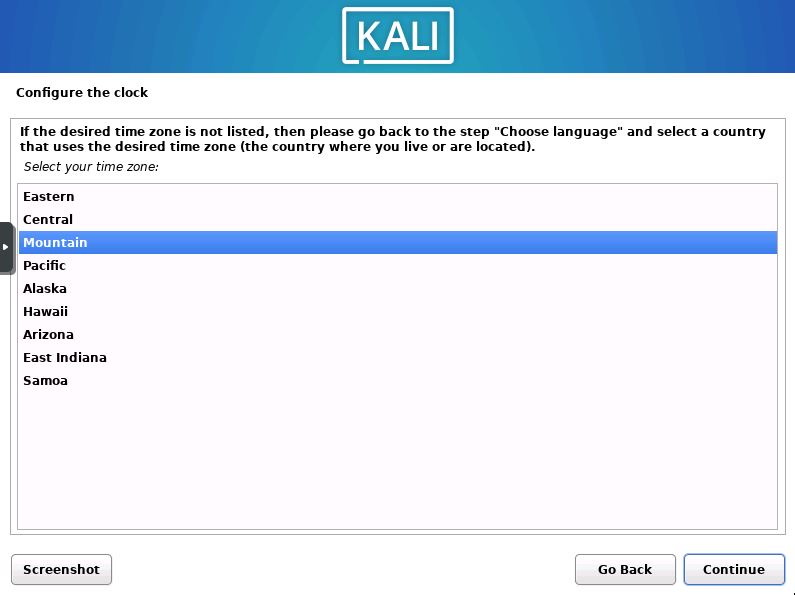
Now you will set the system timezone. This will set the clocks to the correct time.

Set Partitioning Method

partition the disks

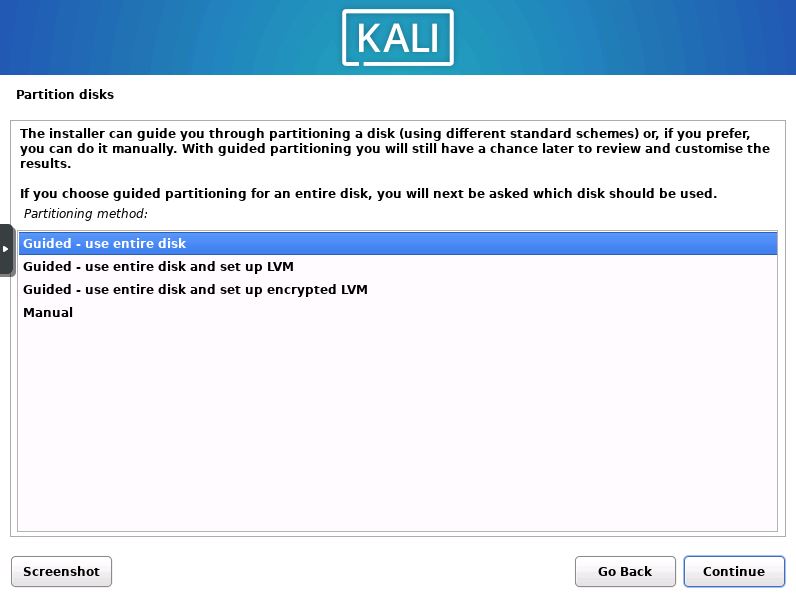
Next you will choose from four different partitioning schemes. Select “Guided – use entire disk” unless you want to encrypt the disk, then press “Continue”.

Select the Disk for Installation

select hdd

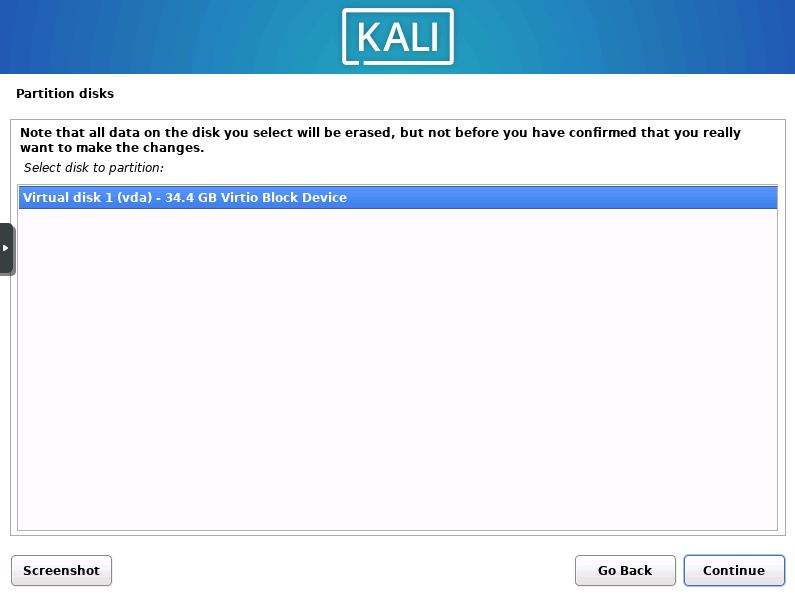
Now the installer will ask you which disk you would like to install Kali onto. (note, all data will be deleted from the selected device)

Choose Partition Scheme

partition scheme

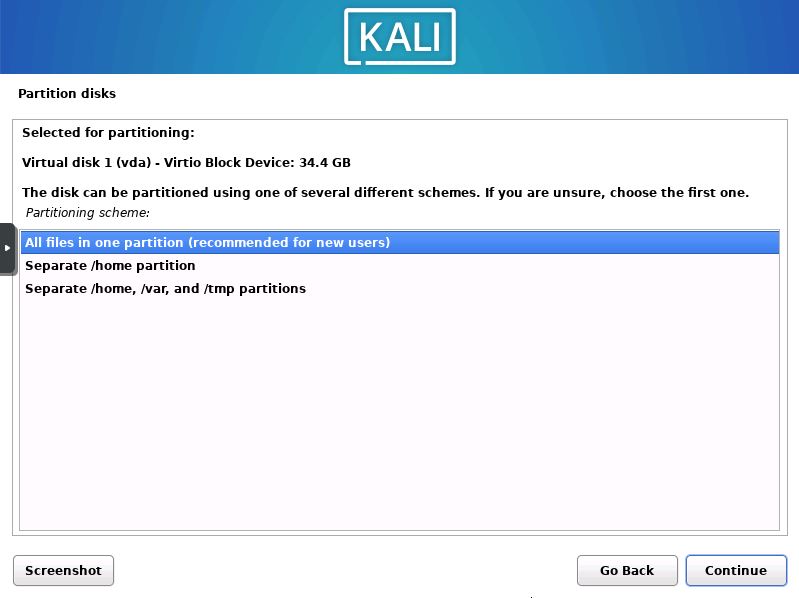
The installer will then ask if you would like a separate home partition, or all files in the same partition. I recommend new users choose the all files in one partition option.

Confirm Partition Changes

finish partitioning

Now you will be shown a overview of the changes that are due to take place. Look them over then press “Finish partitioning and write changes”.

Confirm Write Changes

confirm write changes

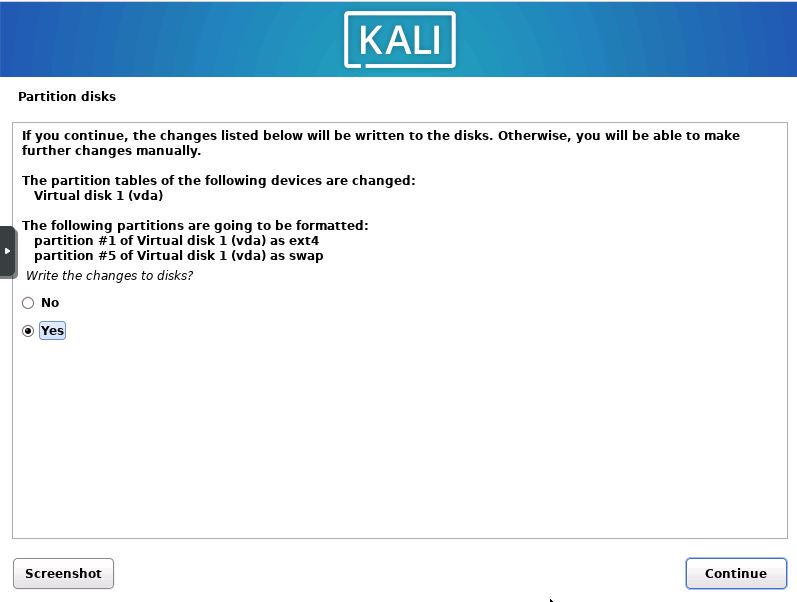
You will then be prompted with a confirmation asking if you want to write the changes to the disk. Click “Continue”.

Wait for the Base System to Install

install base system

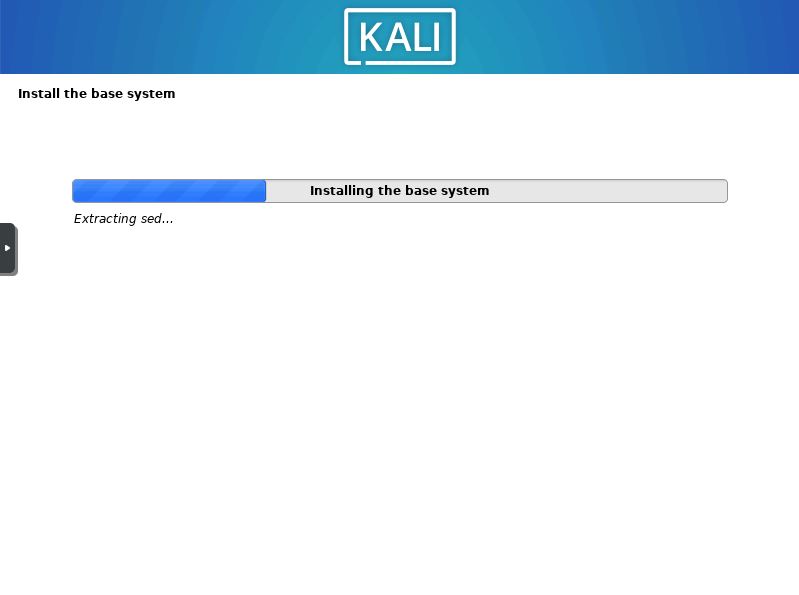
Wait for the base system to finish installing. This can take a while depending on the performance of your computer.

Software Selection

select kali software to install

Now you will be asked which desktop environment you want. As well as what software you would like installed. I recommend keeping all options to default as displayed in the above screenshot.

Install Grub

install grub bootloader kali

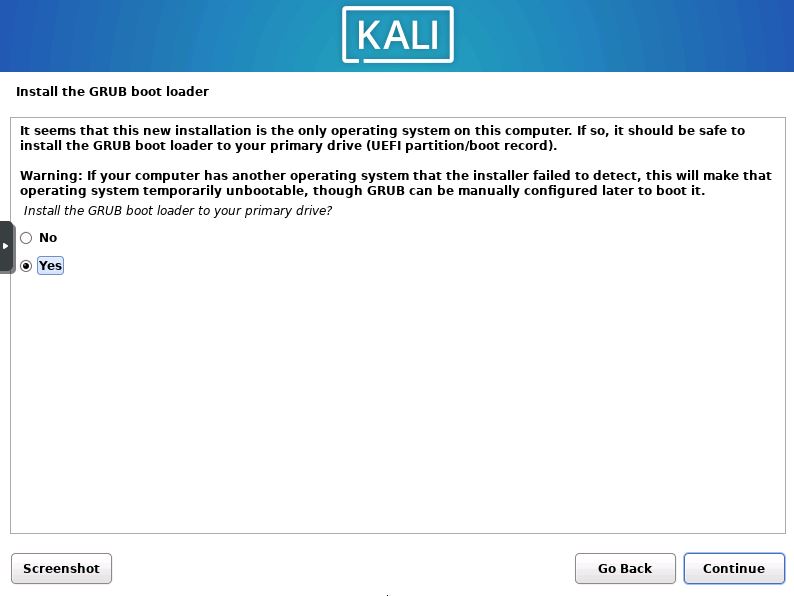
You will then receive a prompt asking you if you would like to install the Grub boot loader. Select the Yes checkbox and press “Continue”.

Select Grub Device

select a grub device

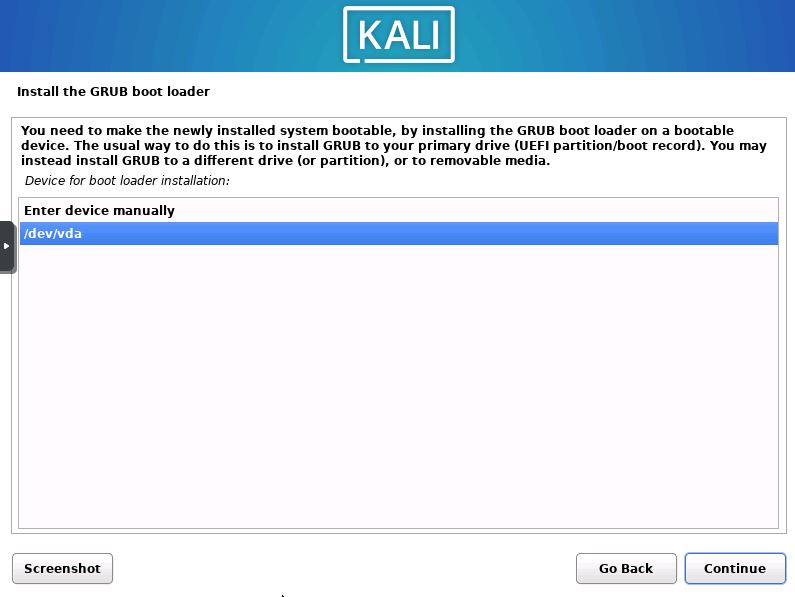
Now you will need to select which device to install Grub onto. Select the /dev/x device and then “Continue”.

Reboot the System

reboot kali system

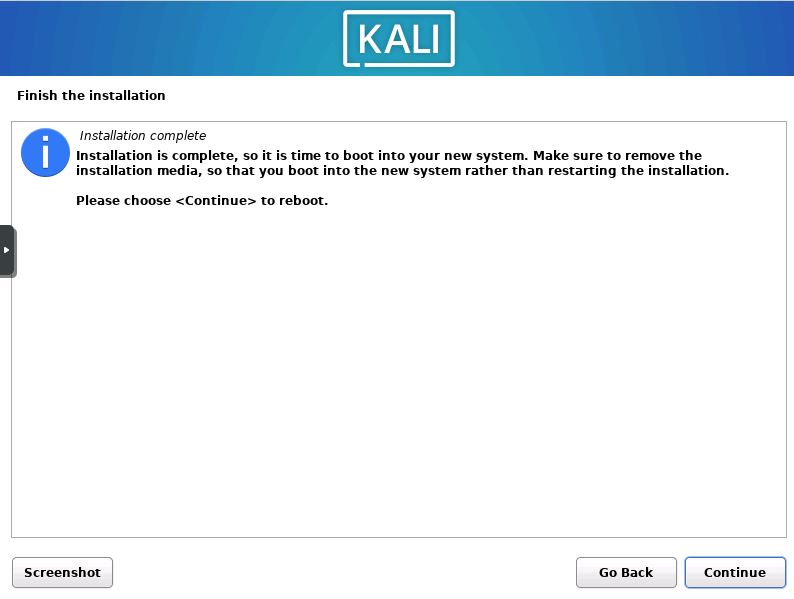
Once you see this screen you are almost ready to begin using Kali. Simply remove your installation media and reboot the system.

Installation Complete

test login to kali

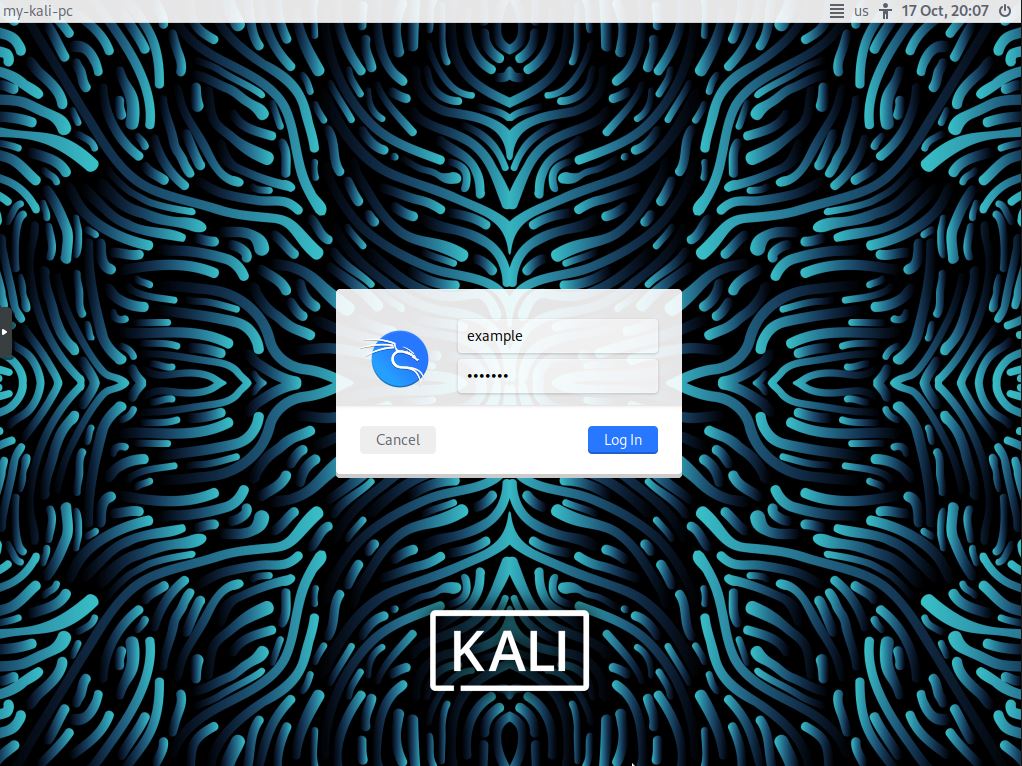
Once the system has rebooted you will see the login screen. You have now completed the installation of Kali 2022.3. Enter the credentials that you created earlier to start using Kali.

Additional Questions?

If you have any additional questions or thoughts feel free to comment them below.

Related Resources

View our 5 Reasons to Switch from Windows 10 to Linux.

Learn How to Create a Mapped Network Drive in Windows 10.

Click here to learn How to Easily Create a Bootable Linux USB Drive using Rufus.

View our OS Installs Category.

Learn more cool things in Windows with our Windows Tutorials.

View all of our available online tools and converters at Formatswap.com.

How to Mount an SMB (Samba) Share in Linux with cifs-utils

cifs-utils header image

In this tutorial you will learn how to use the CIFS-UTILS program to mount network shares. You will also learn how mount the file shares at boot. This allows you to avoid typing your credentials, as well as avoiding the use of the mount command when you turn on the system. With CIFS-UTILS you will be able to easily access files from a SMB share on your network. I will be using Ubuntu 22.04 LTS throughout this tutorial. However it is fine if you have a different version, as this guide will work on any Ubuntu based Linux distribution.

Update and Upgrade Ubuntu

update and upgrade ubuntu

The first thing you will need to do is update and upgrade your Ubuntu installation. Type in the following command and press Enter.

sudo apt update && sudo apt upgrade
install cifs utils

Now you will see a window asking you if you want to continue. Press “Y” and then Enter.

Install CIFS-UTILS

install cifs utils

Afterwards you will need to install cifs-utils. This is a program that allows you to easily mount different file shares on Linux. Type in the following command to install it.

sudo apt install cifs-utils

Create a Mount Directory

make share mount folder

Next you need to create a folder to mount the SMB share. You can create a folder in either /mnt/ or /media/.

sudo mkdir /media/Share
or
sudo mkdir /mnt/Share

Navigate to the Home Folder

cd to home folder

Now navigate to your home folder.

cd ~/

Create the Credentials File

create creds file

Once you are in the home folder you need to create a credentials file. A credentials file is vastly more secured versus providing the password and username in plain text.

nano .creds
enter user and pass cifs-utils

Now type your username and password in the format above. Once you have typed your credentials, press “Ctrl+X” then “Y” to save and quit the text editor.

Apply Permissions

apply permissions to creds file

Next we will apply the permissions to the credentials file. For security reasons you only want root to be able to read and write the file. Enter the command below to apply the changes.

sudo chown root: .creds && sudo chmod 600 .creds

Mount the SMB Share

mount smb share

Finally you will mount the SMB network share. Enter the below cifs mount command replacing the credential directory, IP address, mount location, and share name with your own.

sudo mount -t cifs -o credentials=/home/USERNAME/.creds,dir_mode=0755,file_mode=0755 //IPADDRESS/ShareName /mnt/Share

After you run the command you can navigate to the mount folder to view the network share that you have added. You have now successfully mounted a SMB network share using cifs-utils.

Auto Mounting

If you only use the mount command, your network share will no longer be mounted when you reboot. We will edit the fstab file and add a few entries. This is the file that defines what file systems are mounted at boot. Continue reading below to make the share persistent.

Edit the fstab File

edit fstab file

First we need to open the fstab file. Type in the following command to edit it.

sudo nano /etc/fstab

Add fstab Entries

mount cifs share

Now you will want to add a new line for mounting your cifs share. Use the code below as an example of what to type, replacing the credentials, IP, and share name with your own.

//IPADDRESS/ShareName  /mnt/Share  cifs  credentials=/home/USERNAME/.creds,file_mode=0755,dir_mode=0755 0  0

Reboot PC

reboot pc

The last step will be to reboot your PC. After rebooting you will see the network share mounted at /mnt/ShareName or /media/ShareName depending on where you created the folder. Thank you for reading the tutorial. If you are interested in similar technology tutorials check out some of our articles below.

Questions?

If you have any questions or comments feel free to leave them below.

Related Resources

View our How to Permanently Disable Windows Defender article.

Learn How to Install Ubuntu Server 22.04 [Step by Step].

Click here to learn How to install and configure Nginx – Ubuntu 20.04.

View our Programming Articles and Tutorials.

Learn more cool things in Linux with our Linux Tutorials.

View all of our available online tools and converters at Formatswap.com.

How to Permanently Disable Windows Defender

Disabling Windows Defender on Windows 10. Crossed out Defender logo.

If you have ever tried to disable Windows Defender within Windows 10 you may have noticed it can sometimes be difficult. In this tutorial you will learn two different methods for disabling it. You can disable Defender using Control Panel, and Registry Editor if you are a more advanced user. This can be useful for many reasons, such as development of applications, cyber security, false positives and more.

Disable Windows Defender (Basic)

Open PC Settings

open windows 10 settings menu

At your computer, open the Control Panel using the Windows button in the corner of your screen, then clicking on the gear icon in the bottom left corner.

Click Update & Security

navigate to the security settings

Once you are at the control panel, click the ‘Update & Security’ category.

Click Windows Security

Go to windows security tab

Select the ‘Windows Security’ option from the left hand side of Update & Security.

Click Manage Settings (Virus & Threat Protection)

manage virus & threat protection settings

Then, find the ‘Manage settings’ text as shown above and click on it.

Disable Defender Protection Settings

disable windows defender

You will want to disable the highlighted options above. The other slider selections are optional. You are done!

How to Disable Windows Defender Using Registry Editor (Advanced)

Sometimes, Defender can re-enable itself during updates and restarts. If you would like to make sure it doesn’t come back and don’t mind tinkering with your operating system a bit, you can disable it with your Registry Editor.

Open Run

open start menu

First, you will open your ‘Run’ box either by searching for it or using Windows + R on your keyboard.

Open Registry Editor

open regedit run dialog

You will type ‘regedit’ in the box and either click OK or press Enter.

Navigate to Folder

navigate to hkey local

Open the folders inside Registry Editor by using the arrows next to the folder icon. You will want to navigate to:

HKEY_LOCAL_MACHINE\SOFTWARE\Policies\Microsoft\Windows Defender

Add New Registry Value

add new dword value

Once you select the Windows Defender folder, you will right click inside the blank space inside the right panel of the window and hover over New, then click the option that says ‘DWORD (32-bit Value)’.

Rename Registry Entry

rename regedit entry

You will want to set the name of the value to ‘DisableAntiSpyware’.

Edit the Registry Value

edit the regedit value

Then, double click on the 0x000… (value) portion of the pair you just created and change the Value data to 1. Double check to make sure that the Value name is the same as the one that you created and that the Base option is set to Hexadecimal.

Restart Windows

restart windows

Finally, restart your computer and you have completed all the steps to disabling Windows Defender on Windows 10.

Questions?

If you have any questions or comments feel free to leave them below.

Related Resources

View our 5 Reasons to Switch from Windows 10 to Linux.

Learn How to Create a Mapped Network Drive in Windows 10.

Click here to learn How to Easily Create a Bootable Linux USB Drive using Rufus.

View our OS Installs Category.

Learn more cool things in Windows with our Windows Tutorials.

View all of our available online tools and converters at Formatswap.com.