In this tutorial you will learn how to transfer the style of one image onto the content of another. This program uses deep learning with python. The project uses an algorithm based on a convolutional neural network. Style any image using machine learning image processing. We will be using Ubuntu 20.04 for this tutorial. Almost any Linux distribution should work.
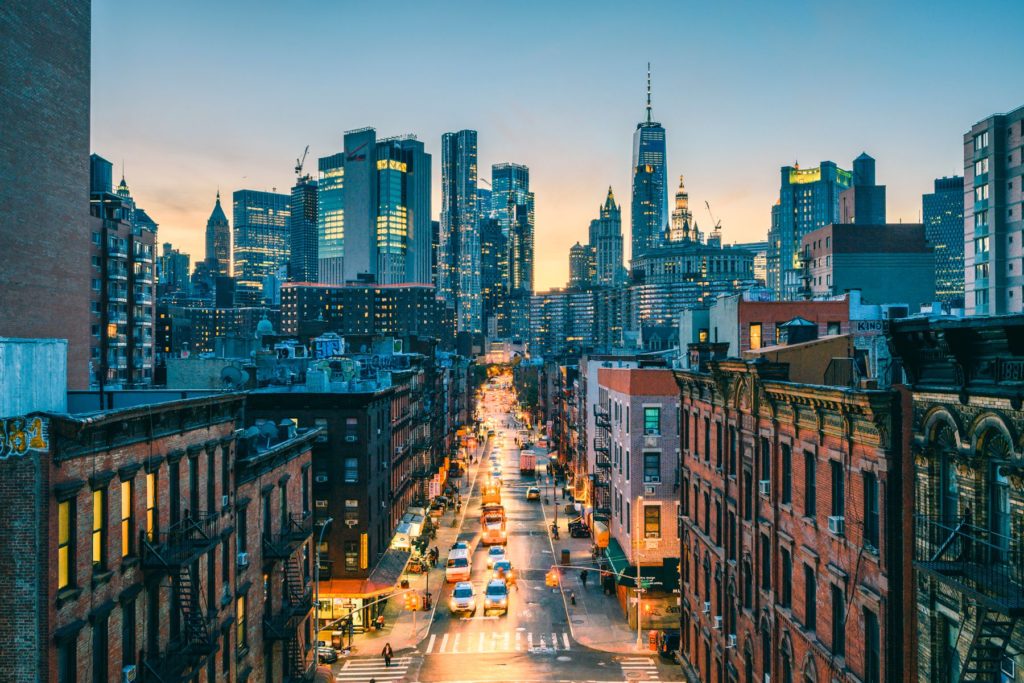
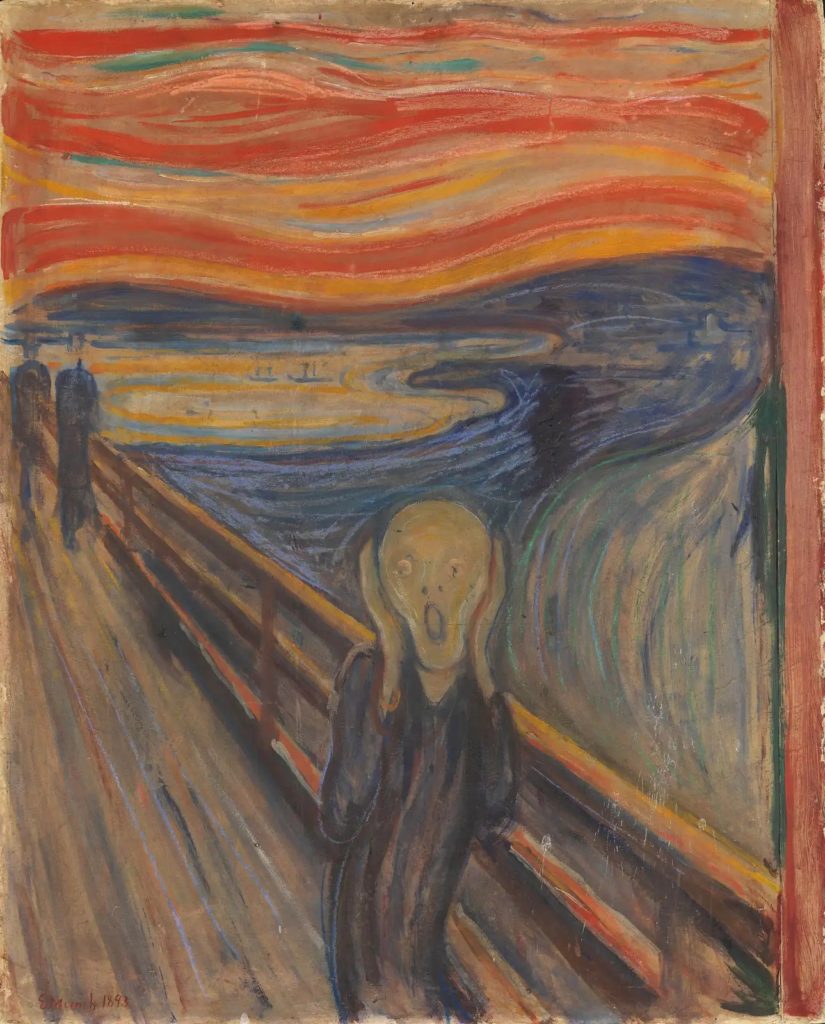
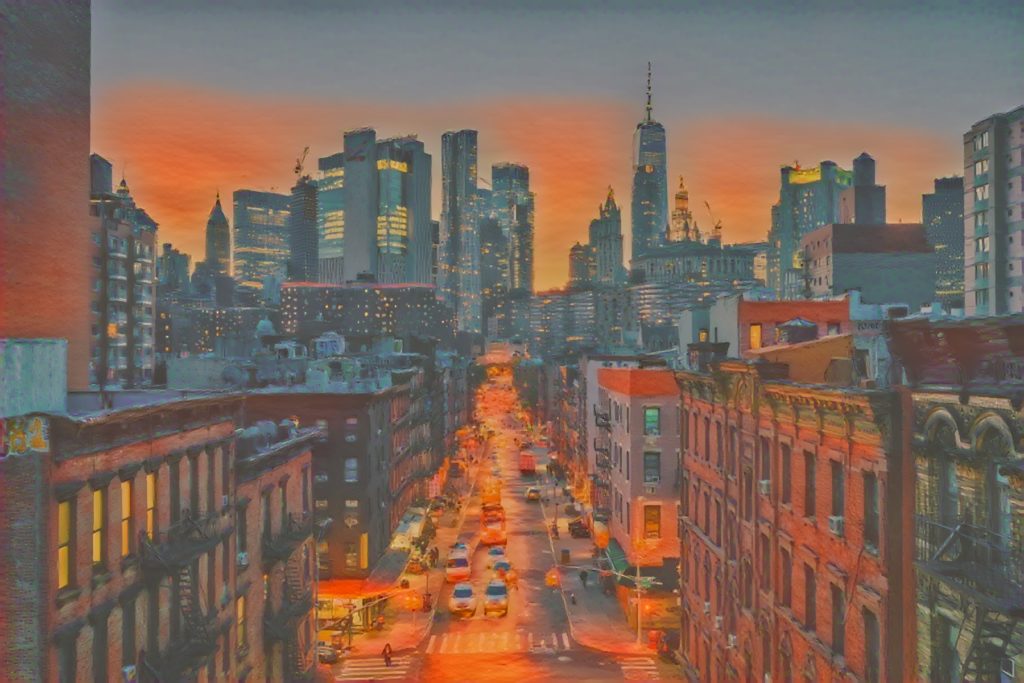
The project is based off of a PyTorch implementation of the A Neural Algorithm of Artistic Style article. It was published by Leon A. Gatys, Alexander S, Ecker, and Matthias Bethge. It is based on the Neural-Style code by Justin Johnson’s. Here is an example of The Scream painting’s style being transferred onto a picture of a New York City:
Dependencies Installation
This project requires you to install the following
Required Dependencies:
Optional dependencies:
- For CUDA backend:
- CUDA 7.5 or above
- For cuDNN backend:
- cuDNN v6 or above
- For ROCm backend:
- ROCm 2.1 or above
- For MKL backend:
- MKL 2019 or above
- For OpenMP backend:
- OpenMP 5.0 or above
Setup
Navigate to the directory you would like to download neural-style-pt project to. Then git clone the repository.
git clone https://github.com/ProGamerGov/neural-style-pt.gitDownload Model
Next you will cd into the cloned directory and download the VGG model files.
cd neural-style-pt/
python models/download_models.py
This will download multiple model files. If you are running on a lighter system use the option -model_file models/nin_imagenet.pth If you have a strong system with a powerful gpu use the option -model_file models/vgg19-d01eb7cb.pth The second option will provide drastically better results at the expense of more strain to the GPU. If you have issues with VGG19 or VGG18 revert back to nin_imagenet.pth.
Creating Deep Learning Style Transfer Images
In this example we will be using the cuDNN with NIN Model. Feel free to use the model of your choice. See the bottom of the tutorial for speed comparisons between the different models. Run the following command replacing -style_image with the path to the style image you want to use. You must all add the path of your content image to -content_image. Feel free to change the -image_size option to increase the resolution of your output machine learning image.
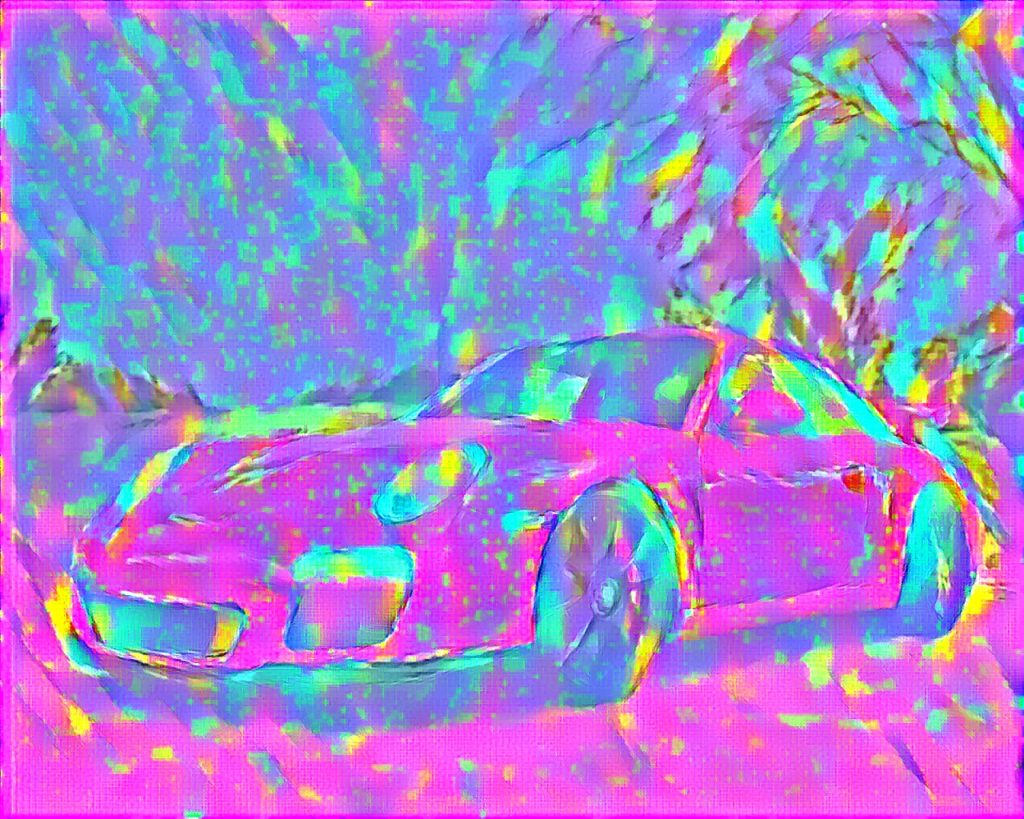
python neural_style.py -style_image examples/inputs/picasso_selfport1907.jpg -content_image examples/inputs/brad_pitt.jpg -output_image profile.png -model_file models/nin_imagenet.pth -gpu 0 -backend cudnn -num_iterations 1000 -seed 123 -content_layers relu0,relu3,relu7,relu12 -style_layers relu0,relu3,relu7,relu12 -content_weight 10 -style_weight 500 -image_size 512 -optimizer adamContent Image
Style Image
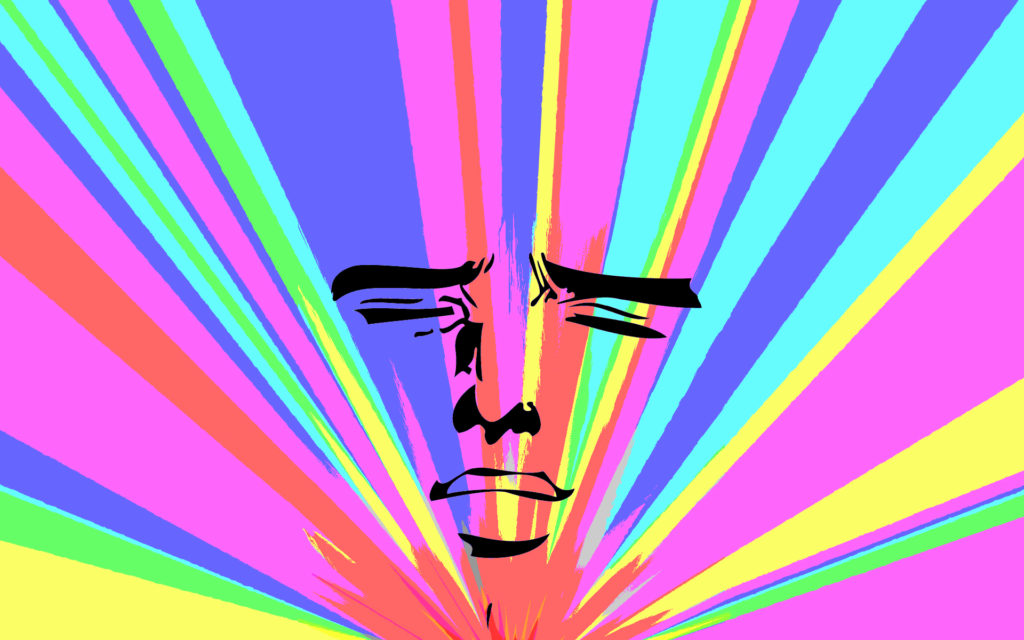
Deep Learning Output Image
Deep Learning Image Options
-image_size: Maximum side length (in pixels) of the generated deep learning image. Default is 512.-style_blend_weights: The weight for blending the style of multiple style images, as a comma-separated list, such as-style_blend_weights 3,7. By default all style images are equally weighted.-gpu: Zero-indexed ID of the GPU to use; for CPU mode set-gputoc.
Advanced Optimization Options
-content_weight: How much to weight the content reconstruction term. Default is 5e0.-style_weight: How much to weight the style reconstruction term. Default is 1e2.-tv_weight: Weight of total-variation (TV) regularization; this helps to smooth the image. Default is 1e-3. Set to 0 to disable TV regularization.-num_iterations: Default is 1000.-init: Method for generating the generated image; one ofrandomorimage. Default israndomwhich uses a noise initialization as in the paper;imageinitializes with the content image.-init_image: Replaces the initialization image with a user specified image.-optimizer: The optimization algorithm to use; eitherlbfgsoradam; default islbfgs. L-BFGS tends to give better results, but uses more memory. Switching to ADAM will reduce memory usage; when using ADAM you will probably need to play with other parameters to get good results, especially the style weight, content weight, and learning rate.-learning_rate: Learning rate to use with the ADAM optimizer. Default is 1e1.-normalize_gradients: If this flag is present, style and content gradients from each layer will be L1 normalized.
Output and Layer Options
-output_image: Name of the output image. Default isout.png.-print_iter: Print progress everyprint_iteriterations. Set to 0 to disable printing.-save_iter: Save the image everysave_iteriterations. Set to 0 to disable saving intermediate results.-content_layers: Comma-separated list of layer names to use for content reconstruction. Default isrelu4_2.-style_layers: Comma-separated list of layer names to use for style reconstruction. Default isrelu1_1,relu2_1,relu3_1,relu4_1,relu5_1.
Other Deep Learning Options
-style_scale: Scale at which to extract features from the style image. Default is 1.0.-original_colors: If you set this to 1, then the output image will keep the colors of the content image.-model_file: Path to the.pthfile for the VGG Caffe model. Default is the original VGG-19 model; you can also try the original VGG-16 model.-pooling: The type of pooling layers to use; one ofmaxoravg. Default ismax. The VGG-19 models uses max pooling layers, but the paper mentions that replacing these layers with average pooling layers can improve the results. I haven’t been able to get good results using average pooling, but the option is here.-seed: An integer value that you can specify for repeatable results. By default this value is random for each run.-multidevice_strategy: A comma-separated list of layer indices at which to split the network when using multiple devices. See the Multi GPU Section for more details.-backend:nn,cudnn,openmp, ormkl. Default isnn.mklrequires Intel’s MKL backend.-cudnn_autotune: When using the cuDNN backend, pass this flag to use the built-in cuDNN autotuner to select the best convolution algorithms for your architecture. This will make the first iteration a bit slower and can take a bit more memory, but may significantly speed up the cuDNN backend.
GTX 1080 Benchmark Speeds
    -backend nn -optimizer lbfgs: 56 seconds
    -backend nn -optimizer adam: 38 seconds
    -backend cudnn -optimizer lbfgs: 40 seconds
    -backend cudnn -optimizer adam: 40 seconds
    -backend cudnn -cudnn_autotune -optimizer lbfgs: 23 seconds
    -backend cudnn -cudnn_autotune -optimizer adam: 24 seconds
FAQ and Issues
Problem #1:
When running the program you run out of memory.
Solution #1
Try reducing the image size: -image_size 256 (or lower). Note that different image sizes will likely require non-default values for -style_weight and -content_weight for optimal results. If you are running on a GPU, you can also try running with -backend cudnn to reduce memory usage.
Problem #2:
The -backend cudnn performs slower than the default backend.
Solution #2:
Add the flag -cudnn_autotune; This will instead use the built-in cuDNN autotuner to select the best convolution algorithm which will result in much better performance.
Problem #3:
You receive this error message.
Missing key(s) in state_dict: "classifier.0.bias", "classifier.0.weight", "classifier.3.bias", "classifier.3.weight". Unexpected key(s) in state_dict: "classifier.1.weight", "classifier.1.bias", "classifier.4.weight", "classifier.4.bias".Solution #3:
Due to a mix up with layer locations, older models require an update to be compatible with newer versions of PyTorch. The included donwload_models.py script will perform these updates after downloading the models.
Problem #4:
The image generated is solid gray.
Solution #4:
This is a bug that sometimes occurs in cuda. You need to reduce or increase the size of the image by at least 1px.
Related Resources
View more image examples on the Computer Dreams Twitter.
If you want to learn how to generate images with neural networks click HERE.
View our other Machine Learning Tutorials.
Click here to learn How to Install MySQL on Ubuntu 22.04 LTS.
Learn more cool things in Linux with our Linux Tutorials.
View all of our available online tools at Formatswap.com.
Questions
Feel free to leave a comment below if you have any further questions. Thank you for reading the tutorial.