In this tutorial, you will learn how to install the Nginx web server and enable the RTMP (Real-Time Messaging Protocol) module on any Ubuntu-based distribution. The RTMP protocol is a robust and efficient means of transmitting live video streams from your computer to the internet. This makes it an indispensable tool for content creators and streamers. With this tutorial, you can master the installation and configuration of Nginx with the RTMP module. This will allow you to broadcast your live video streams with ease.
Nginx is an open-source web server that is known for its efficiency, scalability, and reliability. It is widely used by web developers and system administrators to serve dynamic web content, reverse proxy, load balance, and cache HTTP requests. The Nginx RTMP module supports live streaming, making it an all-in-one solution for web developers and content creators.
RTMP is widely used by video streaming services such as YouTube, Twitch, and Facebook Live. With Nginx and the RTMP module, you can create your own video streaming service or broadcast your content on existing platforms. Whether you are a web developer looking to add live streaming to your website or a content creator looking to broadcast your content to a global audience. This tutorial is an excellent starting point to get you up and running with Nginx and the RTMP module.
Update and Upgrade Ubuntu
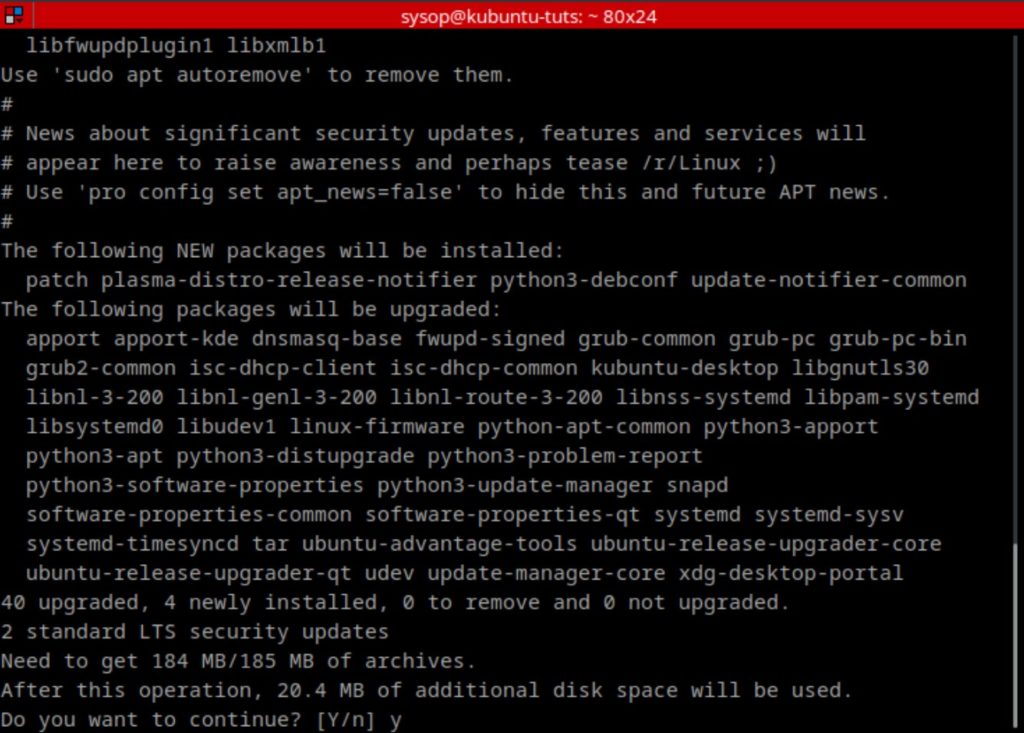
The first thing you will need to do is update and upgrade Ubuntu. You can do this with the following apt command.
sudo apt update && sudo apt upgradeInstall Nginx Web Server
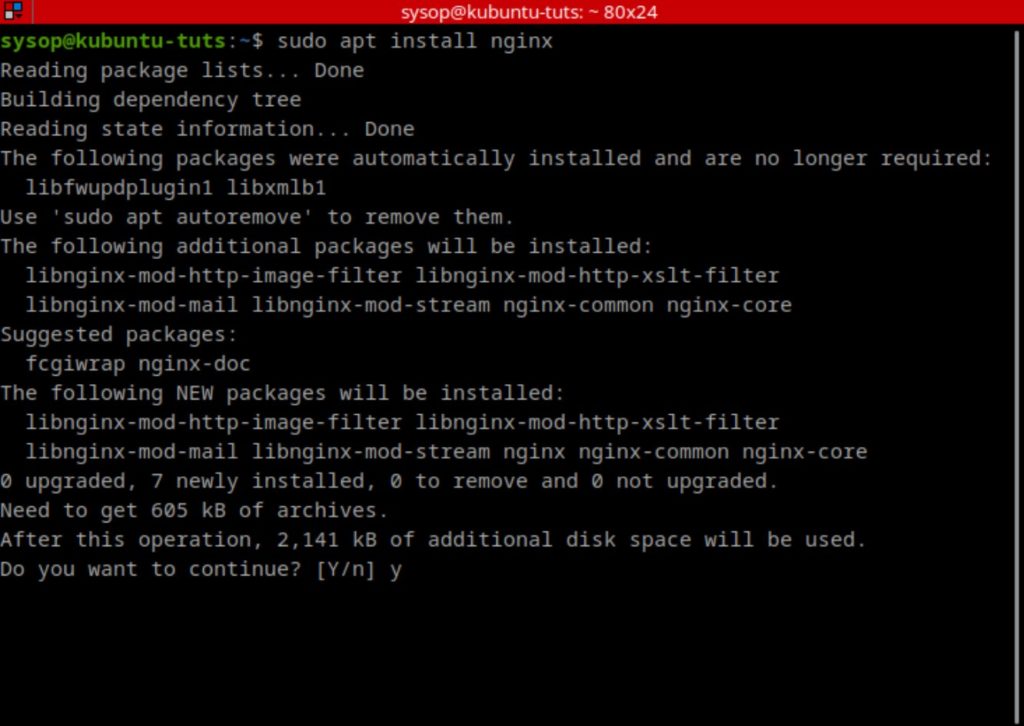
Next install nginx using apt.
sudo apt install nginxEnable the Ubuntu Universe Repository
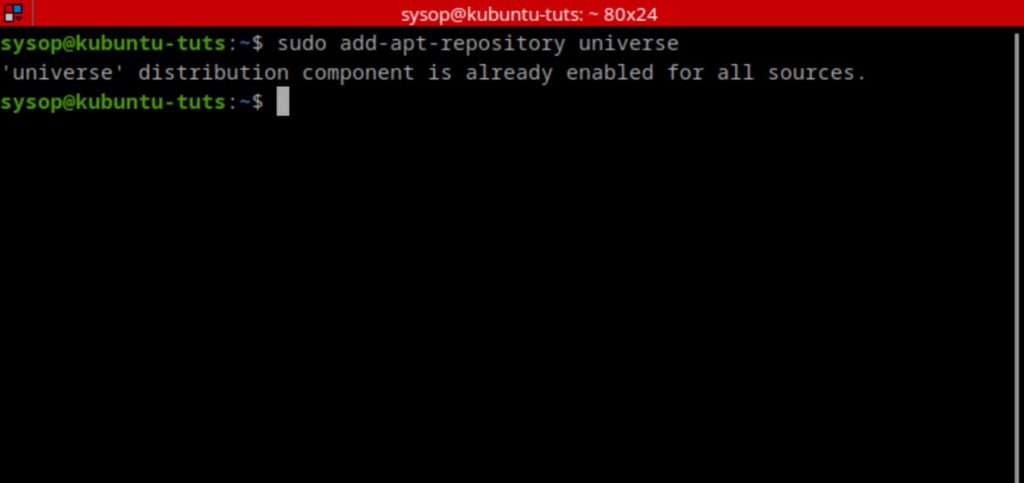
We will now need to enable the Ubuntu Universe Repository. It is usually enabled by default but it is a good idea to verify. This will allow us to install the Nginx rtmp module.
sudo add-apt-repository universeInstall the Nginx RTMP Module
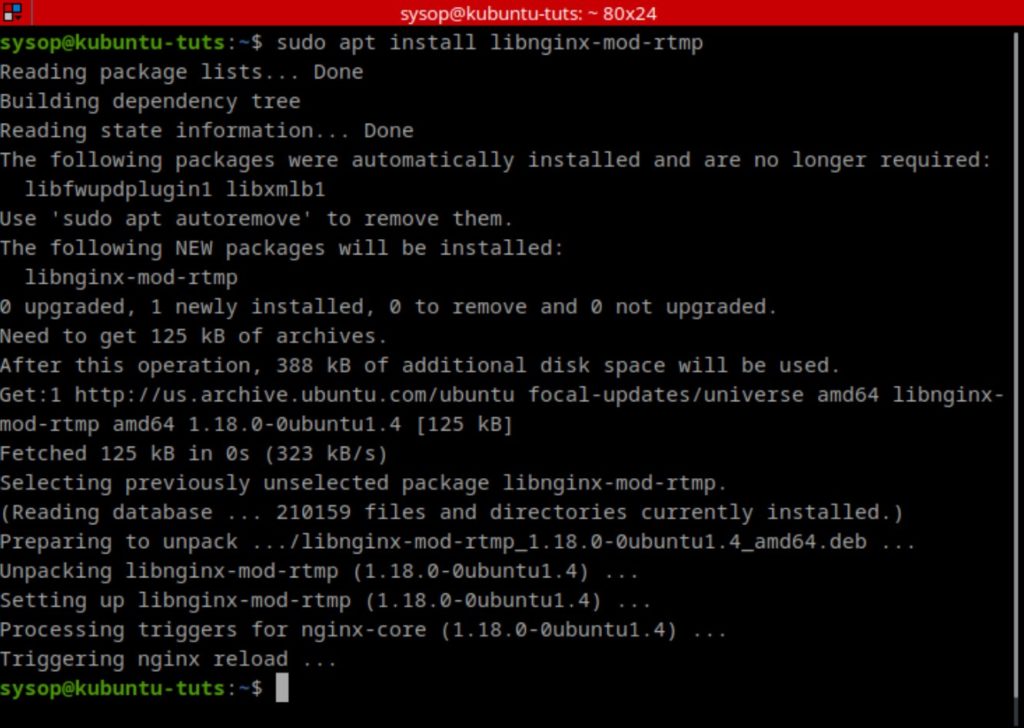
After you have enabled the repository, install the Nginx RTMP module using the command below. This will allow us to stream RTMP video using the Nginx web server.
sudo apt install libnginx-mod-rtmpOpen the Nginx Config File
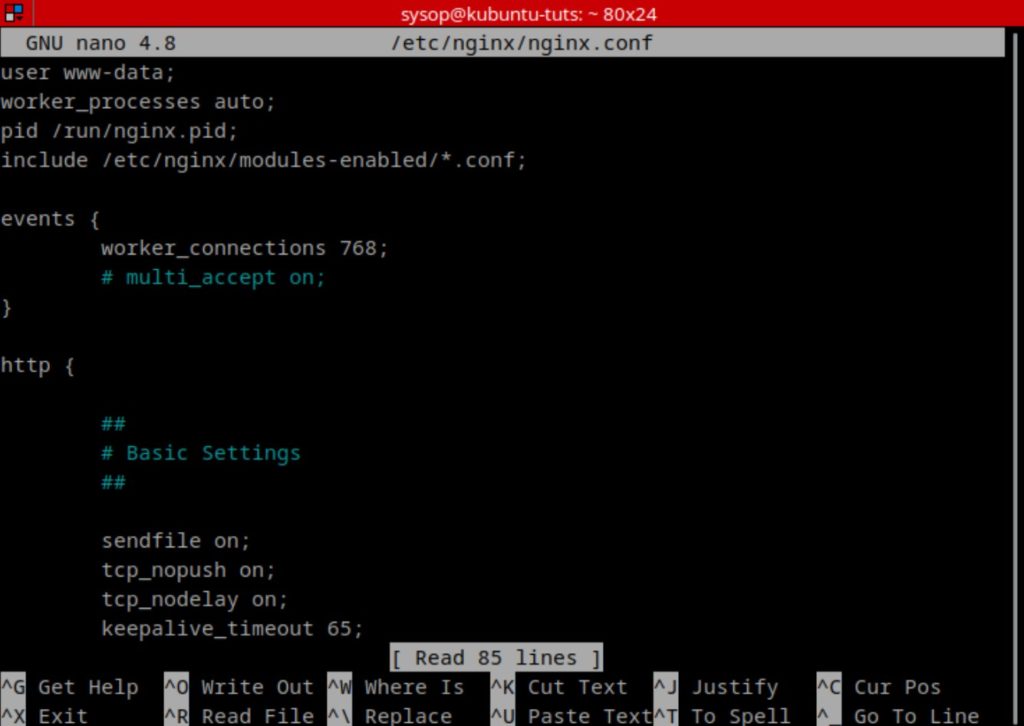
Now we will need to make a few configuration changes in the nginx config file. Open it using the nano text editor.
sudo nano /etc/nginx/nginx.confAdd Lines to Config
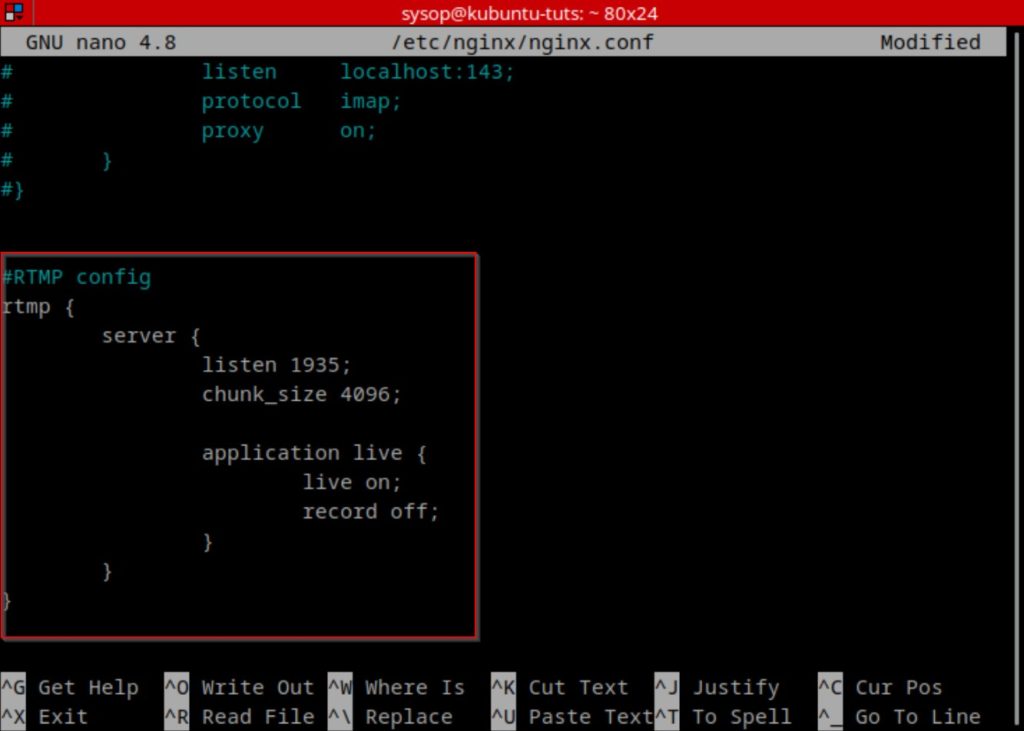
Once you have opened the config file, scroll to the bottom and add the following lines. After adding them, save and close the file.
rtmp {
	server {
		listen 1935;
		chunk_size 4096;

		application live {
			live on;
			record off;
		}
	}
}
Restart Nginx Web Server
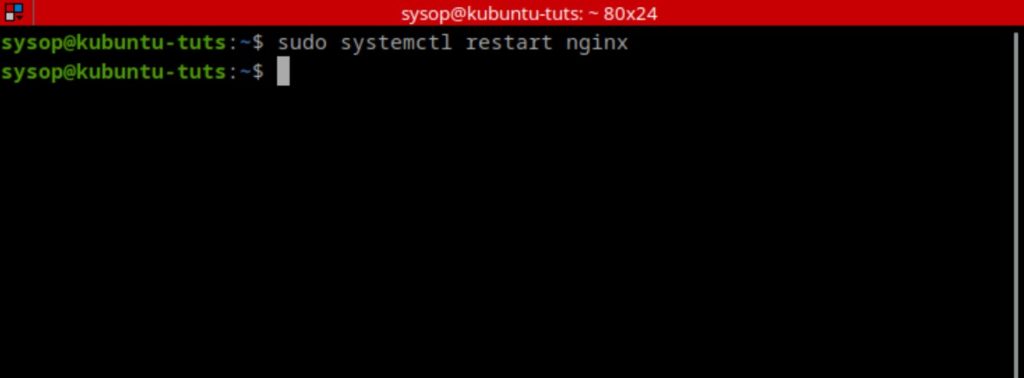
The last step of the installation process is to restart Nginx. Do this using the following systemctl command.
sudo systemctl restart nginxCreate a Test RTMP Stream with OBS
At this point we have finished the installation and configuration of a RTMP streaming server using Nginx. We now need to test the server. In this article I will be using OBS Studio to demonstrate the test stream. Below you will see instructions for installing OBS on both Windows and Linux. Choose the option that matches the OS of the system you will be streaming from.
Install OBS Studio (Ubuntu)
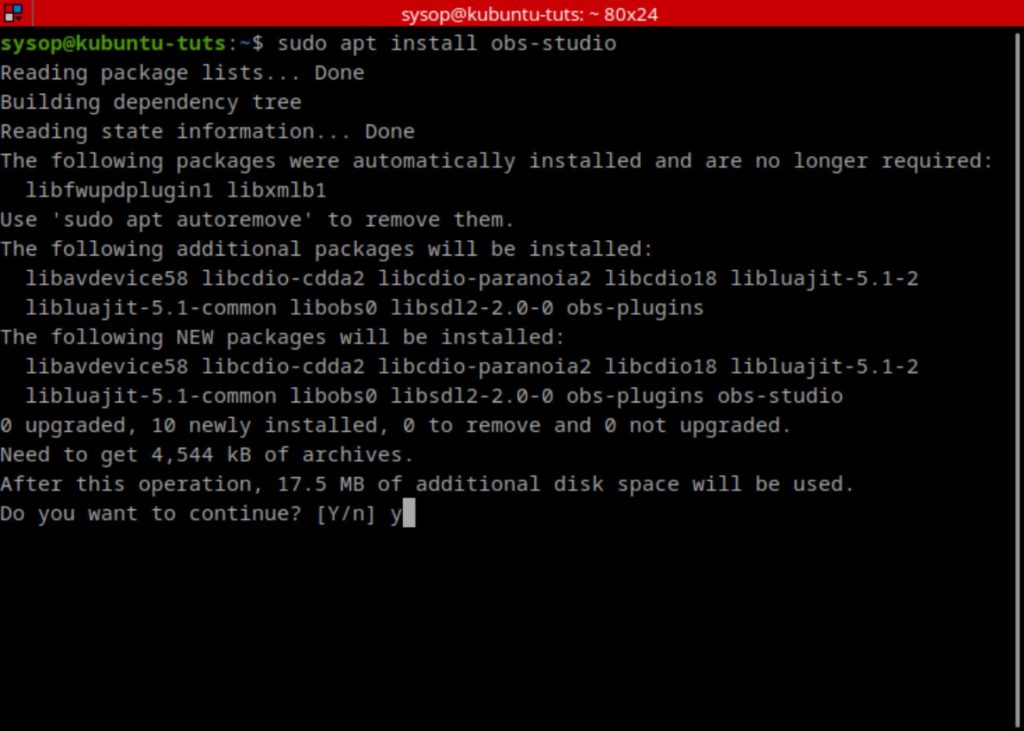
Run the following command to install OBS Studio on Ubuntu.
sudo apt install obs-studioInstall OBS Studio (Windows)
To install OBS on Windows download it from the link below. Then launch the installer and follow the prompts.
Open OBS Studio
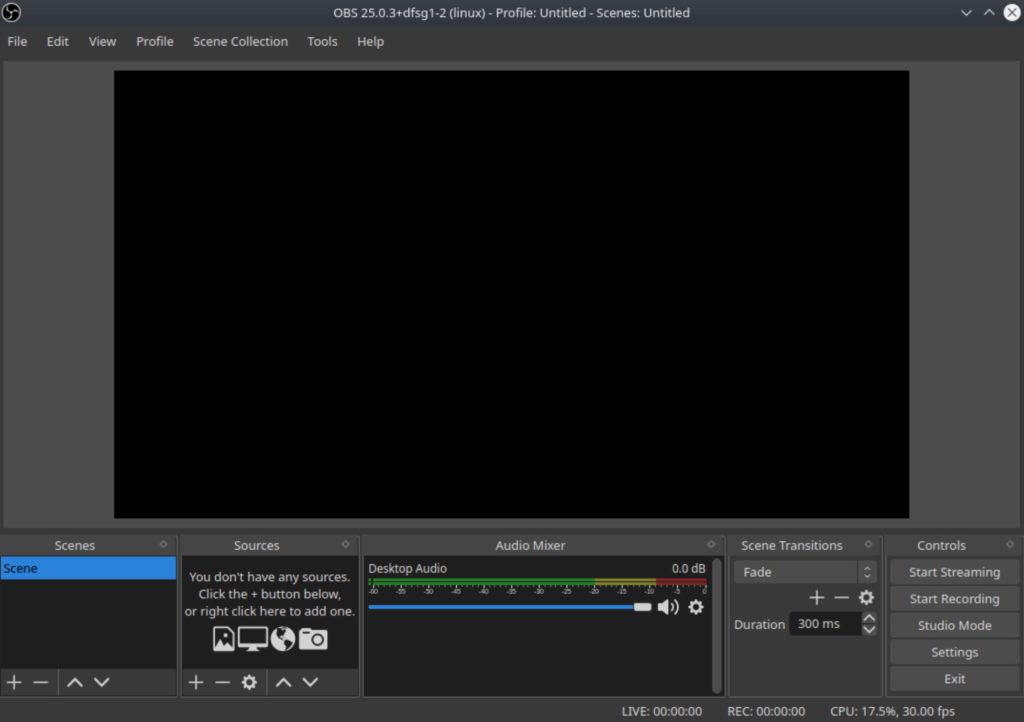
After you have finished installing OBS Studio we can test the stream. Launch the program to get started.
Add a New Source
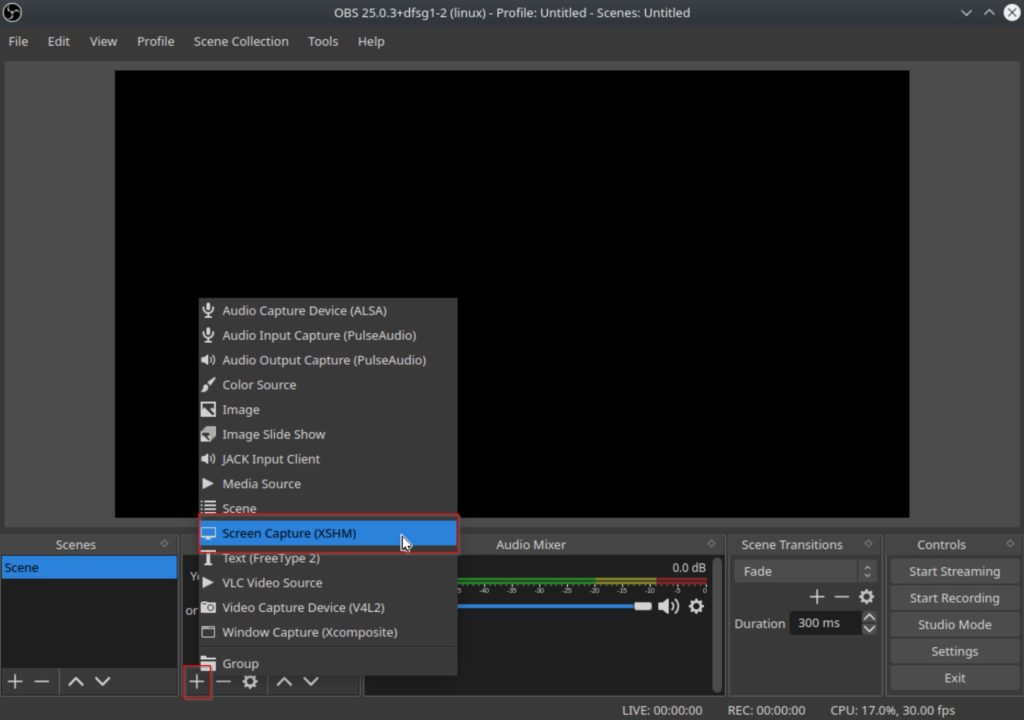
Next click on the “+” button in the lower left to add a new source. I will be using the screen capture for this example, however feel free to use any source.
Choose Display
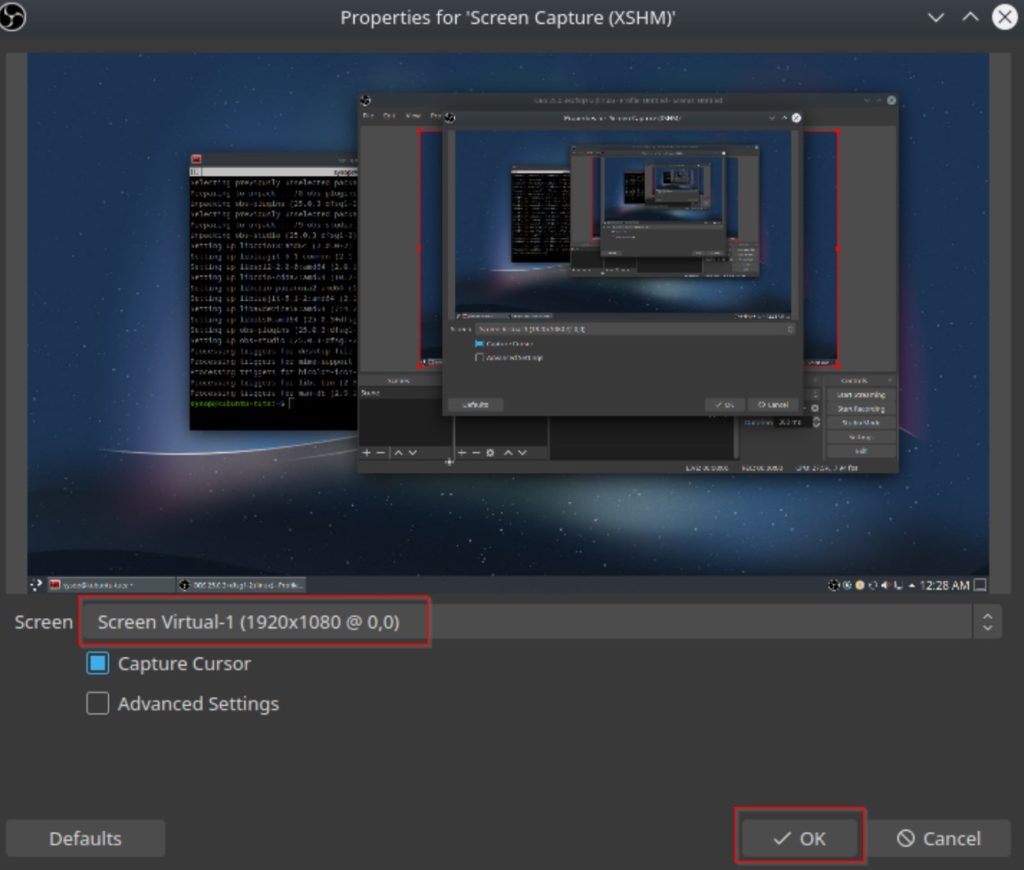
Next it will ask which screen you would like to use. Generally it is on the correct option by default, but change it if it looks incorrect. Then click on the “OK” button.
Open OBS Settings Menu
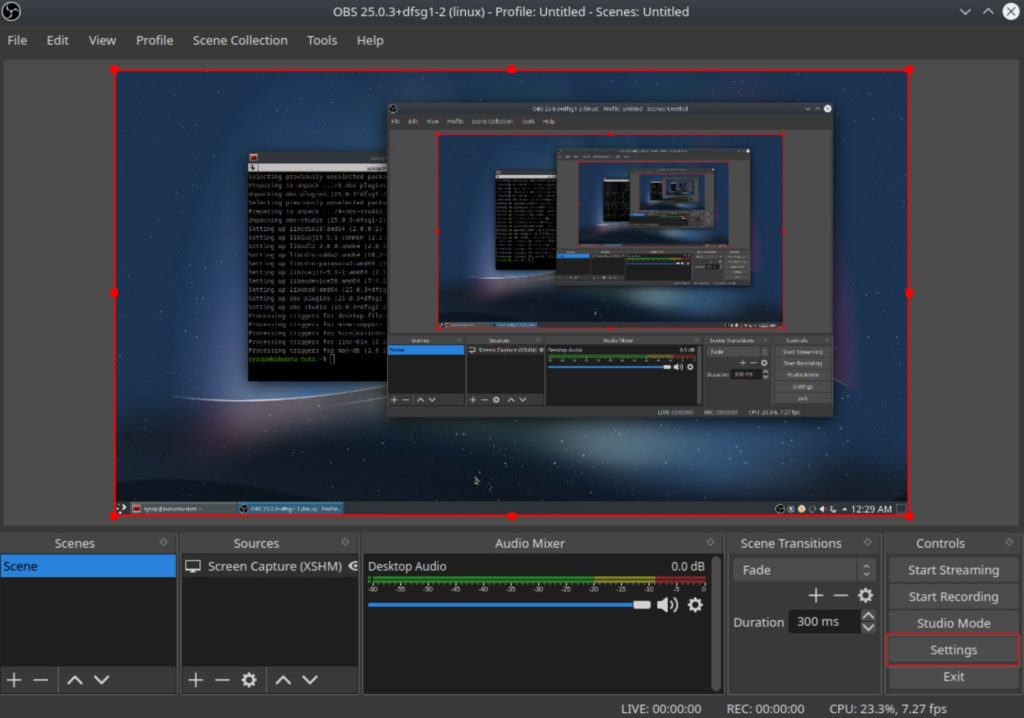
Then we will need to open the OBS settings menu. Click on “Settings” in the lower right hand corner.
Stream to a Custom RTMP Server with OBS
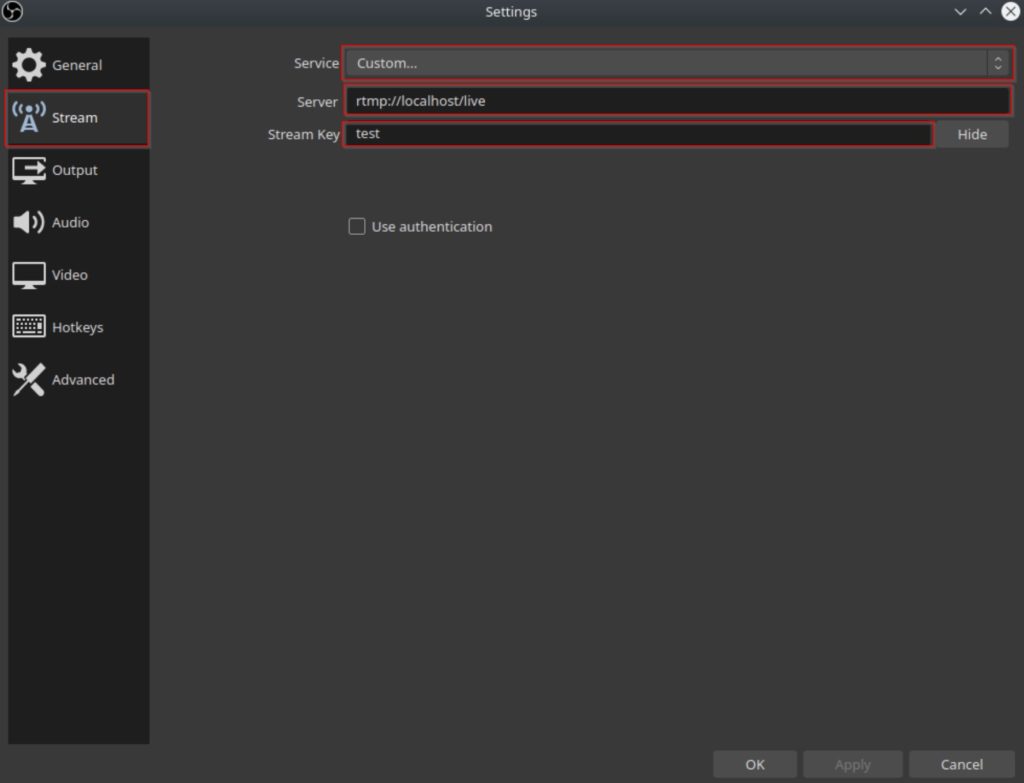
Once the settings menu opens click on the “Stream” tab on the left hand side. Once you are on the tab change all three fields highlighted in red. Change the service drop down to “Custom…”, the Server to “rtmp://NGINX_SERVER_IP/live”, and the Stream Key to “test”. Then click on “OK” to save the changes.
Start the Test Stream
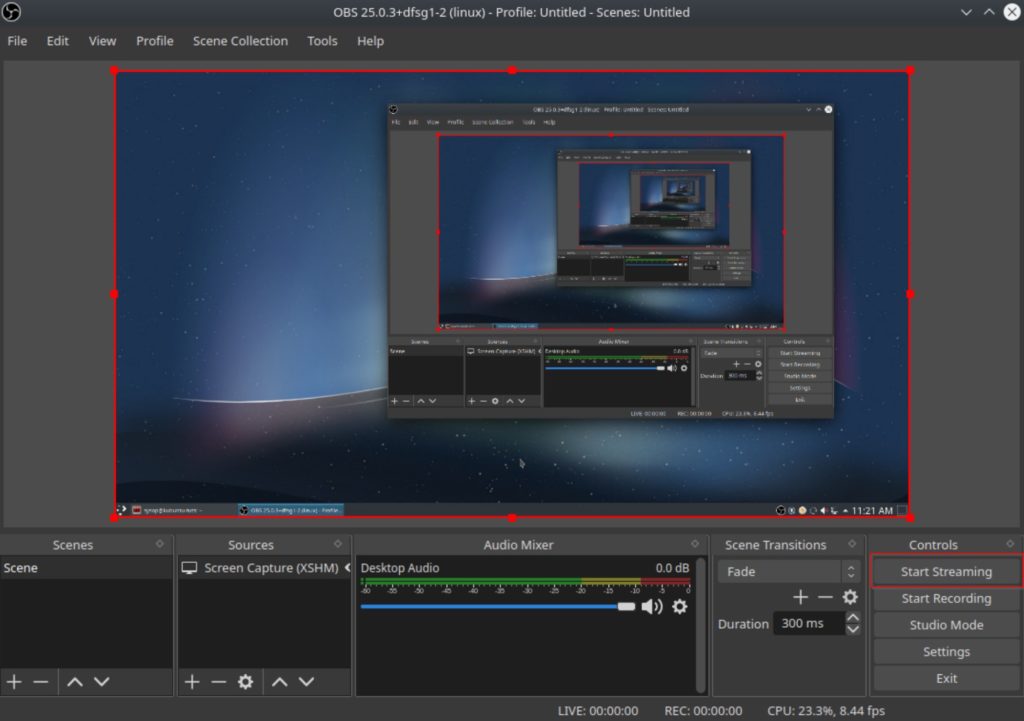
After saving your streaming settings click on the “Start Streaming” button to begin the RTMP stream.
Open a Network Stream in VLC
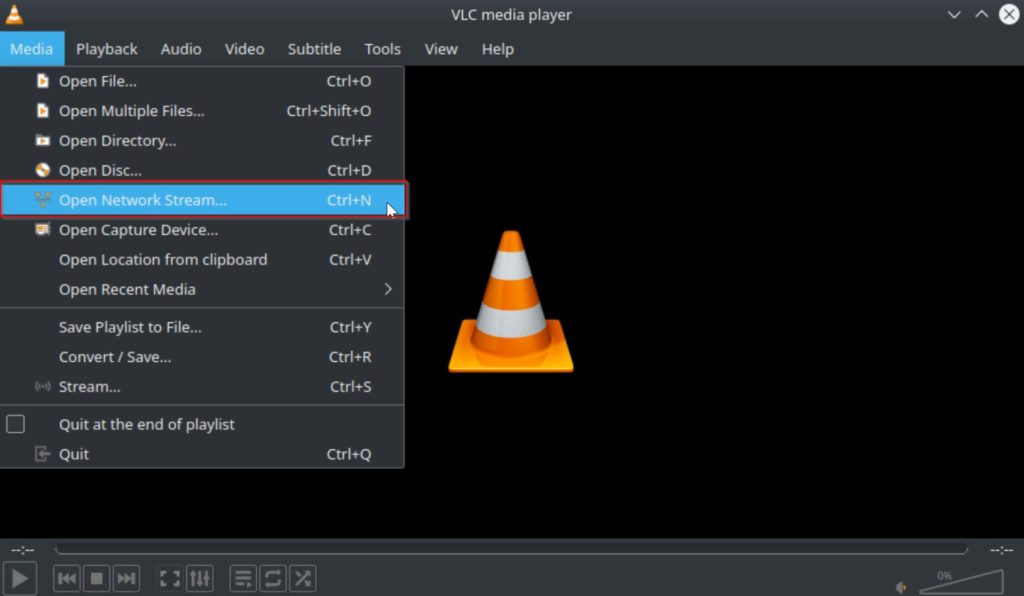
Now we will test the RTMP stream using VLC Media Player. Launch the program then navigate to the “Media” tab in the top bar. Then click on “Open Network Stream…”.
Enter Network Stream URL
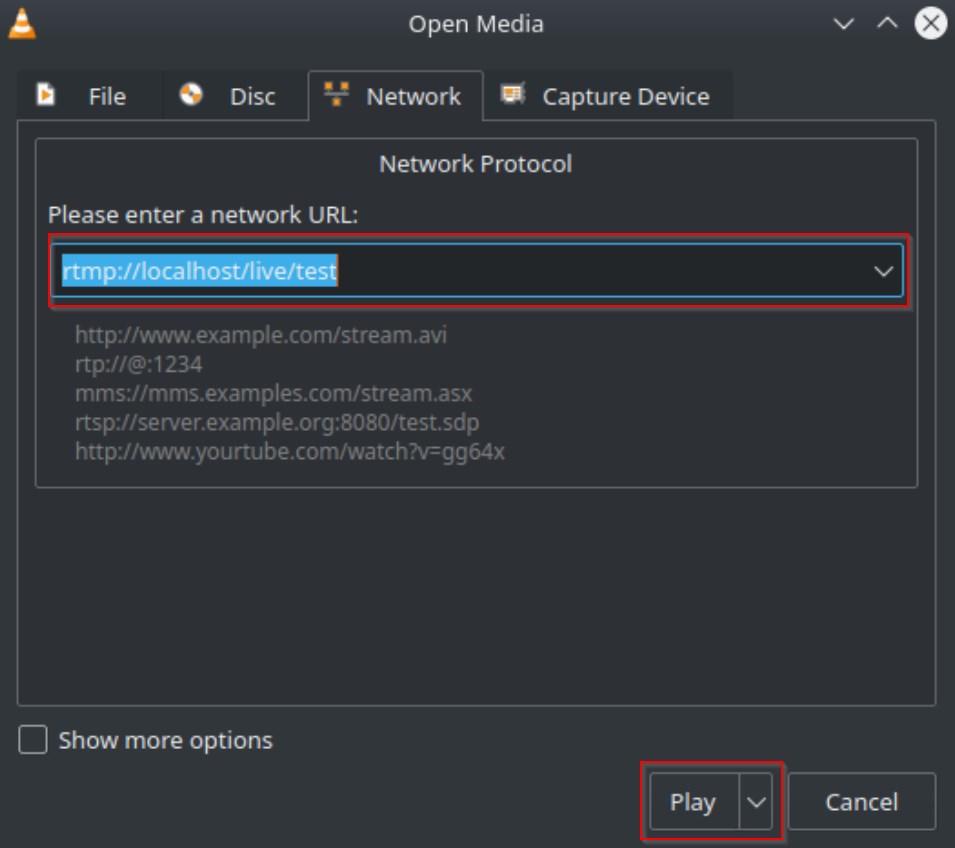
Enter the following into the box highlighted in red replacing “localhost” with your Nginx servers IP address. Then click on the “Play” button to start watching the stream.
rtmp://NGINX_SERVER_IP/live/testVerify the RTMP Stream

Verify that you can see your OBS stream. If you are able to see it then you have successfully streamed to a Nginx RTMP server using OBS Studio.
Questions?
If you have any questions or comments feel free to leave them below.
Related Resources
View our 5 Reasons to Switch from Windows 10 to Linux.
Learn How to Install Ubuntu Server 22.04 [Step by Step].
Check out our How to Easily Create a Bootable Linux USB Drive using Rufus article.
View our How to Setup an SFTP Server on Ubuntu 22.04 using OpenSSH tutorial.
Learn more cool things in Windows with our Linux Tutorials.
View all of our available online tools and converters at Formatswap.com.