
In this article you will learn how to enable and connect to the SFTP server in OpenSSH. With SFTP (Secure File Transfer Protocol) you can easily transfer files over the internet using SSH. We will be using Ubuntu 22.04 for our server, however any version of Linux should work.
This guide will use password authentication with IP firewall restriction. This will prevent anyone besides those who you want accessing the box via SSH or SFTP. If you want the highest level of security possible you will want to enable keys in OpenSSH before following this guide. Learn how to enable keys with our How to Setup OpenSSH with Keys on Ubuntu 22.04 tutorial.
SFTP vs FTP
It is important to mention that SFTP is not the same as FTP. One of the main differences is while they both transfer files, only SFTP encrypts the data during transit. Another difference is FTP is unable to benefit from public key files for authentication. Using public keys with SFTP increases security by encrypting the transfer data stream. If your aim is security then it is highly recommended you use SFTP versus FTP. Now that I have described the differences lets move on to configuring and connecting to an SFTP server in OpenSSH.
Update and Upgrade Ubuntu
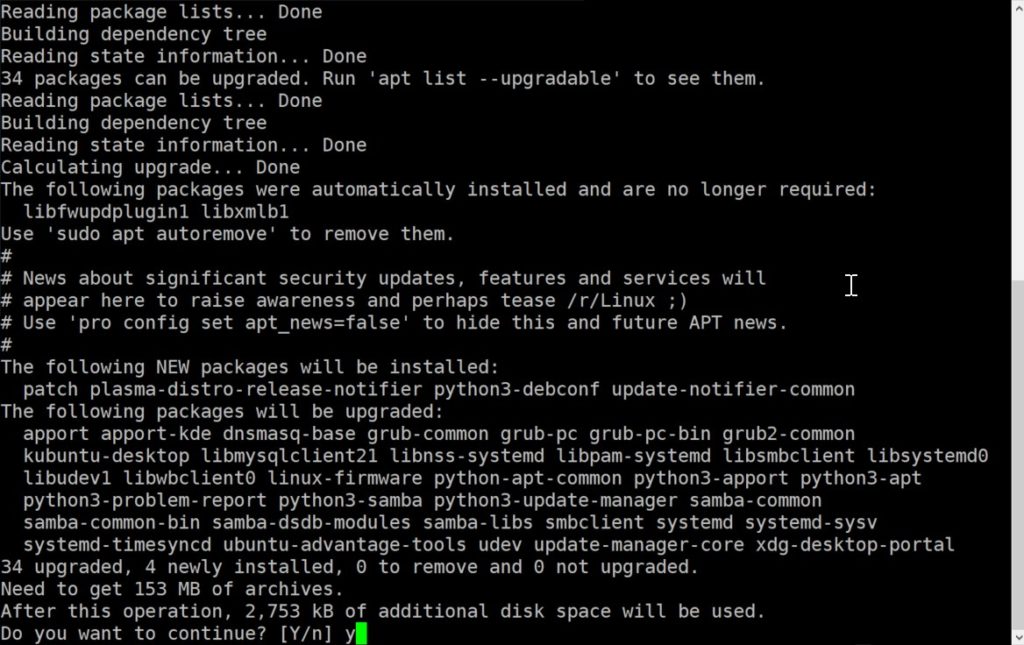
The first thing you need to do is update and upgrade your Ubuntu installation. Open a terminal and type the following command. Afterwards press “Y” to confirm.
sudo apt update && sudo apt upgradeInstall OpenSSH

After your system has finished updating you will need to install the OpenSSH server software. OpenSSH provides encrypted file transfer for file transfers and remote logins. Install the software using the apt command.
sudo apt install openssh-serverView SSH Status
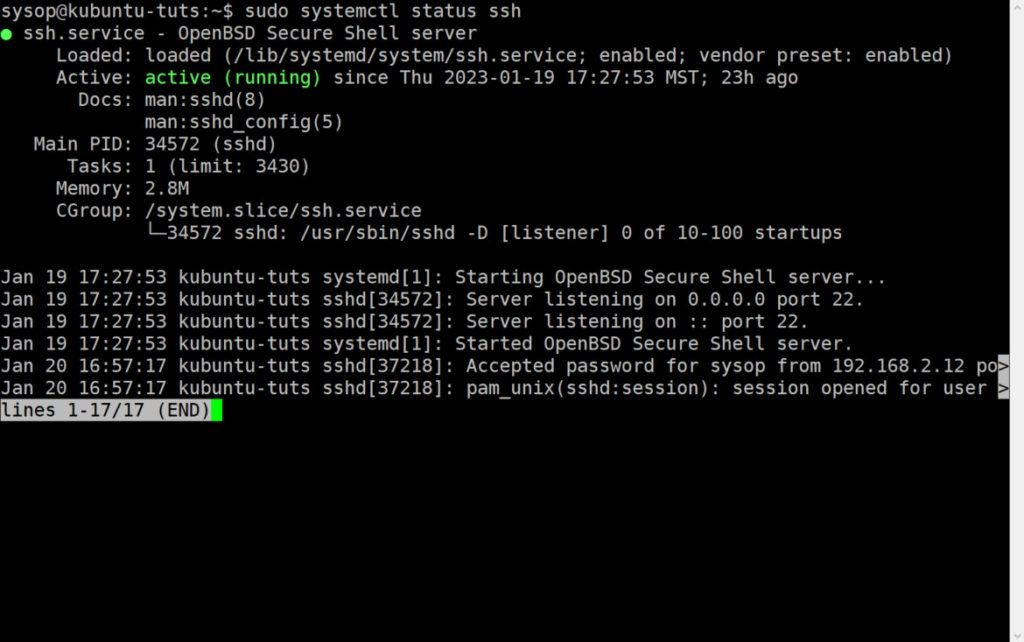
Next you need to verify that OpenSSH is installed on your system and actively running. Use the below command and confirm that you see “active (running)” on the third line.
sudo systemctl status sshIf SSH does not show as active and running it may be disabled. Run the following command to enable and start the OpenSSH server.
sudo systemctl enable ssh && sudo systemctl start sshCreate New User
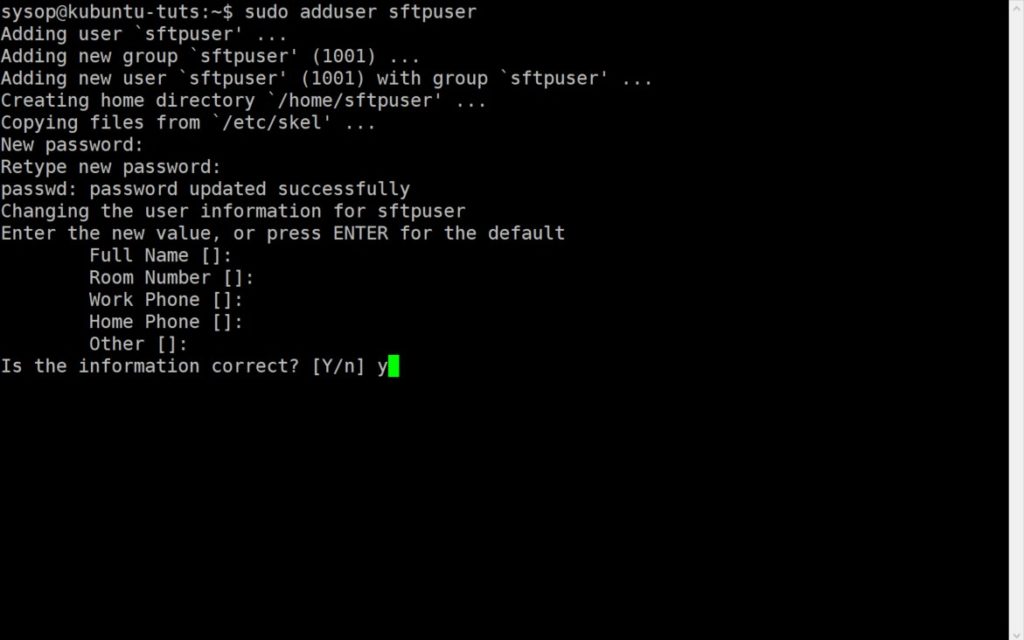
Now you will need to create a new user for logging into the SFTP server. Run the adduser command then type a password. You can skip the other fields if you wish. Finally press “Y” to confirm.
sudo adduser sftpuserCreate New Group
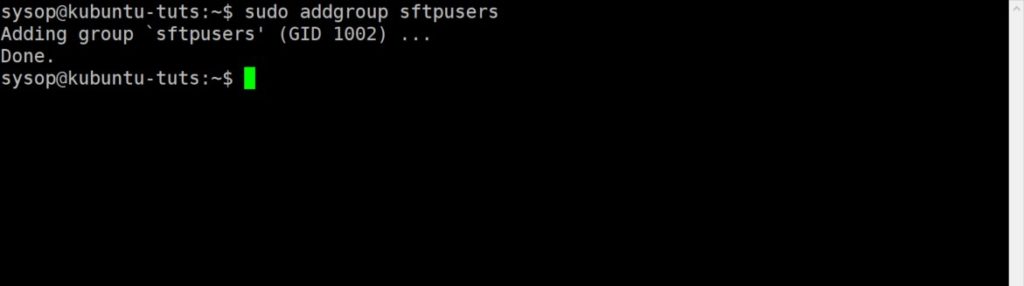
Afterwards we will create a new group for our sftpuser. We will configure SSH to give SFTP access to any user in this group. Run the addgroup command to proceed.
sudo addgroup sftpusersAdd User to Group

Next we need to add the user to the new group. Run the usermod command to add the sftpuser to the sftpusers group.
sudo usermod -a -G sftpusers sftpuserChange User’s Home Permissions
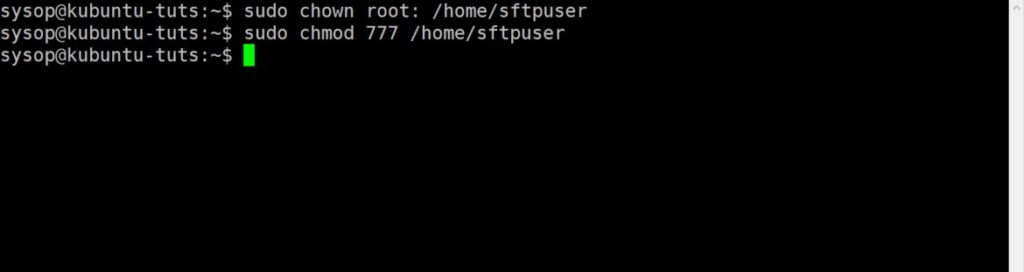
Then we will set new permissions on the sftpuser’s home directory. This will allow the SFTP server to access these files. First execute the chown command followed by the chmod command. The sftpuser’s home will be the folder you access when you connect to the SFTP server.
sudo chown root: /home/sftpusersudo chmod 777 /home/sftpuserEdit the SSH Config File
Next we need to edit the sshd_config file and edit a few lines. Open the configuration file using the nano text editor as shown below.
sudo nano /etc/ssh/sshd_configLocate the Subsytem Line
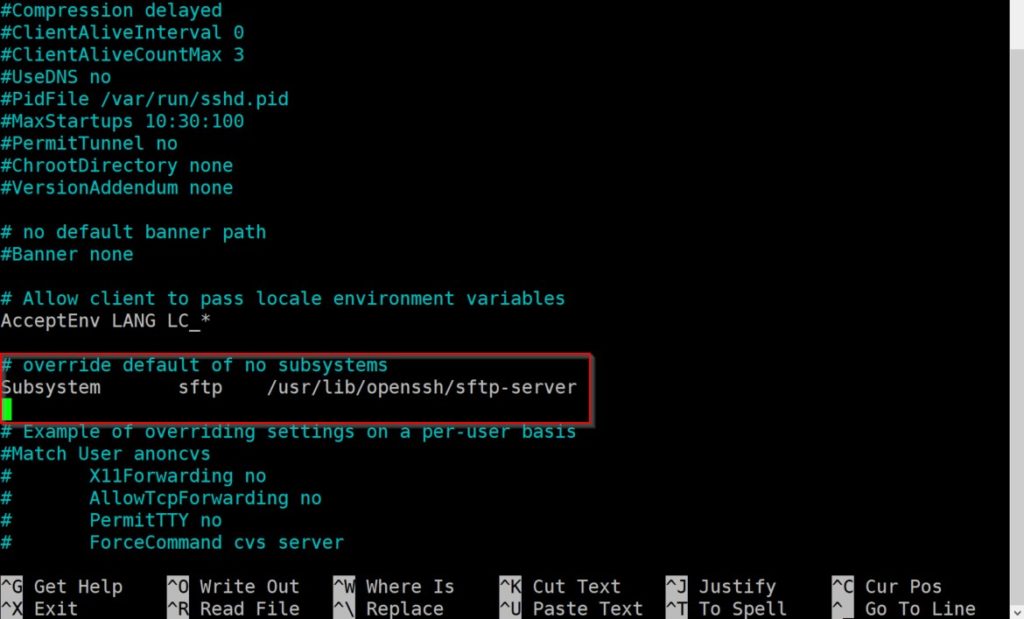
After you open the file scroll down and look for the Subsystem line. Once you locate the line comment it out using the “#” symbol as shown below.
#Subsystem sftp /usr/lib/openssh/sftp-serverAdd New Lines
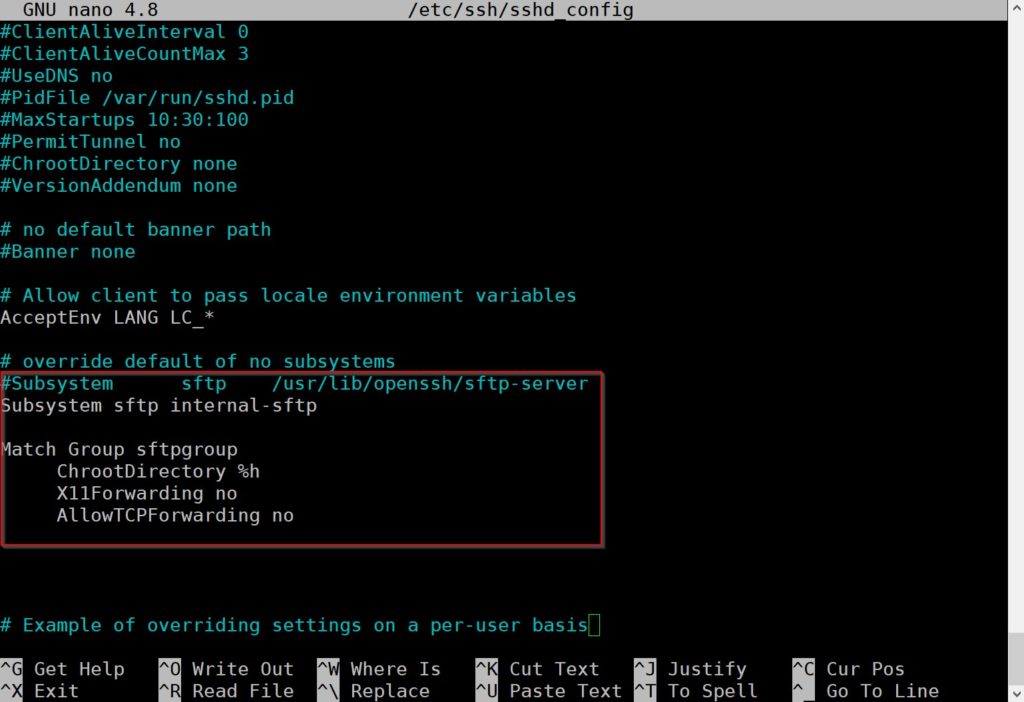
Now that you have commented out the Subsystem line you need to add a few additional lines. Paste the following underneath the line you commented out. Your sshd_config file should match the screenshot above. After the lines have been added save and close the file using “Ctrl+X”.
Subsystem sftp internal-sftp

Match Group sftpgroup
     ChrootDirectory %h
     X11Forwarding no
     AllowTCPForwarding no
Restart SSH

To apply our changes we will restart ssh. Use the following service command.
sudo service ssh restartConfigure the Firewall
The next step is to configure the firewall using UFW to control access to our SFTP server. Start by denying all incoming traffic, and allowing all outgoing.
sudo ufw default deny incoming
sudo ufw default allow outgoing
Allow SSH (All IP’s)

You have two options when allowing SSH through the firewall. You can either allow any IP to access port 22 (not recommended). Or you can only allow specific IP(s) through the firewall. I recommend the section option as it offers higher security. If you want to allow any IP run the following command.
sudo ufw allow sshAllow SSH (Specific IP’s)

If you want to only allow specific IP’s to access the server run the following command for each IP you want to have access. You need to replace “IP-ADDRESS” with your own IP. This is highly recommended as it offers the highest level of security.
sudo ufw allow from IP-ADDRESS to any port sshEnable UFW

After you have allow the IP’s (or everyone) who you want to have access you will need to enable UFW. Run the following command.
sudo ufw enableCheck Firewall Status
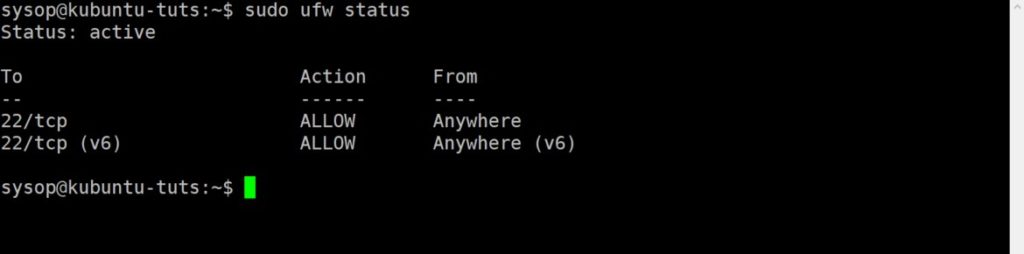
The last step is to check the firewall status and verify your configuration. Check it using the ufw status command. If you allowed access to only specific IP’s you will see them in the “From” column.
sudo ufw statusConnecting to the SFTP Server
Finally we can test our connection to the SFTP server. The first thing you will need is a FTP client. I recommend downloading FileZilla. This is the software we will use in this tutorial. You can install it using the following apt command.
sudo apt install filezillaEdit Site List
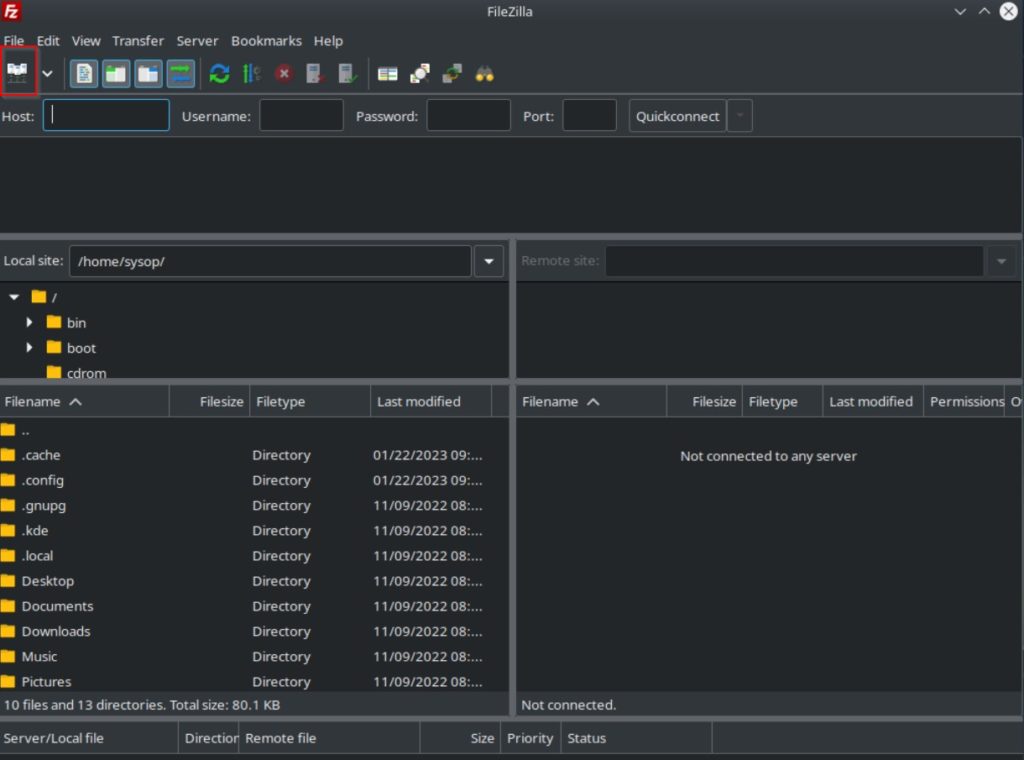
Open Filezilla and click on the site manager button in the upper left hand corner.
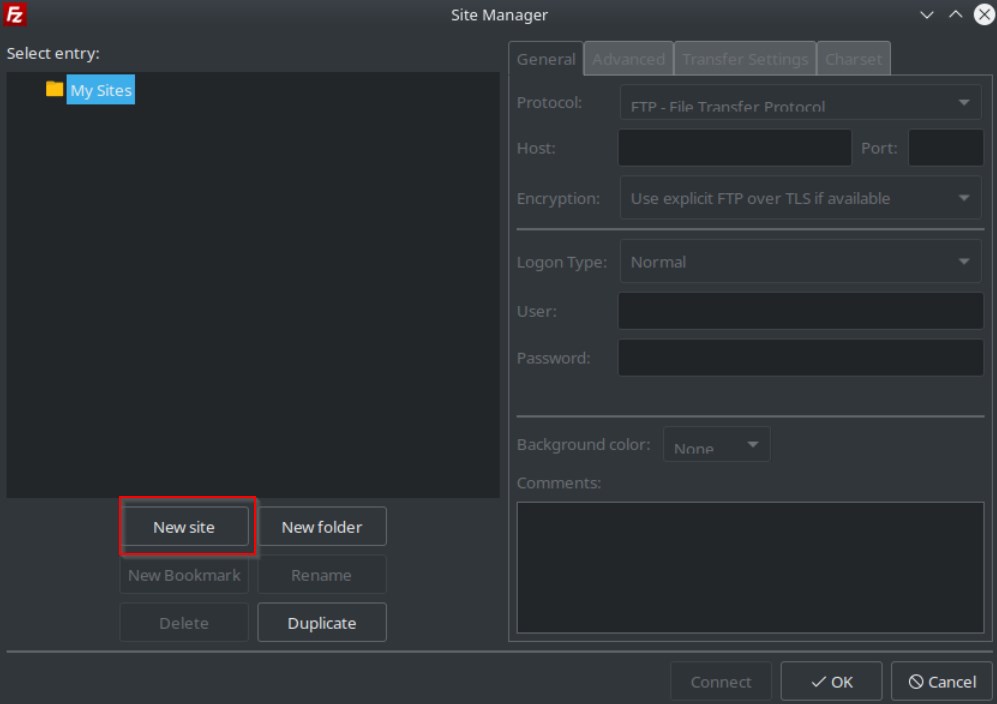
Add a New Site
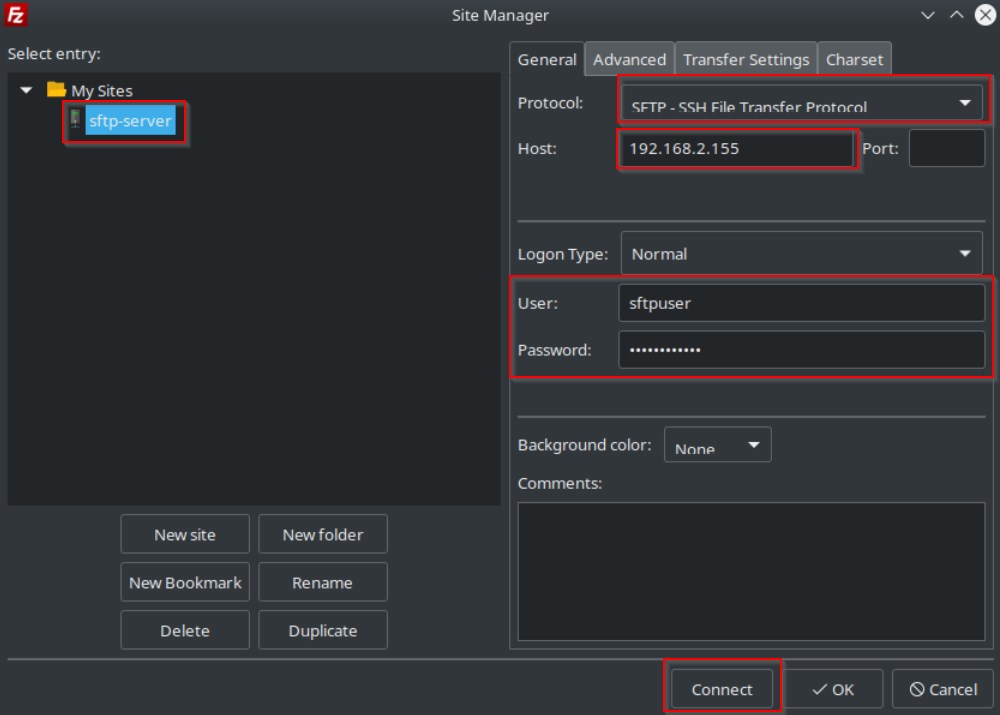
Type Connection Information
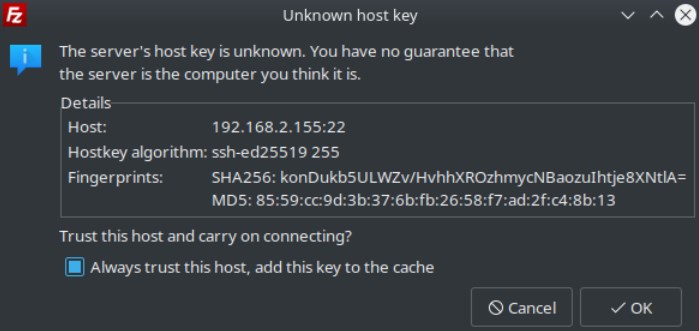
Confirm Host Key Prompt
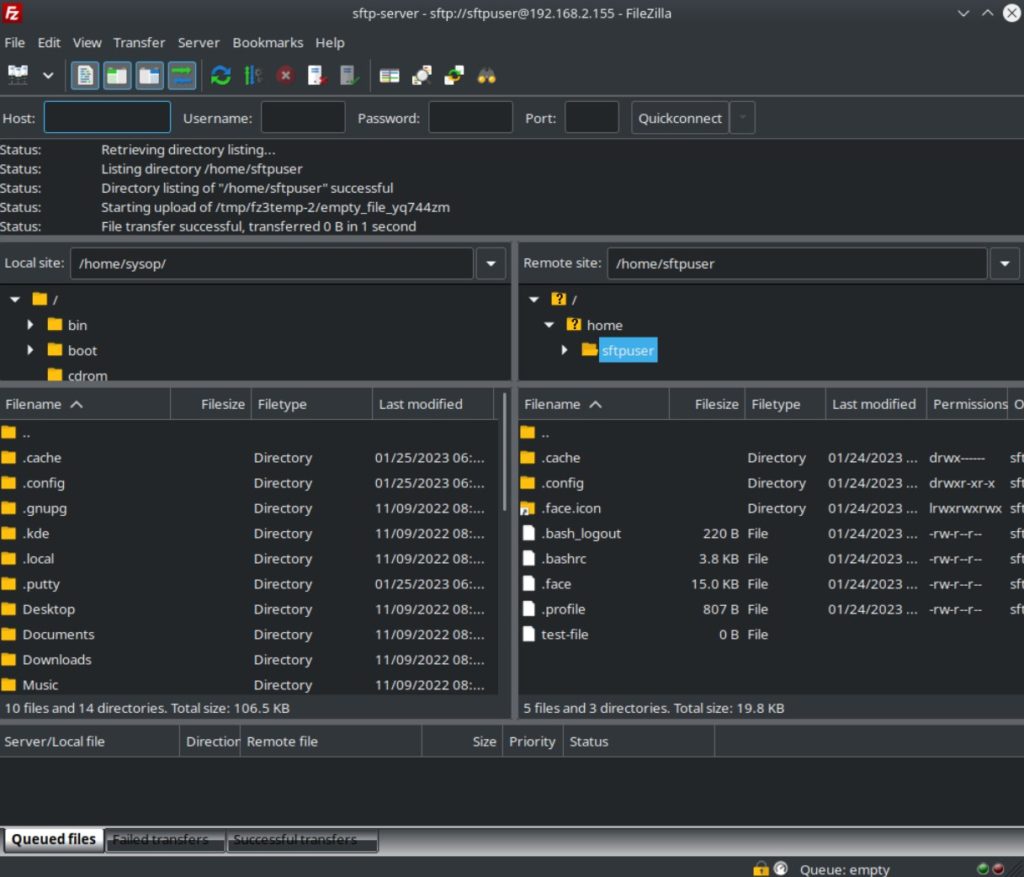
Verify Connection
Questions?
If you have any questions or comments feel free to leave them below.
Related Resources
View our 5 Reasons to Switch from Windows 10 to Linux.
Learn How to Install Ubuntu Server 22.04 [Step by Step].
Check out How to Setup OpenSSH with Keys on Ubuntu 22.04.
View our How to Mount an SMB (Samba) Share in Linux with cifs-utils tutorial.
Learn How to Use the Alias Command in Linux.
View all of our available online tools and converters at Formatswap.com.