
Apache Tomcat 10 is a powerful tool for deploying Java-based web applications, and if you’re running Ubuntu 22.04 you can easily harness its capabilities. In this easy to follow tutorial we’ll walk you through the straightforward process of installing and configuring it on your Ubuntu 22.04 system.
Whether you’re a seasoned developer or new to web development, this guide simplifies the installation and setup. By the end of the tutorial you’ll have Apache Tomcat 10 up and running on your Ubuntu 22.04 machine. This will have you ready to host your Java web applications.
Let’s get started with this quick guide to Apache Tomcat 10 on Ubuntu 22.04. Tomcat 10 will open up a new world of possibilities for your web development projects.
Update and Upgrade Ubuntu 22.04

The first step to installing Apache Tomcat is to update and upgrade your system. Use the following apt command.
sudo apt update && sudo apt upgrade -yDownload and Install Java Development Kit
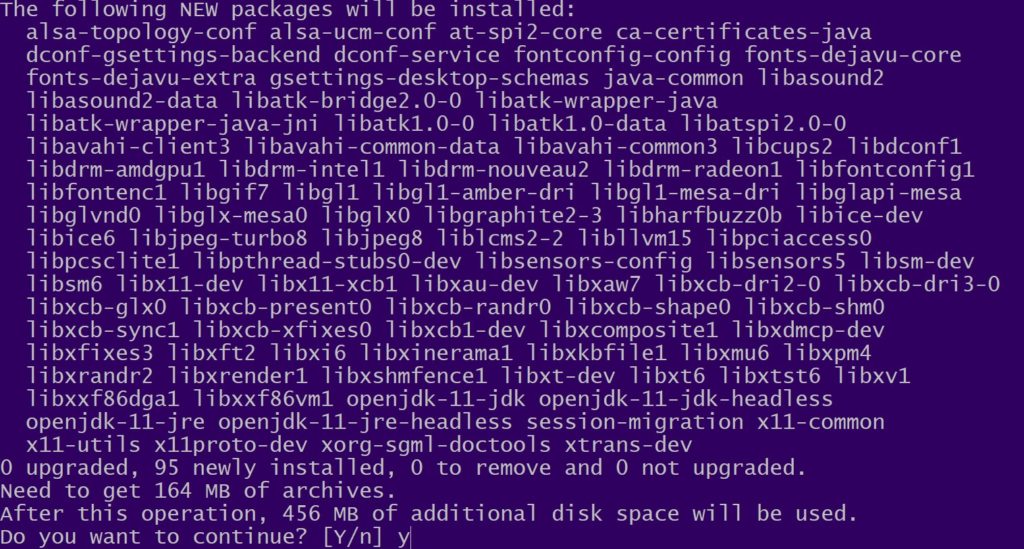
Next we need to install the Java Development Kit (JDK) package. Install the latest version will the apt command below.
sudo apt install openjdk-11-jdk Verify Java Version

After installing the Java JDK we will want to verify the version, and that it was installed correctly. Use the java command shown below.
java -versionCreate a User for Tomcat

The next step will be to create a Linux user account to manage our Apache Tomcat installation. Use the useradd command to create the user.
sudo useradd -r -m -U -d /opt/tomcat -s /bin/false tomcat Download Apache Tomcat 10
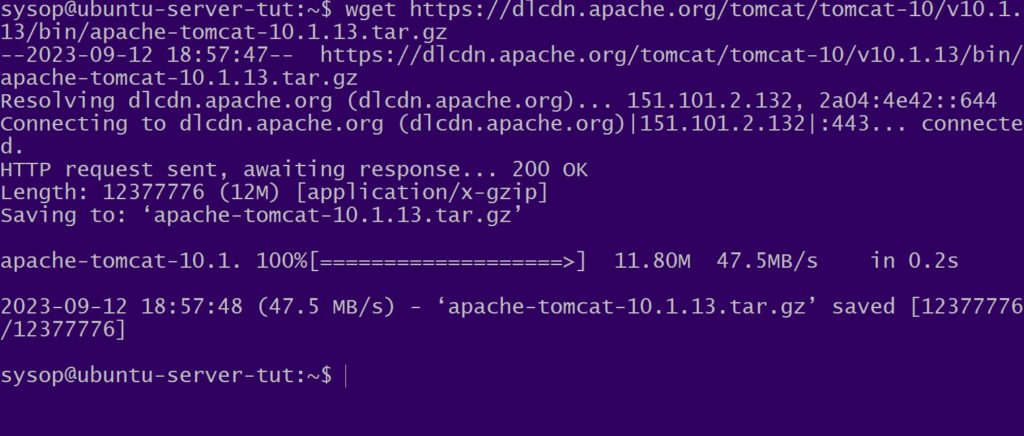
Once we have finished creating our user we will download Tomcat. Use wget to download the latest version with the below command.
wget https://dlcdn.apache.org/tomcat/tomcat-10/v10.1.13/bin/apache-tomcat-10.1.13.tar.gzExtract Apache Tomcat

Now that we have downloaded Tomcat we need to extract it. Use the tar command below to extract the archive into the /opt/tomcat folder.
sudo tar xzf apache-tomcat-*.tar.gz -C /opt/tomcatExecutable Files and Permissions

The next thing we will do is set the permissions of the /opt/tomcat folder.
sudo chown -R tomcat: /opt/tomcatAfter you set the permissions you will need to make all of the .sh files in the /opt/tomcat folder executable. Use the following sh command.
sudo sh -c 'chmod +x /opt/tomcat/apache-tomcat-10.1.13/bin/*.sh'Create Tomcat Users
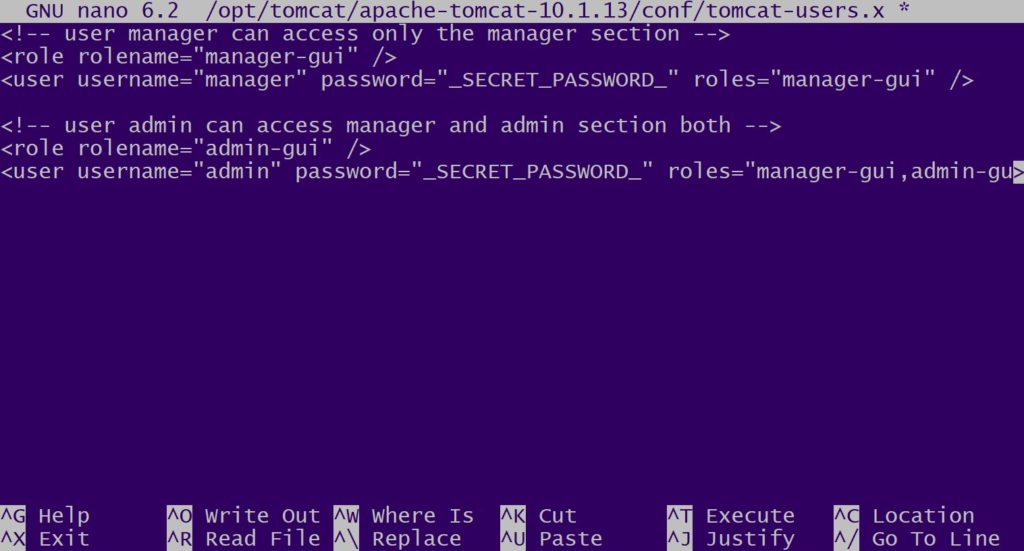
Next we will create the Tomcat user accounts using the tomcat-users.x file. First create the file with the nano command.
sudo nano /opt/tomcat/apache-tomcat-10.1.13/conf/tomcat-users.xml Then add the following text replacing _SECRET_PASSWORD_ with the passwords you wish to use. Save the file when finished.
<!-- user manager can access only the manager section -->
<role rolename="manager-gui" />
<user username="manager" password="_SECRET_PASSWORD_" roles="manager-gui" />

<!-- user admin can access manager and admin section both -->
<role rolename="admin-gui" />
<user username="admin" password="_SECRET_PASSWORD_" roles="manager-gui,admin-gui" />
Allow External Connections to Tomcat
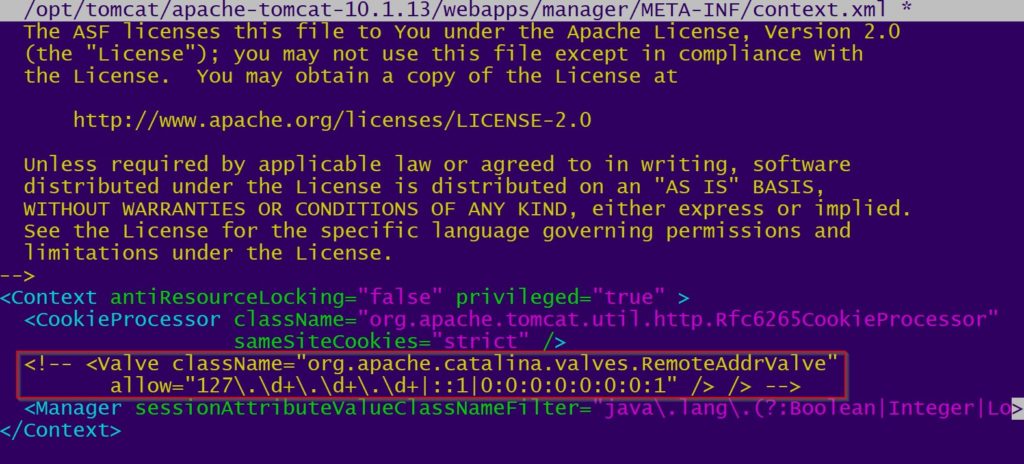
After you had created the users you will want to make Apache Tomcat accessible externally. The first thing is to open the context.xml file with nano.
sudo nano /opt/tomcat/apache-tomcat-10.1.13/webapps/manager/META-INF/context.xmlOnce the file is open comment out the following section shown in the red box of the above screenshot.
<!-- <Valve className="org.apache.catalina.valves.RemoteAddrValve"
         allow="127\.\d+\.\d+\.\d+|::1|0:0:0:0:0:0:0:1" /> -->
Additionally Edit the Host Manager Context.xml File
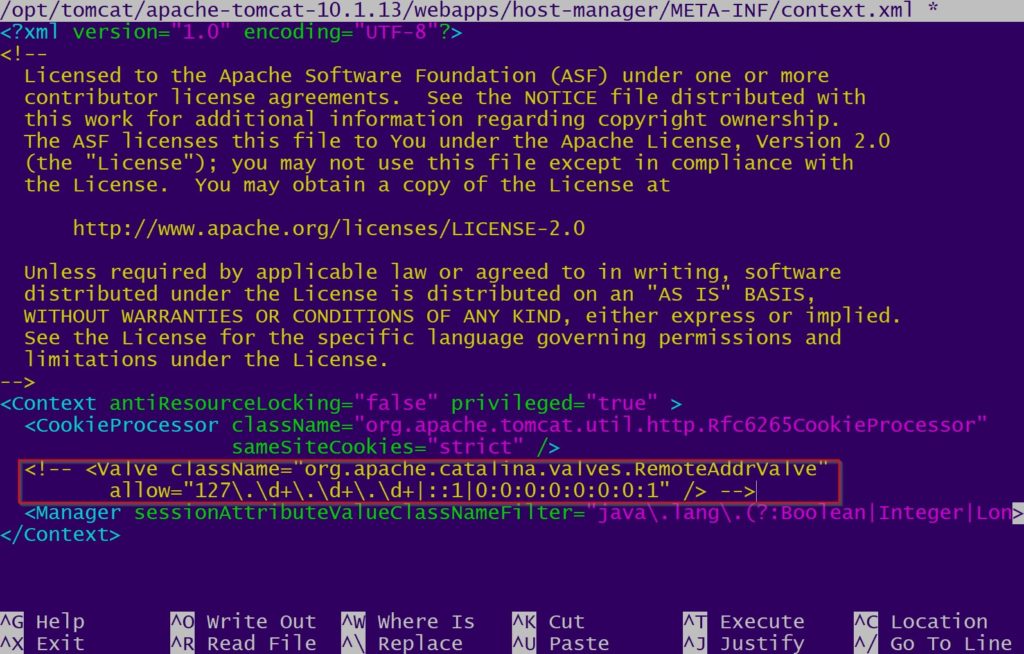
Additionally we have to comment out a section of the host manager context.xml file. This is also needed to allow external access. Open the file with nano.
sudo nano /opt/tomcat/apache-tomcat-10.1.13/webapps/host-manager/META-INF/context.xmlThen comment out the following line. After saving the file your Tomcat should be accessible from outside your network.
<!--<Valve className="org.apache.catalina.valves.RemoteAddrValve"
         allow="127\.\d+\.\d+\.\d+|::1|0:0:0:0:0:0:0:1" /> -->
Create Systemd Service File
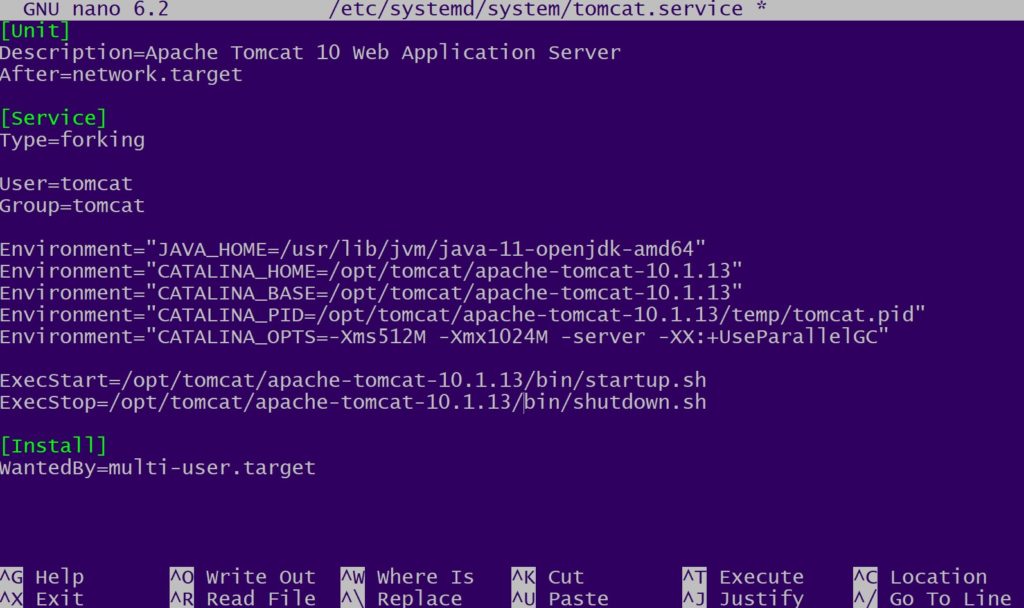
Next we will created a systemd service file to manage Apache Tomcat. First create the file with the nano text editor.
sudo nano /etc/systemd/system/tomcat.service Then add the following text. Save the file after adding it.
[Unit]
Description=Apache Tomcat 10 Web Application Server
After=network.target

[Service]
Type=forking

User=tomcat
Group=tomcat

Environment="JAVA_HOME=/usr/lib/jvm/java-11-openjdk-amd64"
Environment="CATALINA_HOME=/opt/tomcat"
Environment="CATALINA_BASE=/opt/tomcat"
Environment="CATALINA_PID=/opt/tomcat/temp/tomcat.pid"
Environment="CATALINA_OPTS=-Xms512M -Xmx1024M -server -XX:+UseParallelGC"

ExecStart=/opt/tomcat/bin/startup.sh
ExecStop=/opt/tomcat/bin/shutdown.sh

[Install]
WantedBy=multi-user.target
Reload Systemctl Daemon

After creating the service file we will reload the daemon.
sudo systemctl daemon-reloadAs well as start the Apache Tomcat application.
sudo systemctl start tomcatCheck Tomcat Status

Next we will check the current status of Tomcat to make sure it started correctly.
sudo systemctl status tomcat.serviceEnable Tomcat to Start at Boot

After that set Apache Tomcat to start at system boot with the systemctl enable command.
sudo systemctl enable tomcatConfigure UFW Firewall

Now we can allow Tomcat through the ufw firewall. Use the following command to allow it.
sudo ufw allow 8080Test Tomcat Configuration
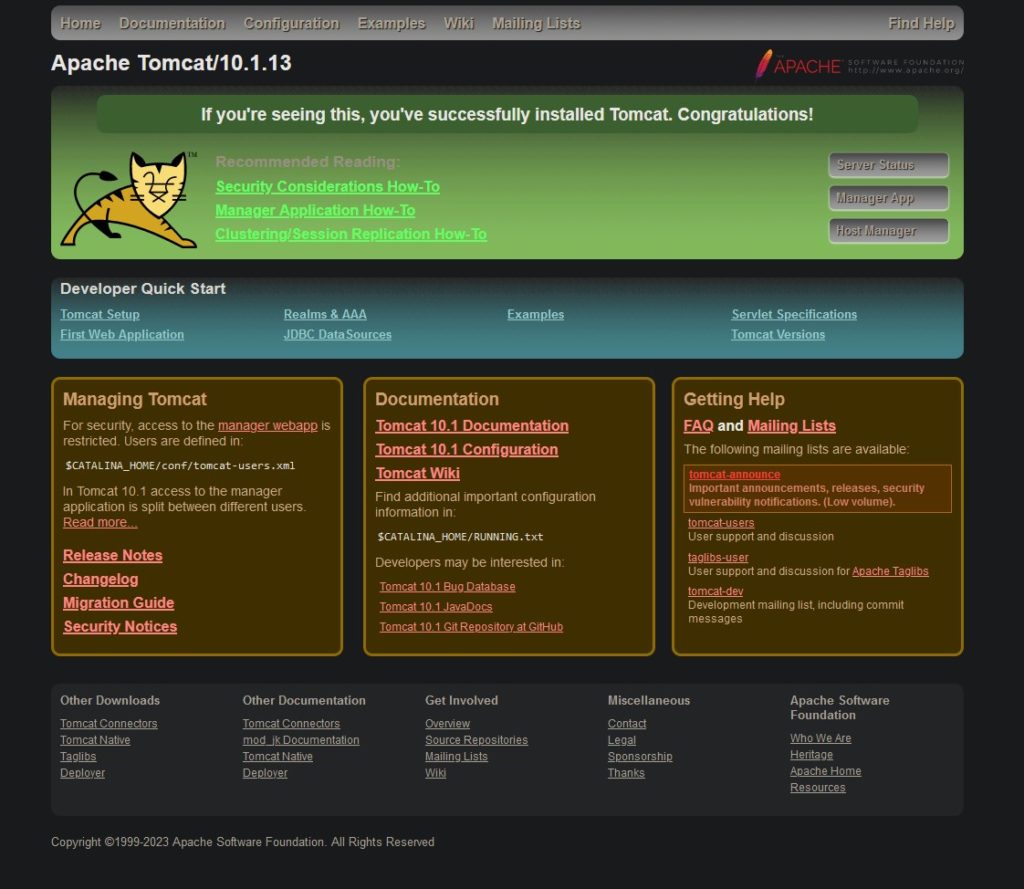
The final step of installing Apache Tomcat is to navigate to the application. Open a web browser and go to http://UBUNTU_IP_ADDRESS:8080/ replacing the IP with the IP of your box. If everything is successful you should see a page similar to the above. You have now successfully installed Apache Tomcat 10 on Ubuntu 22.04.
Questions?
If you have any questions or comments feel free to leave them below.
Related Resources
View our How to Setup Nginx as a Reverse Proxy on Ubuntu 22.04 LTS.
Learn How to Install Ubuntu Server 22.04 [Step by Step].
Check out our How to Easily Create a Bootable Linux USB Drive using Rufus article.
View our How to Setup an SFTP Server on Ubuntu 22.04 using OpenSSH tutorial.
Learn more cool things in Linux with our Linux Tutorials.
View all of our available online tools and converters at Formatswap.com.
Hello there! I just wish to give you a huge thumbs up for the great information you have got here on this post. I will be returning to your web site for more soon.