What is Nginx? Nginx is a opensource web server designed with developers in mind. It was created by Igor Sysoev in 2004. It supports reverse proxying, caching, load balancing, RTMP media streaming, and many more advanced features. In this tutorial you will learn how to install and set up Nginx on Ubuntu 20.04.
Getting Started
Open your terminal prompt of choice.
Update your packages repository and packages.
sudo apt update && sudo apt upgrade -yThen, install Nginx:
sudo apt install nginxSetting up UFW Firewall (Optional – Highly Recommended)
If UFW is not enabled or configured, you will first need to enable it. You can check the status of the firewall using this command:
sudo ufw statusThen enable it with this command:
sudo ufw enableIf you are connected to your machine via SSH, make sure it is allowed through the firewall before disconnecting.
sudo ufw allow sshNext, we will be allowing Nginx through the firewall – there are 3 settings to be aware of when allowing the web server through. ‘Nginx Full’, ‘Nginx HTTP’, and ‘Nginx HTTPS’. ‘Nginx Full’ allows traffic through both HTTP (port 80) and HTTPS (port 443), whereas HTTP and HTTPS open only their respective ports. It is highly recommended that you only open port 80 to your local network or for non-secure pages (Does NOT process sensitive data!). You will only be able to use HTTPS if you have an SSL certificate – otherwise, your browser or any visitor to your site will get a ‘Site Not Secure’ warning. We will be using ‘Nginx HTTP’ for the purposes of the tutorial, but you may replace the text in the command with the other parameters for your respective use case.
sudo ufw allow 'Nginx HTTP'If you have any other services running on the machine that you need external clients to have access to, such as port 8080 for a testing server, you may open them with the following command:
sudo ufw allow <port>/<method>
Example: sudo ufw allow 8080/tcp
Example: sudo ufw allow 8000/udp
Configuring Nginx
Finally, it’s time to set up your web server! We will be accessing the root directory for the site, where you will access and store your files. We will also be setting up the configuration for the enabled sites so you can access your site from the web. You should be able to see the default site when going to the URL/IP address of the server.
You can view the IP address of your server by typing the command:
ip a sYour IP will be the address that is not the loopback address (127.0.0.1) and is usually the second “inet” address depending on your server’s configuration.
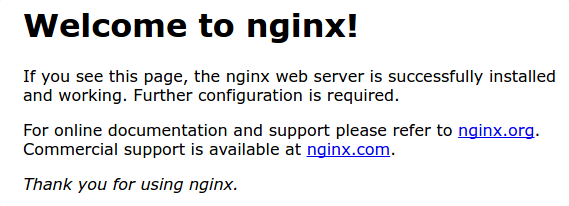
If everything is set up correctly, the above image should be the contents of the page.
Next, you will navigate to your site’s configuration to organize things properly and keep your install clean. First, you will disable your site’s default configuration. You can do this by typing the following command:
sudo unlink /etc/nginx/sites-enabled/defaultThen, add a new configuration file for your site. We will be using nano for this example.
sudo nano /etc/nginx/sites-available/<site-name>And add the following text to the file.
server {
    listen 80;
    listen [::]:80;
    root /var/www/<site-name>;
    index index.html;

    location / {
        try_files $uri $uri/ =404;
}
If you are also using SSL, you must insert the following below the first server block:
server {
    listen 443 ssl;
    root /var/www/<site-name>;
    index index.html;

    location / {
        try_files $uri $uri/ =404;
}
Press CTRL+X and then press Y to save the file.
The server is almost set! You will need to enable the site to make it accessible. You can do this by typing the command:
sudo ln -s /etc/nginx/sites-available/<site-name> /etc/nginx/sites-enabled/Then test your configuration using the command:
sudo nginx -tIf everything checks out, you can restart your Nginx process.
sudo systemctl restart nginxFinal Steps
You must add the directory to your server before you are able to store your files and make them available.
sudo mkdir /var/www/<site-name>Lastly, create a an index page for your server and you are all set!
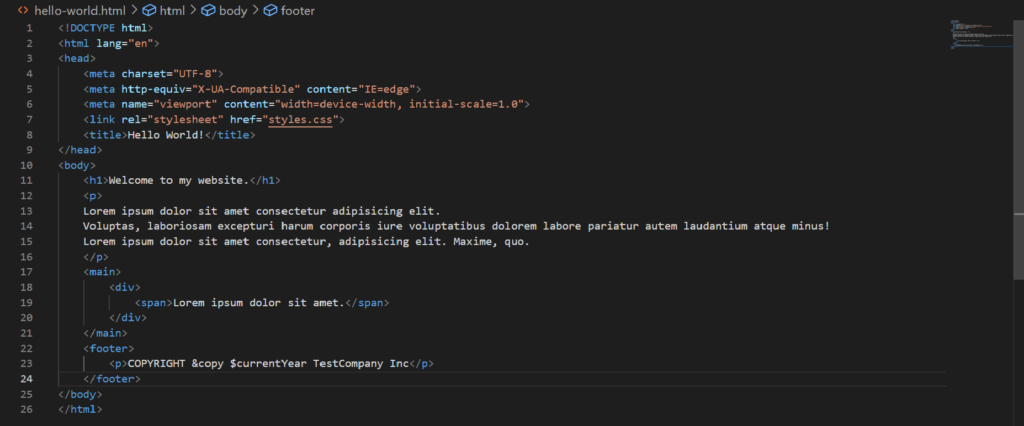
sudo nano /var/www/<site-name>/index.htmlHere is some example code that you can use for testing to make sure everything is working:
<html>
<body>
    <h1>Hello, Nginx!</h1>
    <p>This is a test page for Nginx.</p>
</body>
</html>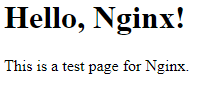
If you see this message, you have successfully set up your very own Nginx server on Ubuntu 20.04!
Related Resources
View our list of The Top 5 Programming Languages to Learn in 2022.
You may also like The 5 Best Linux Distributions to Install in 2022.
Setting up MySQL on Ubuntu 22.04
View our Programming Articles and Tutorials.
Learn more cool things in Linux with our Linux Tutorials.
View all of our available online tools and converters at Formatswap.com.