
This tutorial will teach you how to install and configure UFW (Uncomplicated Firewall) in Linux. Firewalls are vital to keep your applications and systems secure. UFW provides a command line frontend interface for iptables using a few simple commands. It is designed to be easy to use and uncomplicated to configure. Using only Netfilter in iptables for firewalls can be a daunting task. UFW is a simple solution to using a firewall in Linux. In this tutorial we will be using Ubuntu 22.04 but any Ubuntu or Debian based Linux distribution will work.
Check if UFW is Installed

sudo ufw statusThe first thing you need to do is check if UFW is already installed. It is installed by default on most Linux distributions. You can check if UFW is currently installed by opening a terminal shell and running the “ufw status” command. If UFW is already installed you will see a similar output to what is above. It will say “Status: inactive”. If you get an error you will have to install UFW.
Install UFW
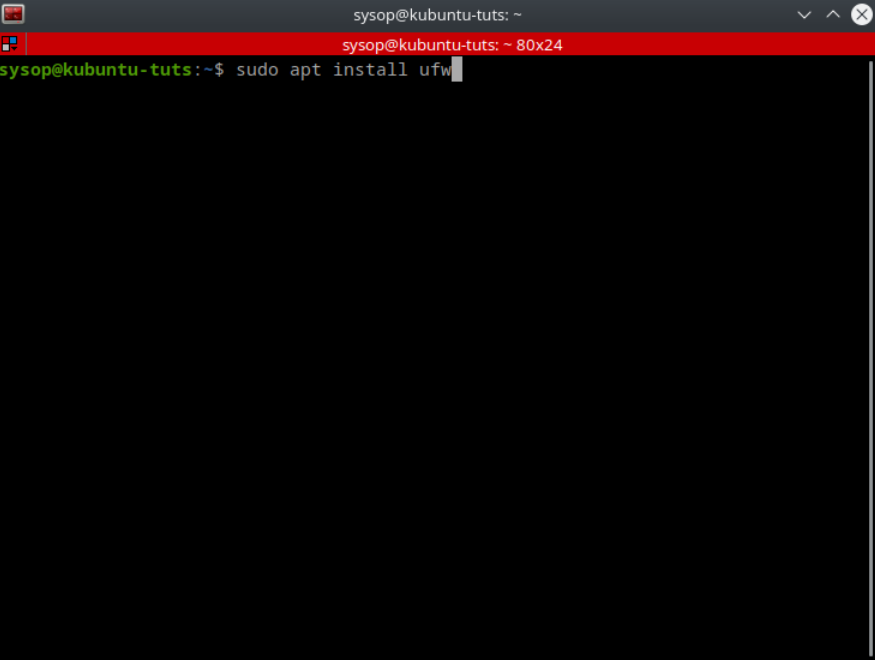
sudo apt install ufwTo install UFW run the command “sudo apt install ufw”. Then click yes on the confirmation dialog.
Deny Outgoing and Incoming Connections
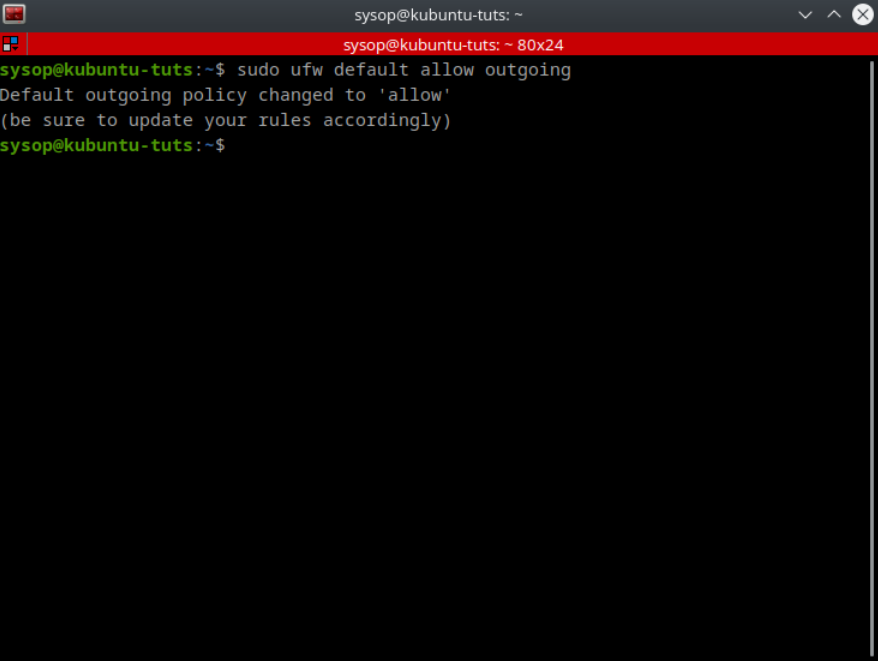
sudo ufw default allow outgoingThe first thing you want to do when configuring the firewall is to deny all incoming and outgoing connections. To deny outgoing connections run the command “sudo ufw default deny outgoing”.
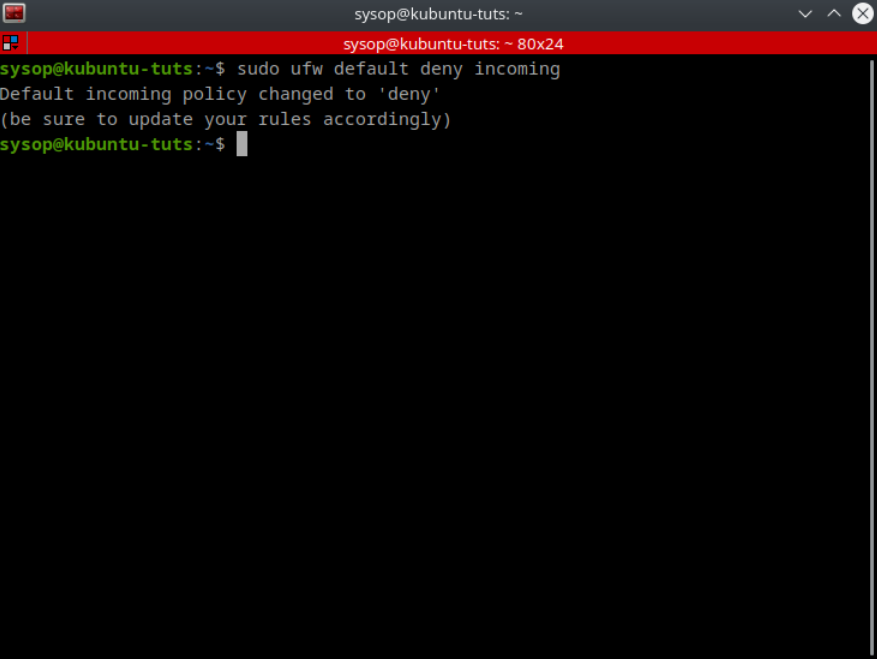
sudo ufw default deny incomingThen repeat the same step using “sudo ufw default deny incoming” to deny the incoming connections.
Configure Firewall Rules
Allow a Program
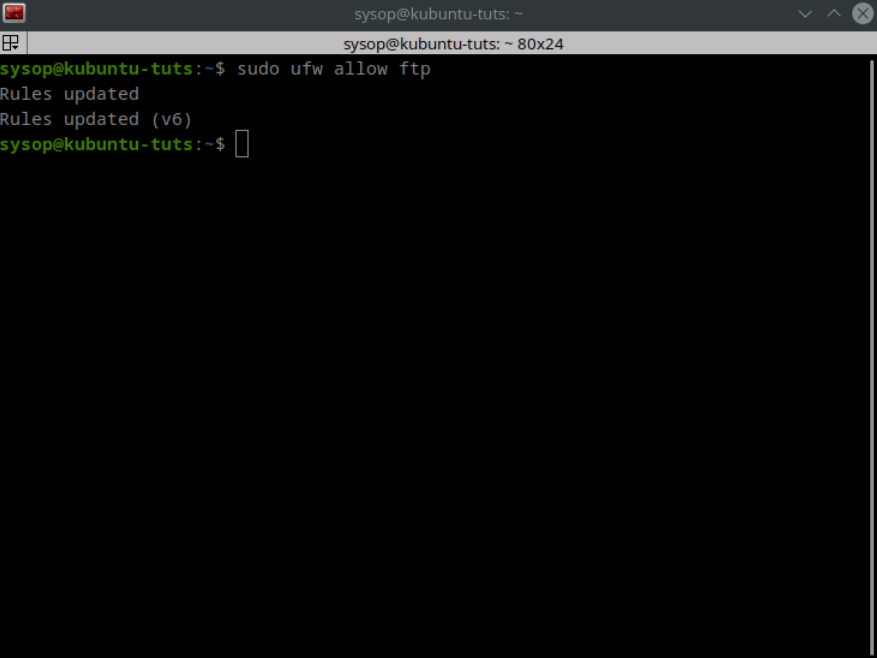
sudo ufw allow ftpYou can allow individual programs through the firewall using their names. Above I allow ftp using the command “sudo ufw allow ftp”.
Allow a Specific Port

sudo ufw allow 21To allow a specific port use the command “sudo ufw allow 21”. In the above example I am allowing the FTP port 21.
Deny a Specific Port
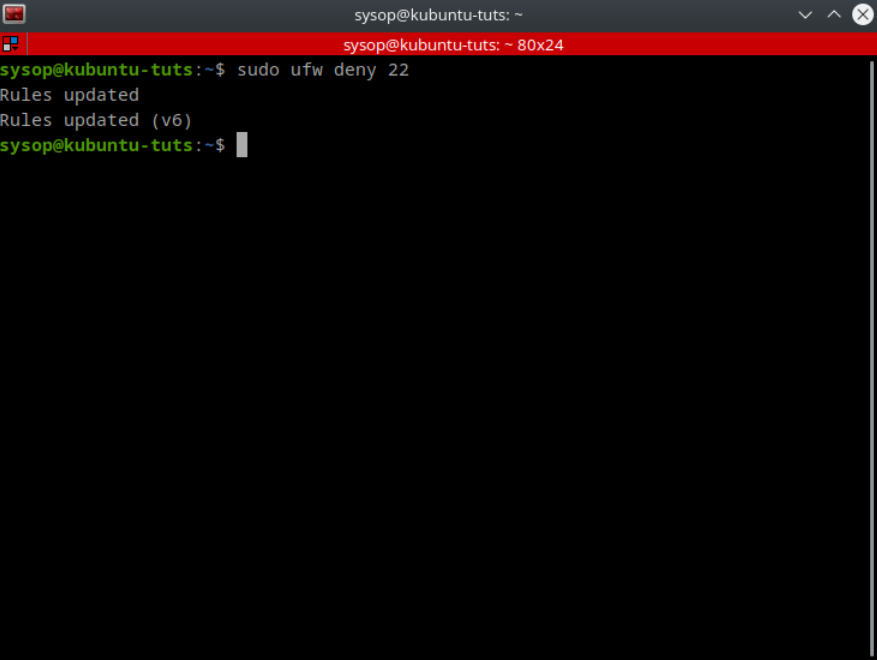
sudo ufw deny 22You can also allow specific programs and ports. In the above example I deny port 22 using “sudo ufw deny 22”.
Allow a TCP Port

sudo ufw allow 443/tcpYou can also allow or deny specific ports to be tcp or udp only. In the above example I allow only tcp traffic on port 443.
Allow a UDP Port

sudo ufw allow 111/udpYou can also allow any deny udp ports as shown above. By default it will allow or deny on both tcp and udp unless you specify one of the two.
Allow and Deny Access to IP Addresses
Sometimes you may want to only allow certain IP addresses access to your system. In this case you can setup a rule to control access on a per IP basis.
Allow an IP

Using the above rule you are able to allow only specific IP addresses to access your system. This is the securest way to setup a FTP or SSH server that needs remote access.
Deny an IP
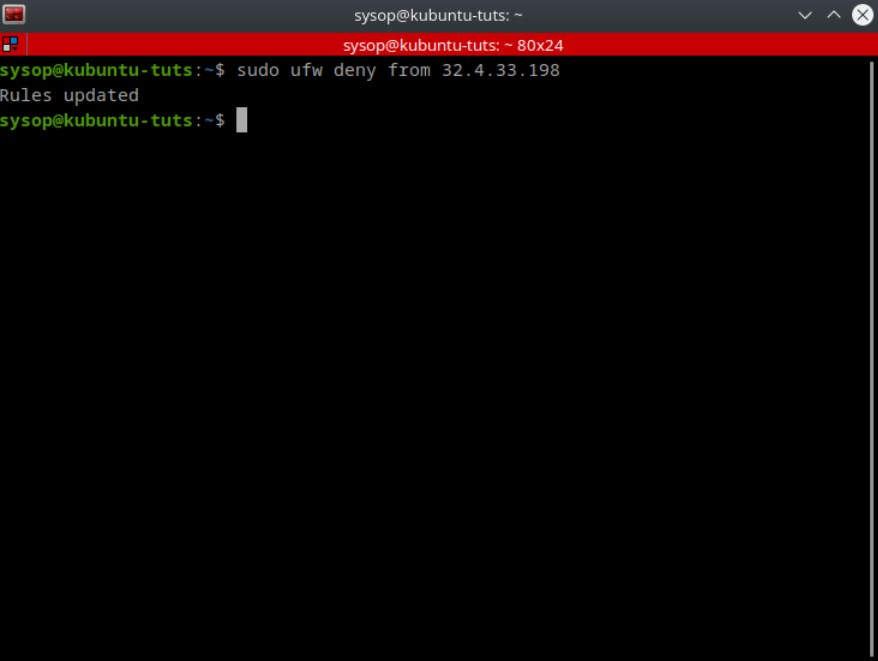
This rule is useful in situations where you are allowing all IP addresses through the firewall, but just want to block certain ones.
Enable or Disable UFW Firewall Rules
Enable UFW
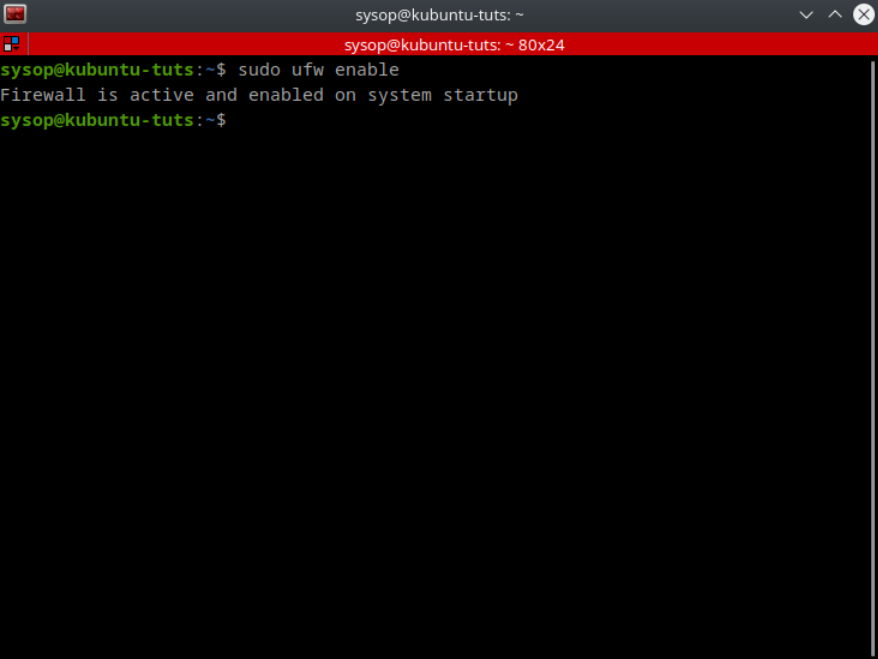
sudo ufw enableNow you will need to enable the firewall to apply the rule set you created. To enable the UFW firewall type “sudo ufw enable”.
Disable UFW
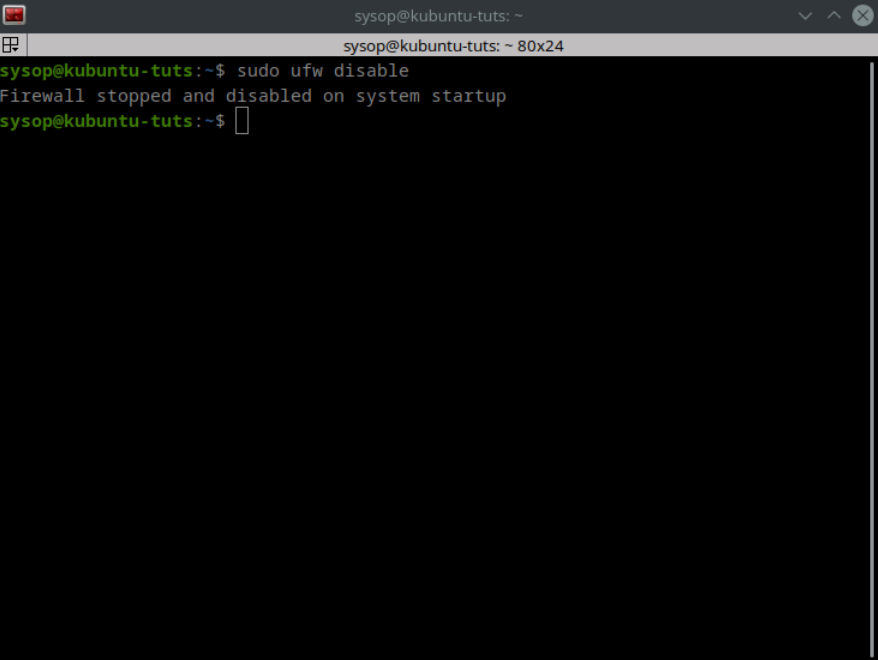
sudo ufw disableIf you need to disable the firewall you can run the command “sudo ufw disable”. This will keep the firewall disabled until you enable it again.
View the Firewalls Status
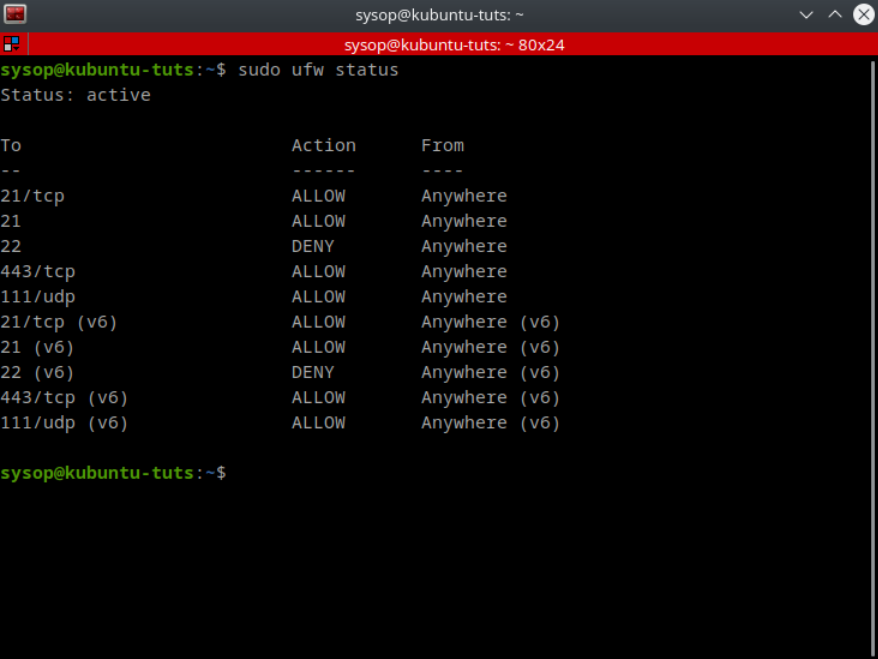
sudo ufw statusTo view the status of the firewall type “sudo ufw status”. This will show you all of the ports and or programs that you are allowing or denying through the firewall. It will also show you whether UFW is active or inactive.
Advanced UFW Rules
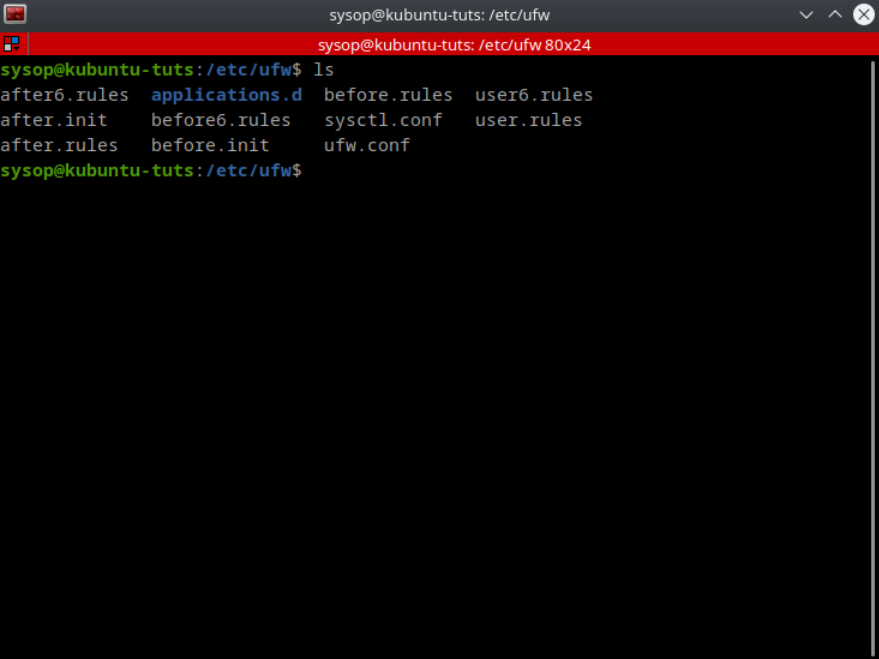
cd /etc/ufw/Most rules can be applied using the command line but sometimes you want more control over the rules. In this case you can directly edit the rules using the “before.rules” and “after.rules” files located in the “/etc/ufw/” directory. The before rules are applied before UFW is launched while the after rules apply after UFW is running.
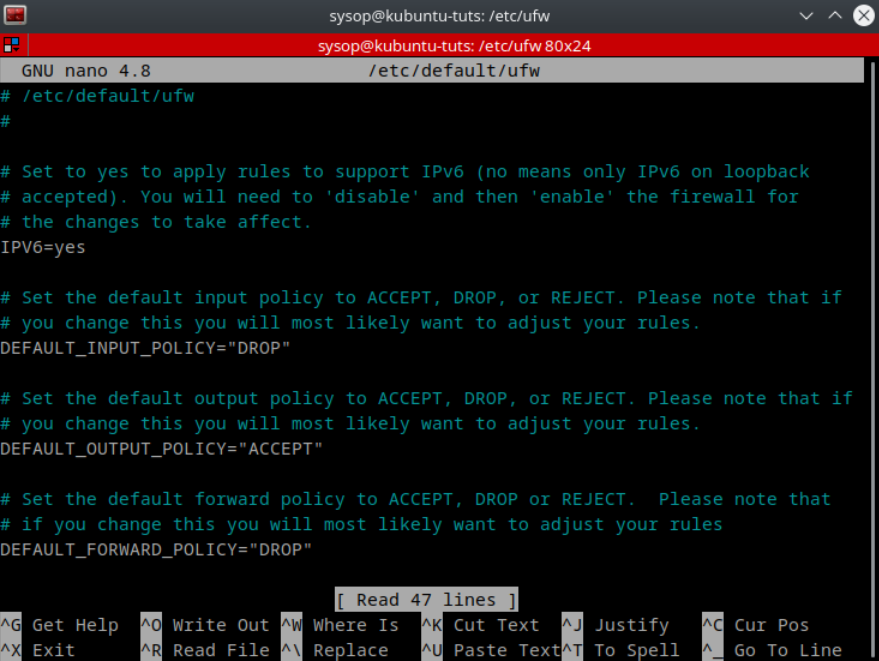
nano /etc/default/ufw You can also edit the UFW configuration file located at “/etc/default/ufw” for more advanced configurations.
Enable Logging

sudo ufw logging onYou can enable logging in UFW by running the command “sudo ufw logging on”. This will enable the logs in the lowest mode by default. If you want to specify the log level use the command “sudo ufw logging low|medium|high“.
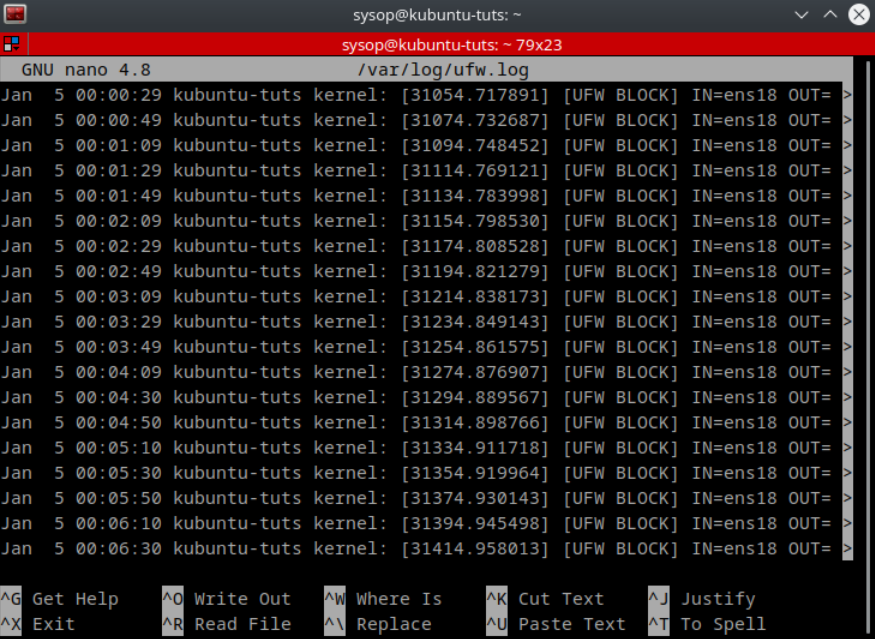
nano /var/log/ufw.logThe UFW log file will be located at “/var/log/ufw.log” by default. I have set my logging level to low. Above is an example of what your log file may look like.
Additional Questions?
If you have any additional questions or thoughts feel free to comment them below.
Related Resources
View our How to install Kali Linux 2022.3 [step by step] tutorial.
Learn How to Use the Alias Command in Linux.
Check out our How to Add a Network Location in Windows 10 tutorial.
View our How to Setup a FTP Server with FileZilla in Windows tutorial.
Learn more cool things in Windows with our Windows Tutorials.
View all of our available online utilities and converters at Formatswap.com.