
In this tutorial you will learn how to add a network location to Windows 10. This will allow you to access a file share remotely by connecting computers on the network. The main benefit to adding a network location is that it will be permanently saved in file explorer. This allows you to avoid typing the network address of the location each time. As well as easy management of multiple network shares. When you are finished you should have a new location added to the Windows Explorer Network Locations list.
Open File Explorer
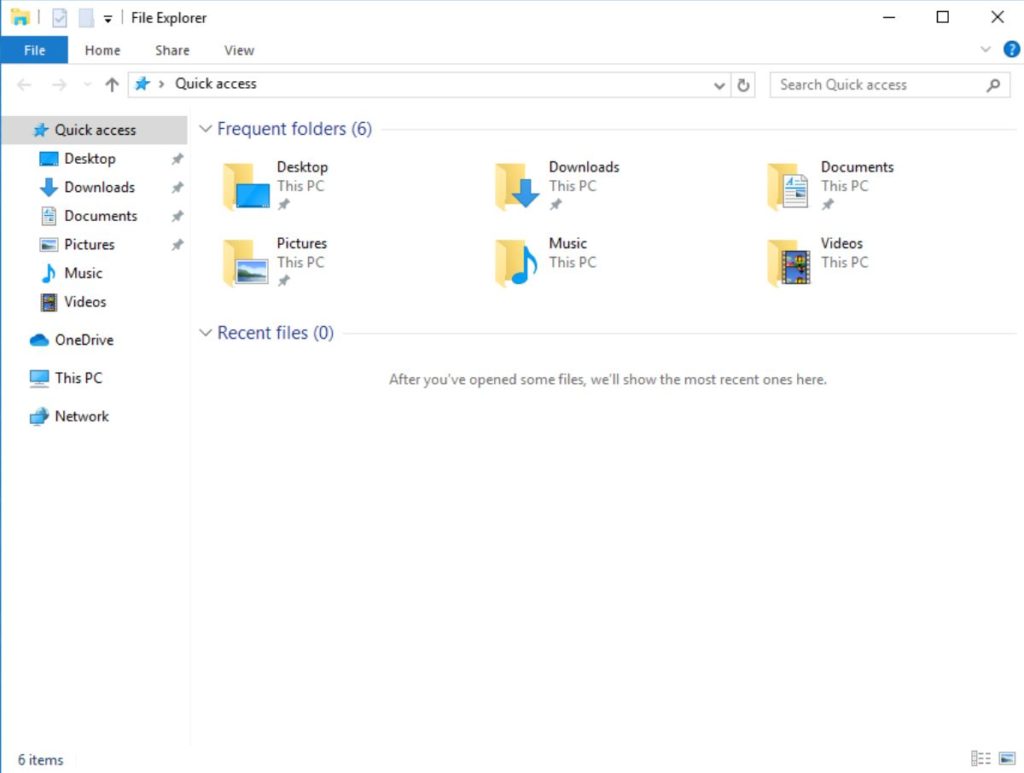
You can open File Explorer by clicking on the folder icon in the taskbar or by pressing “Win+E” on your keyboard.
Navigate to This PC
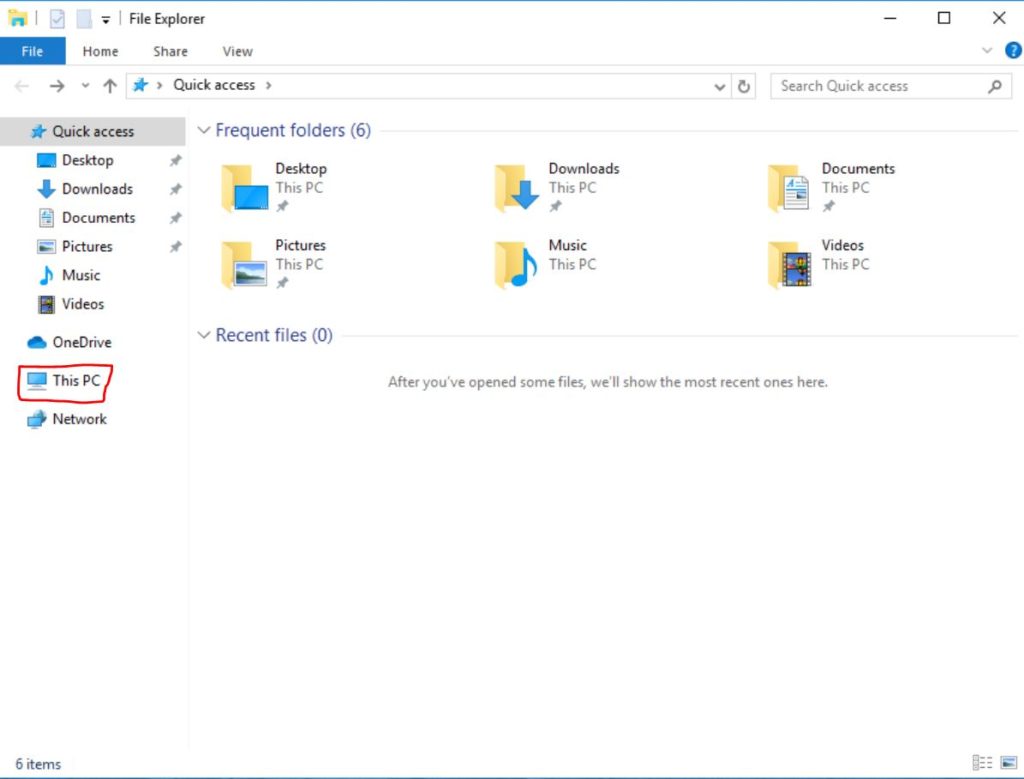
Now you will need to click on “This PC” (the computer icon on the left) in your File Explorer.
Open Add Network Location Dialog

After navigating to the “This PC” window you have to right click then click on “Add a network location”.
Click Next
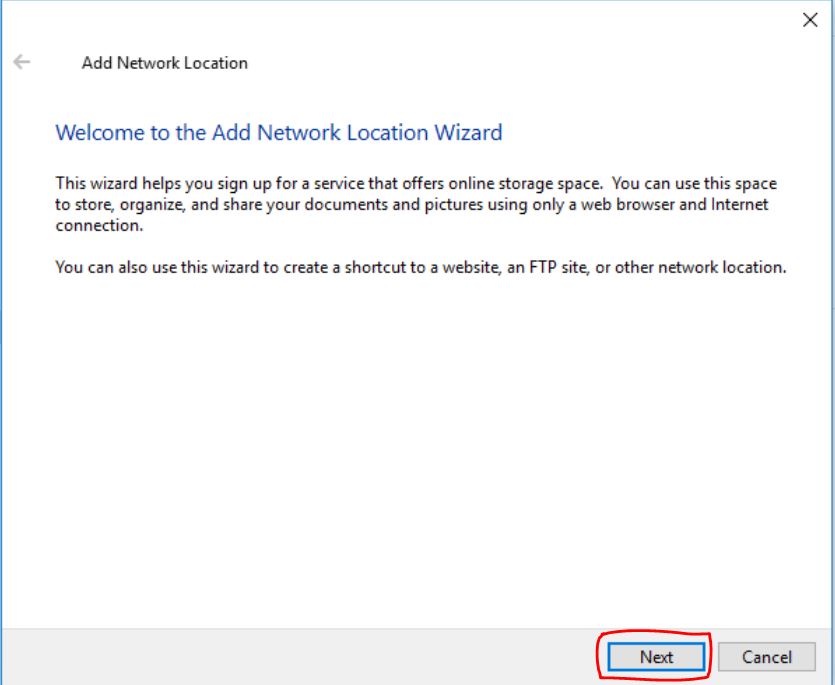
Now that the Add Network Location window is open press the “Next” button.
Set Network Location to Custom

Afterwards click on “Choose a custom network location”. Then click “Next” to continue.
Enter Network Address
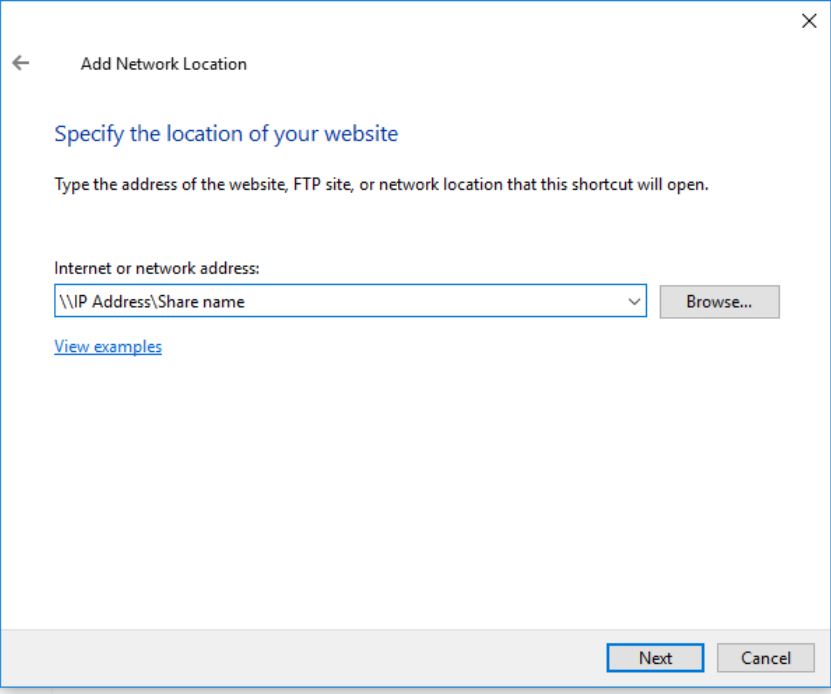
Now you will need to enter the IP address and the name of the share, then press “Next”.
Confirm Credentials
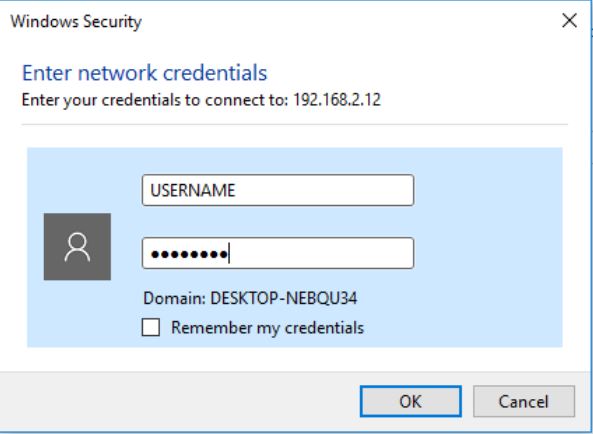
A window will open asking you to enter the shares credentials. Enter the credentials and press “Next” to continue.
Enter a Share Name
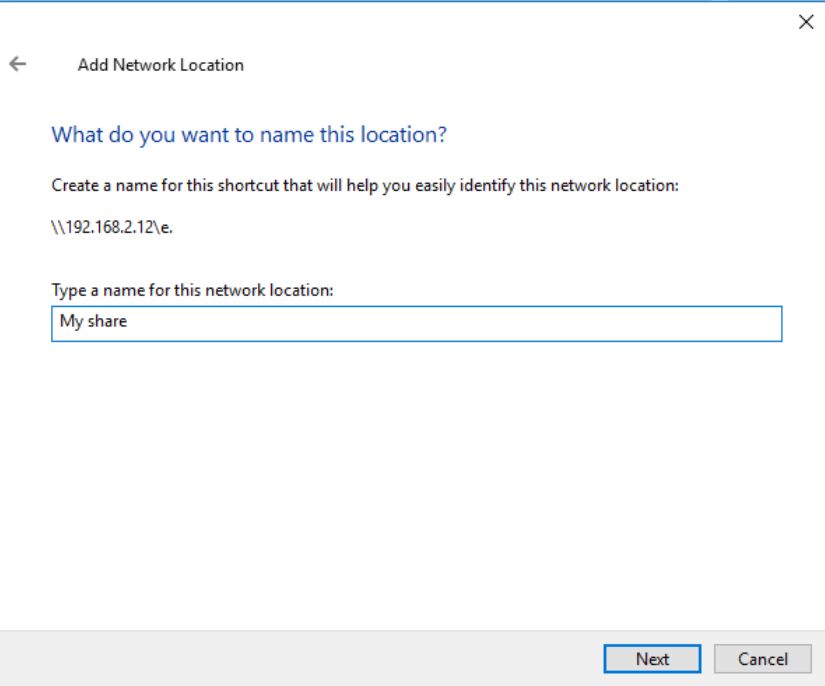
You will then be asked to type a name for the network share. I will be using “My share”. Then you will click on the “Next” button.
Network Location Added
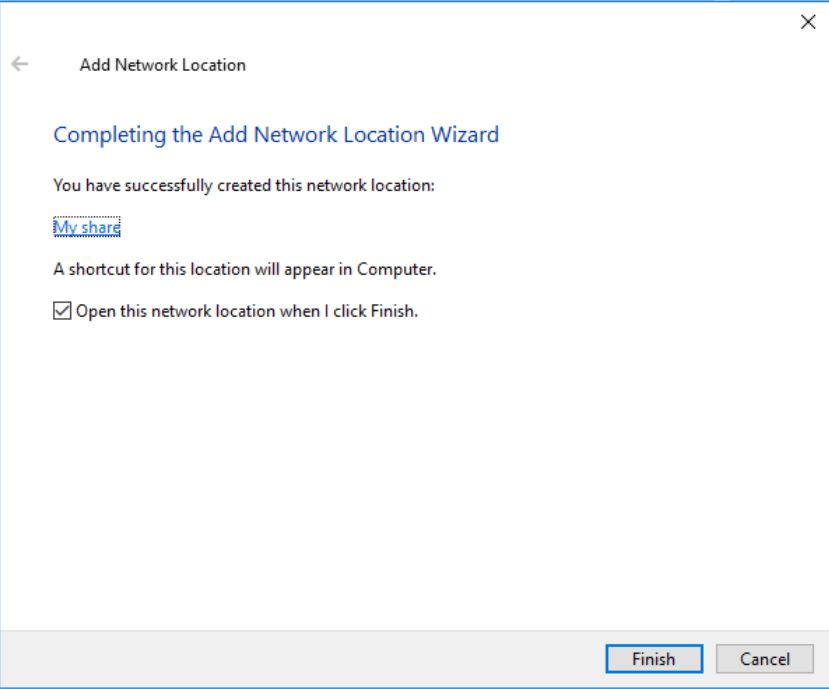
The Network Location has been successfully added. Click on the “Finish” button to open the share folder.
View in My PC
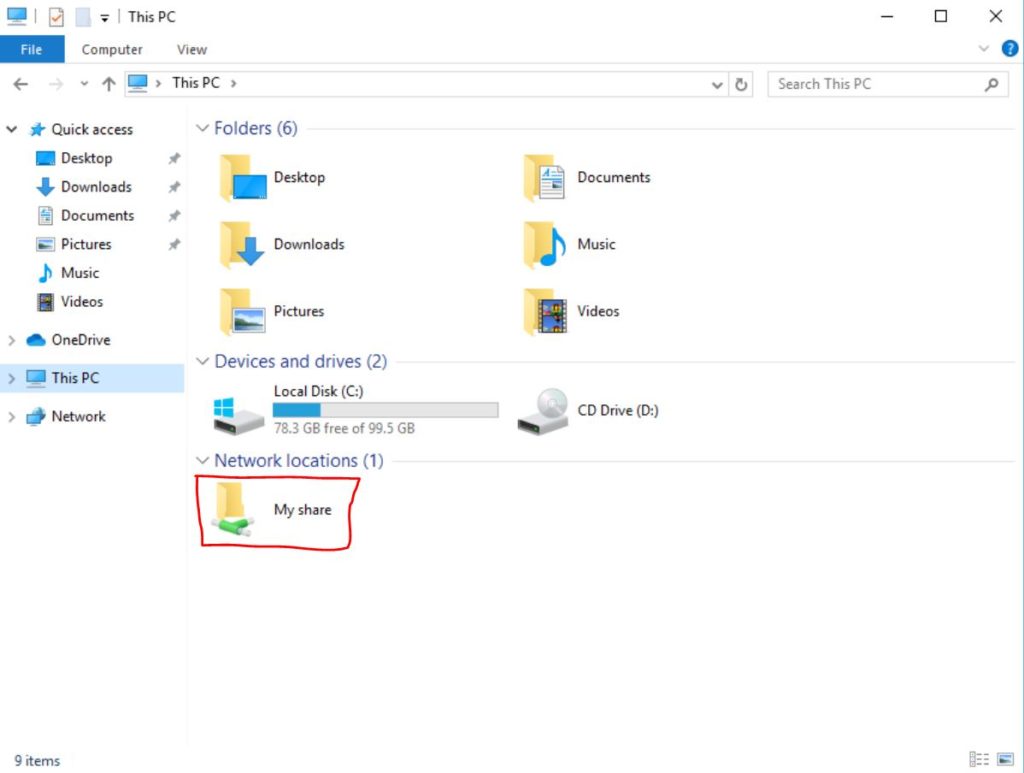
You can find the Network Share you just added by navigating to “This PC” in the left column of File Explorer. You will see the share listed under “Network locations”. You have now completed the tutorial. If you would like to learn how to create a network share continue reading below.
How to Create a Mapped Network Drive in Windows 10
If you want an in depth tutorial on creating mapped network shares in Windows 10 click the link below.
Map a Network Drive in Windows Tutorial
Questions?
If you have any questions or comments feel free to leave them below.
Related Resources
View our How to Create a Deepfake Video Using DeepFaceLab article.
Learn How to Install Ubuntu Server 22.04 [Step by Step].
Click here to learn How to install and configure Nginx – Ubuntu 20.04.
View our Programming Articles and Tutorials.
Learn more cool things in Linux with our Linux Tutorials.
View all of our available online tools and converters at Formatswap.com.