
In this tutorial you will learn how to use the CIFS-UTILS program to mount network shares. You will also learn how mount the file shares at boot. This allows you to avoid typing your credentials, as well as avoiding the use of the mount command when you turn on the system. With CIFS-UTILS you will be able to easily access files from a SMB share on your network. I will be using Ubuntu 22.04 LTS throughout this tutorial. However it is fine if you have a different version, as this guide will work on any Ubuntu based Linux distribution.
Update and Upgrade Ubuntu
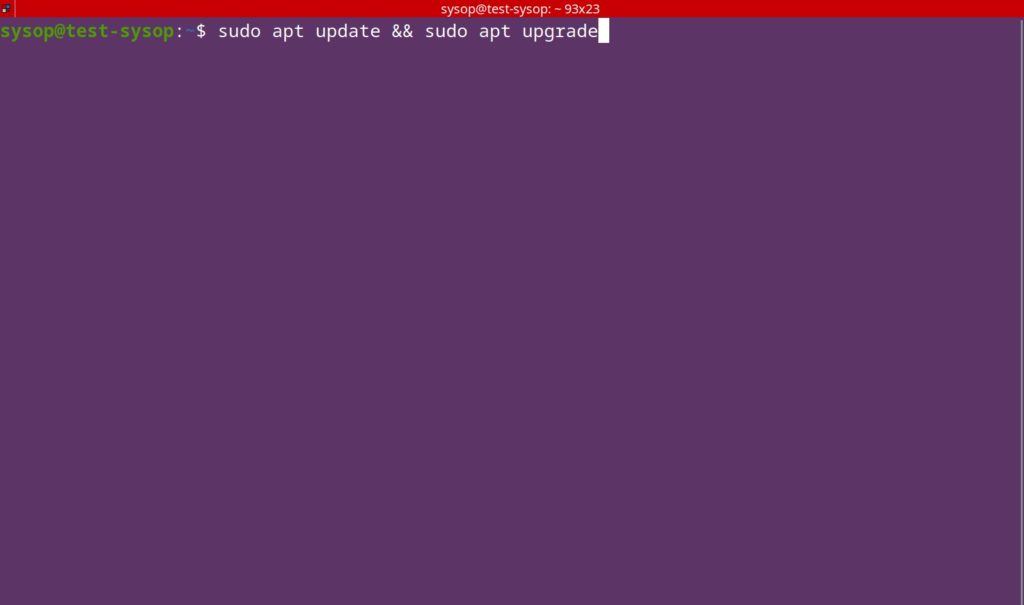
The first thing you will need to do is update and upgrade your Ubuntu installation. Type in the following command and press Enter.
sudo apt update && sudo apt upgrade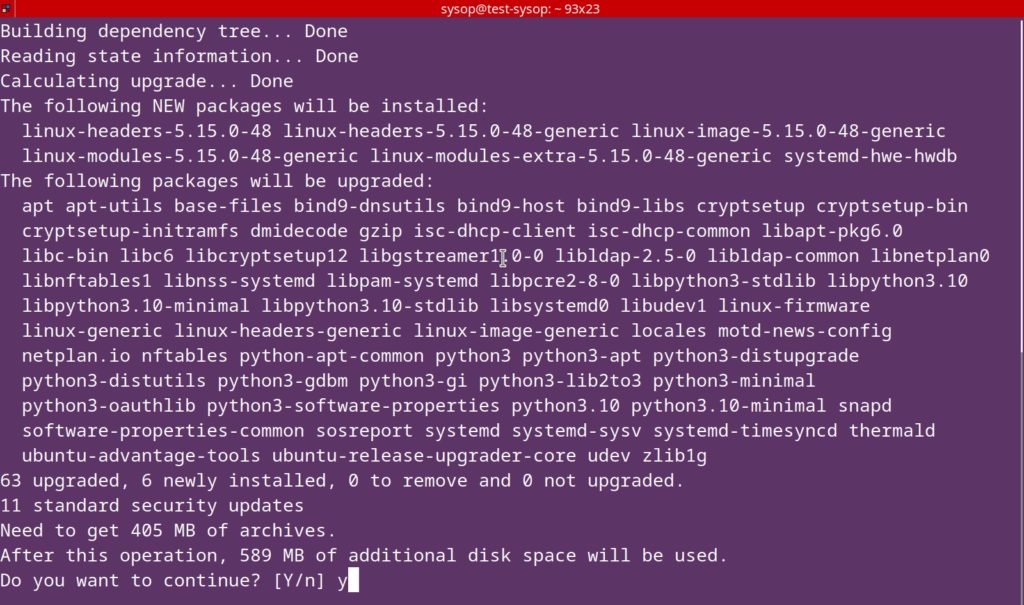
Now you will see a window asking you if you want to continue. Press “Y” and then Enter.
Install CIFS-UTILS
Afterwards you will need to install cifs-utils. This is a program that allows you to easily mount different file shares on Linux. Type in the following command to install it.
sudo apt install cifs-utilsCreate a Mount Directory
Next you need to create a folder to mount the SMB share. You can create a folder in either /mnt/ or /media/.
sudo mkdir /media/Share
or
sudo mkdir /mnt/Share
Navigate to the Home Folder
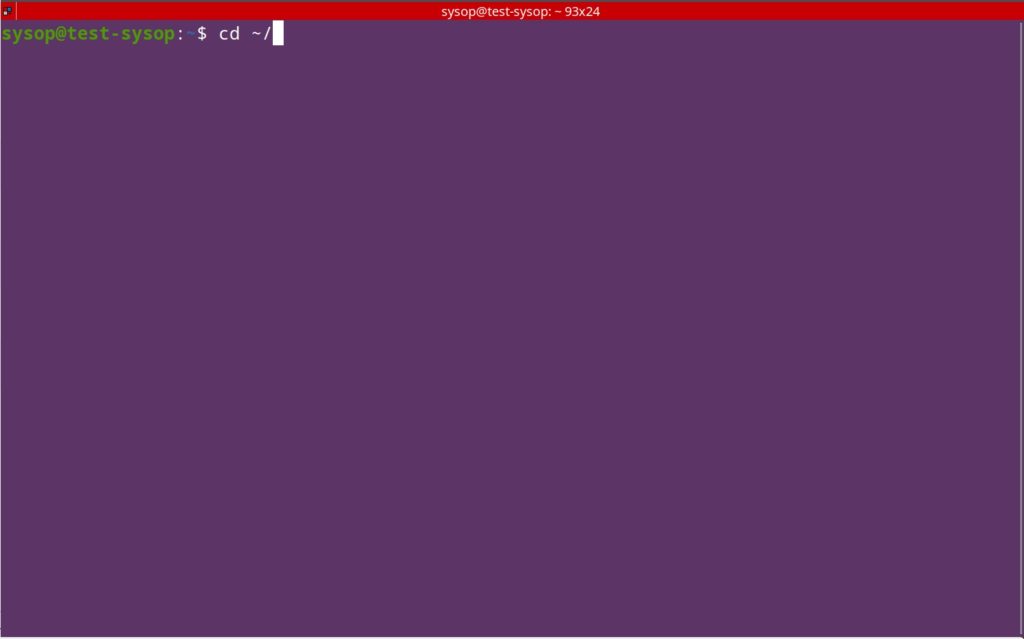
Now navigate to your home folder.
cd ~/Create the Credentials File
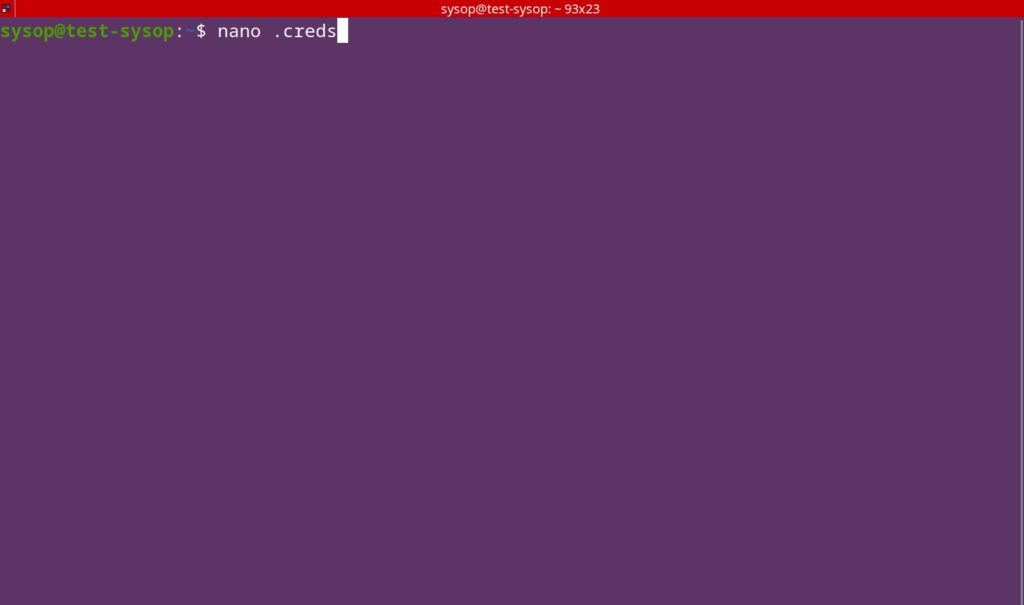
Once you are in the home folder you need to create a credentials file. A credentials file is vastly more secured versus providing the password and username in plain text.
nano .creds
Now type your username and password in the format above. Once you have typed your credentials, press “Ctrl+X” then “Y” to save and quit the text editor.
Apply Permissions
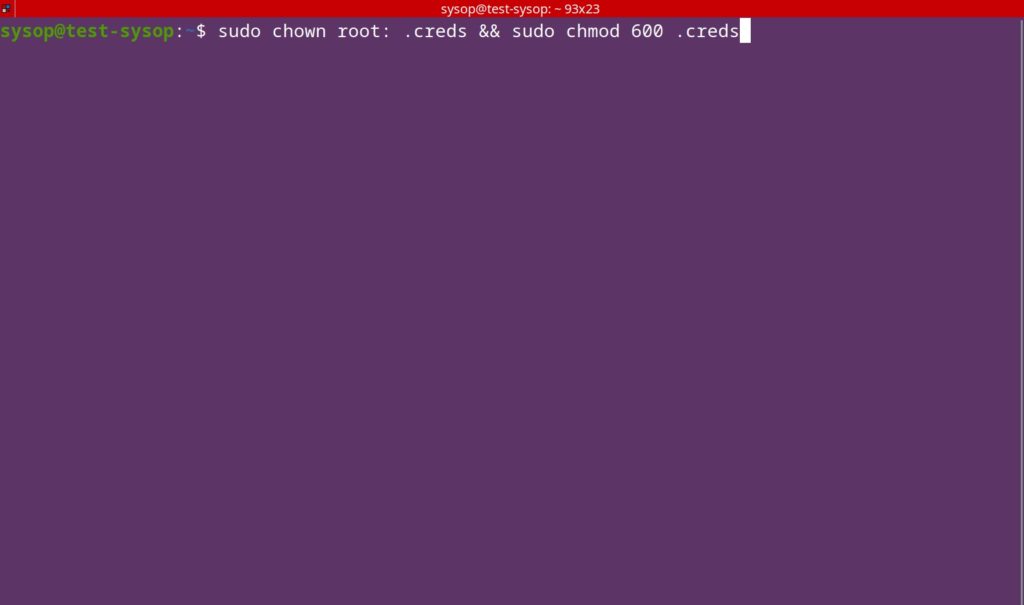
Next we will apply the permissions to the credentials file. For security reasons you only want root to be able to read and write the file. Enter the command below to apply the changes.
sudo chown root: .creds && sudo chmod 600 .credsMount the SMB Share
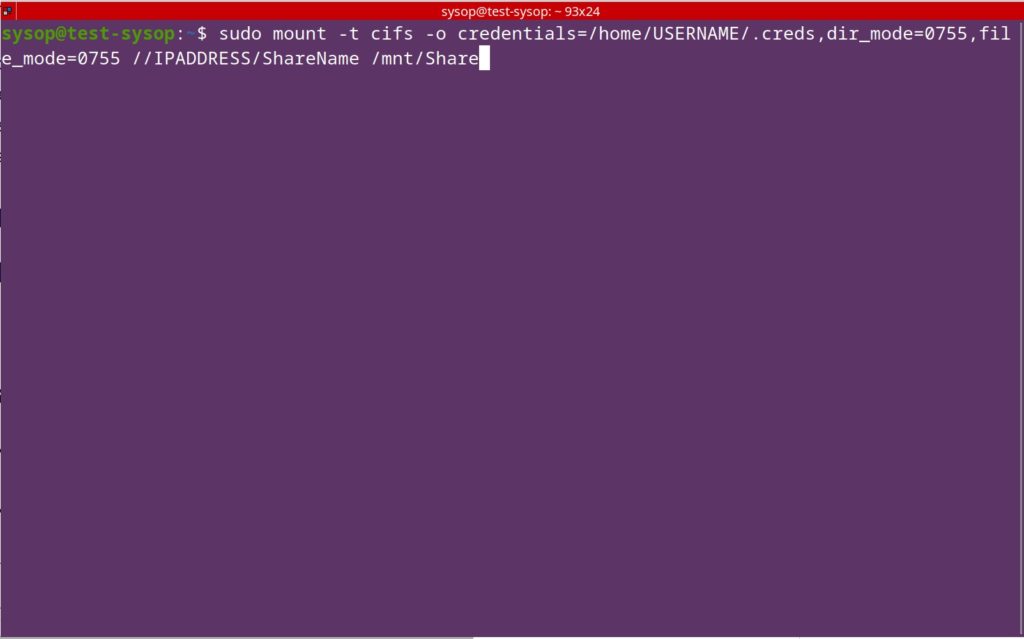
Finally you will mount the SMB network share. Enter the below cifs mount command replacing the credential directory, IP address, mount location, and share name with your own.
sudo mount -t cifs -o credentials=/home/USERNAME/.creds,dir_mode=0755,file_mode=0755 //IPADDRESS/ShareName /mnt/Share
After you run the command you can navigate to the mount folder to view the network share that you have added. You have now successfully mounted a SMB network share using cifs-utils.
Auto Mounting
If you only use the mount command, your network share will no longer be mounted when you reboot. We will edit the fstab file and add a few entries. This is the file that defines what file systems are mounted at boot. Continue reading below to make the share persistent.
Edit the fstab File
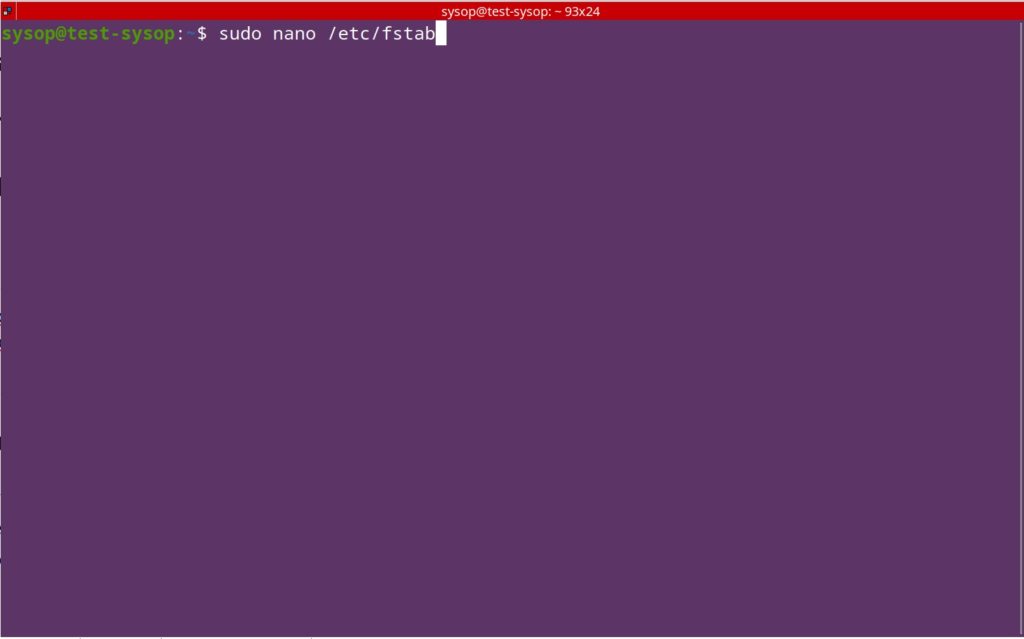
First we need to open the fstab file. Type in the following command to edit it.
sudo nano /etc/fstabAdd fstab Entries
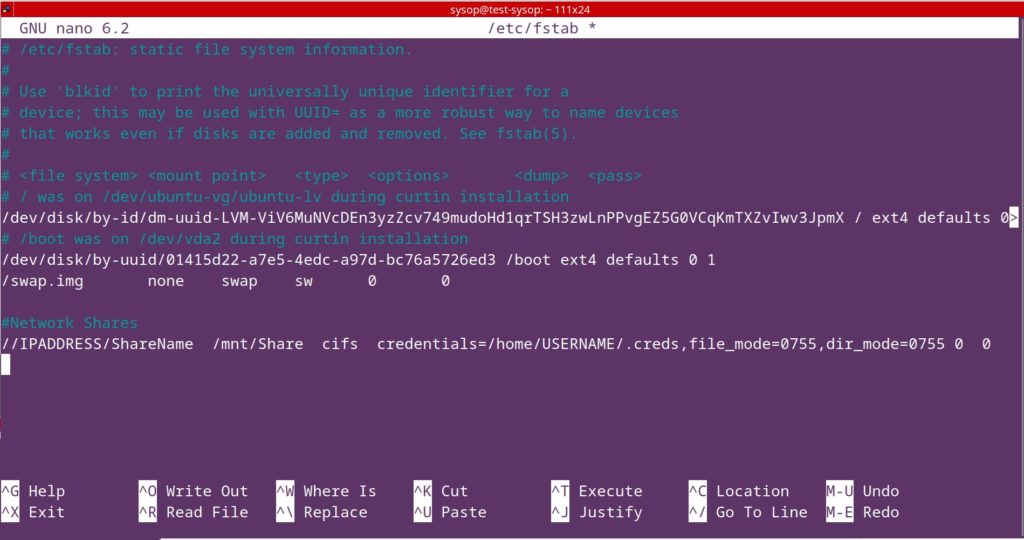
Now you will want to add a new line for mounting your cifs share. Use the code below as an example of what to type, replacing the credentials, IP, and share name with your own.
//IPADDRESS/ShareName /mnt/Share cifs credentials=/home/USERNAME/.creds,file_mode=0755,dir_mode=0755 0 0Reboot PC
The last step will be to reboot your PC. After rebooting you will see the network share mounted at /mnt/ShareName or /media/ShareName depending on where you created the folder. Thank you for reading the tutorial. If you are interested in similar technology tutorials check out some of our articles below.
Questions?
If you have any questions or comments feel free to leave them below.
Related Resources
View our How to Permanently Disable Windows Defender article.
Learn How to Install Ubuntu Server 22.04 [Step by Step].
Click here to learn How to install and configure Nginx – Ubuntu 20.04.
View our Programming Articles and Tutorials.
Learn more cool things in Linux with our Linux Tutorials.
View all of our available online tools and converters at Formatswap.com.