This is my report on researching and testing the possibility of using a Linux host, with a Windows virtual machine in KVM, with GPU passthrough and a Windows Mixed Reality(WMR) headset. My findings have been that it is indeed possible, with near native performance, but hardware and software setup is complex. It requires an understanding of the Linux operating system, virtual machines and KVM, hardware schematics, and ability to build/modify a computer tower. It is possible with a smaller budget (like I had) to do this, but that might mean searching for pre-owned parts to reduce the cost of the upgrade.
Virtual reality is growing in popularity every year, and similarly, frustrations with Windows operating systems are driving more people to Linux. In the virtual reality world, there is an increase in immersion, as your movements are mimicked by the headset tracking. But Microsoft has recently announced that they are removing support for the WMR headset in Windows 11. This is incredibly frustrating to the people who purchased a WMR headset, especially since Windows is not releasing the source code for the platform. On the other hand, Linux developers have been experimenting with creating compatibility layers of software to allow for the headsets to work natively in Linux. While this is great for open source users and developers, there are still compatibility problems with playing games designed for Windows. Specifically, the headset is still not fully functional in its alpha state.
Linux

Linux distributions generally have a stronger focus in security, privacy, and openness to customize the operating system. As Windows continues to add to the growing list of performance problems and intrusive tracking software, many people are looking for a way to continue using older devices that are not compatible with the latest Windows operating systems. In my case, I wanted the ability to make more decisions about what and how my computer runs, and the safety of using open source software has actually increased the capabilities of my system with no added tracking or telemetry.
Virtual Machine

The current way to run native Linux but have Windows for gaming available is through using a kernel-based virtual machine (KVM), a Linux native hypervisor that allows for more capabilities than other hypervisors, like VirtualBox. It uses QEMU as its emulator and Libvirt for Virtual Machine(VM) management. This is controllable with a graphical application called Virtual Machine Manager, used as a Graphical User Interface(GUI) to function without needing to use a terminal. KVM, when properly set up, provides near-native performance and the ability to dedicate PCIe devices (like graphics cards) to the virtual machine of your choice. This allows your devices to function completely separate from the Linux desktop, and can be operated independently from each other (i.e. you can play games on Windows while working or playing videos on your Linux desktop) if you have multiple monitors or separate video inputs on your current monitor.
IOMMU
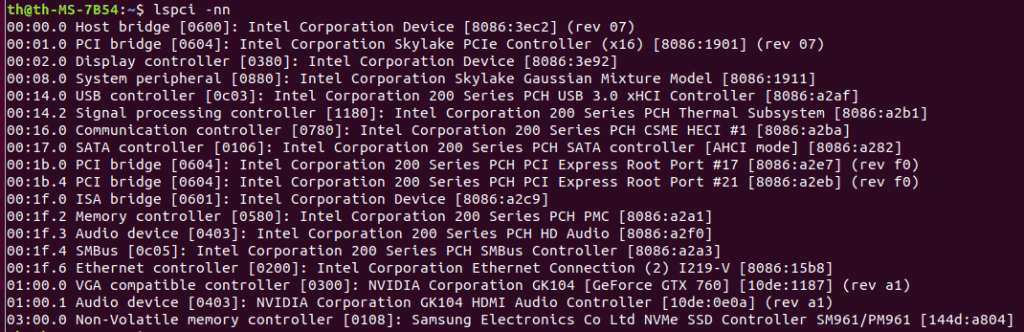
The way this is achieved is through enabling virtualization tools in the BIOS, and sending Input/Output Memory Management Unit (IOMMU) PCIe groupings to the virtual machine. Modern laptops and desktops have virtualization abilities that you can enable within the BIOS, with some features for better VM performance. IOMMU groupings are the way motherboards dedicate certain pipelines of data to and from their location in the motherboard. Nearly everything, including the CPU and its components, has its own groupings, but some are grouped together in a way that would conflict with virtualization passthrough.
The Virtual Function I/O(VFIO) is responsible for allowing hardware devices to be controlled directly with an application. In other words, it is possible to pass control to an application, like KVM, for direct hardware access. The IOMMU groupings dictate what devices you can share, while giving them a hardware address that an application can recognize. Tricky part is you have to pass the entire grouping for it to function in the virtual machine. In my case, my motherboard grouped some PCIe slots I wanted to use with the CPU. I needed a solution.
PCIe

I was able to pass my Nvidia graphics card to the VM, after blocking any Nvidia drivers in the kernel from loading, but I could not pass the USB-C included on my motherboard I/O because it was tied to CPU functions. I wanted to do this so I could use my WMR headset, which requires a DisplayPort and USB-C actively connected to function. I purchased a few USB PCIe cards to use in one of my unused slots, but it only supported an x1 connection. This essentially means it can only fit very small expansion cards, and isn’t capable of transferring as much data than larger slots (4x, 8x, 16x etc.) Even with a supported x1 USB card, it was not able to be passed to my virtual machine, because the slot was shared with some CPU functions on my motherboard.
My system was originally using a Ryzen 7 5800x with 32GB of DDR4 ram, with my Asus B550-F motherboard, and an RTX 2070 + RX 550x for graphics. The Asus motherboard only had one or two PCI 4.0 slots(the latest and highest rated), the rest were 3.0 with IOMMU groupings that could not be used in passthrough.
It was powerful enough for my needs, but I wanted to push my computer to be as upgraded as possible for the AM4 generation of CPUs, since it is already considered outdated hardware. Initially, I had set up a Windows virtual machine with my Nvidia RTX 2070 graphics card passed to the VM. Along with an AMD RX 550x low profile RX 580 graphics card to be used with Fedora Linux, my host OS. I also have a separate USB microphone and USB audio output device that I similarly pass control of to the VM. It worked, but I did not have enough slots to Install any other cards (like a PCIe USB expansion card). I did not have any other option for getting my virtual reality headset, an HP Reverb G2, working correctly. So I started looking into a motherboard that could support this.
Motherboard
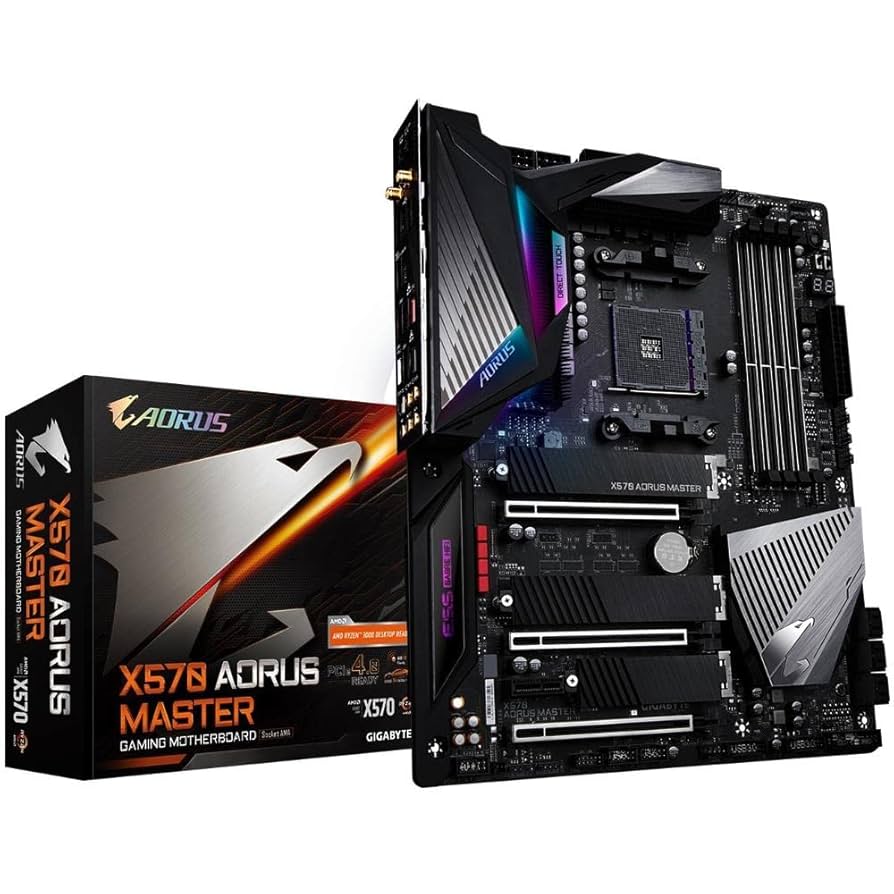
After some research, I realized I would need to buy a high end AM4 motherboard. I initially looked at Asus, but I read they had very mixed reviews on its IOMMU groupings, so Asus didn’t seem to have the groupings I needed. So, I looked into other motherboards, and I eventually settled on a used Gigabyte X570 Aorus Master, which was purchased for about $170, about half the price of original retail value. User accounting said that the gigabyte had better separation in its IOMMU groupings, and this seemed to match what I found in my research.
I got the new motherboard installed, and everything seemed to function properly. The BIOS was different from my Asus motherboard, but a search for the manual told me everything I needed to do (always RTFM). I also upgraded my CPU to a Ryzen 5950x, so that way I could give both my Windows machine and my Linux host machine 8 dedicated cores and 16 threads to work with. This was unnecessary, but at the time the market prices were cheaper, and it gets more expensive the longer production has stopped and the hardware becomes rarer to find. This was with upgrading my machine to 64 gigabytes (16GB x 4) of RAM, but initial tests indicated it would not be enough resources to make this work. So I ended up settling on 128 gigabytes (32GB x 4) of ram to ensure future proofing and long term stability.
PCIe USB Expansion Card
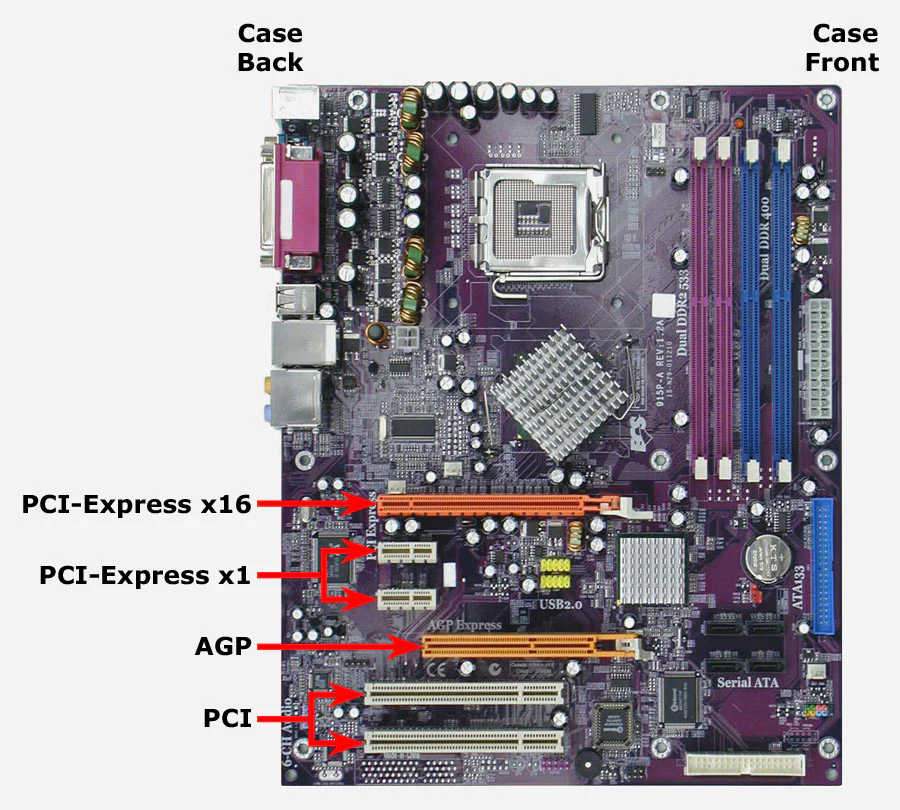
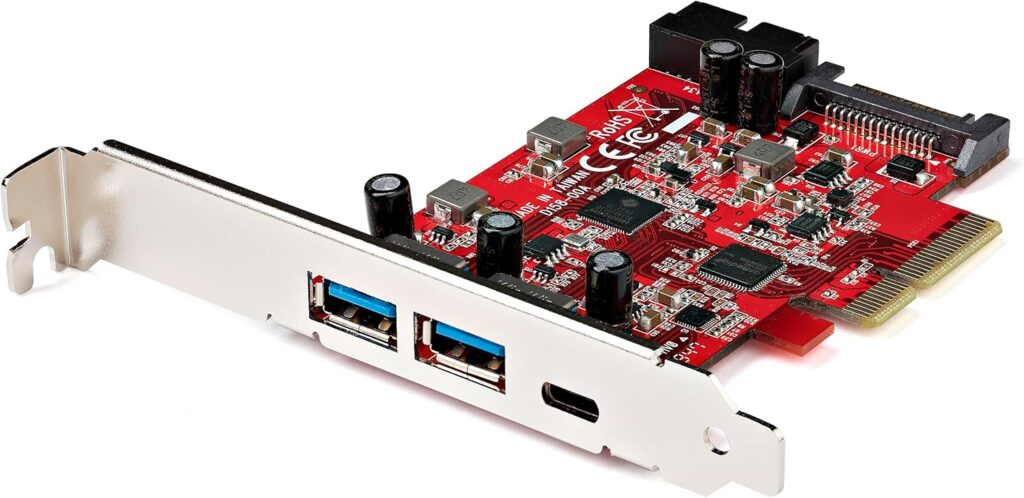
The motherboard had three x16 PCIe slots that had satisfactory IOMMU separation, so I purchased what seemed like the best USB expansion card. It has two USB-C ports and three USB type A ports. Reviews indicated other cards that have USB-A slots facing vertically are not ideal, and often led to problems because the case made the ports difficult to access, since the ports were wider than my case slots. I finally decided on a dual combined USB-A and USB-C expansion card that had the slots facing horizontally, for a total of 3 USB-A and 2 USB-C ports on a PCIe x4 card.
Windows Mixed Reality
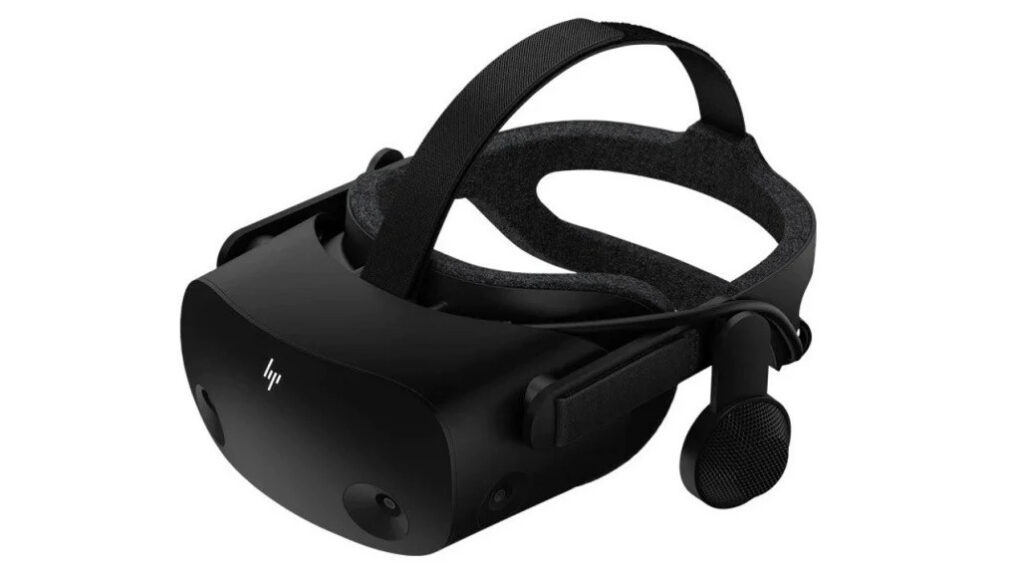
Once I got the USB card successfully passed through to the VM, I plugged in my VR headset into the DisplayPort slot and the USB-C slot. At first, I had to configure Windows to cheat the minimum hardware standards test for Windows mixed reality because it false-reported that I didn’t have enough system resources to run the VR application. This was corrected with a careful registry change, and I was then able to then get it to accept the hardware. I plugged in my headset, downloaded all the VR games and Software that I needed to run the VR. I turned it on, and it worked! Side note: leaving the headset plugged in before turning on the VM ended up crashing the VM every time, so I disconnect power to the headset until I am logged in.
Gaming Performance

I had interestingly better results with the performance of the VR. I suspect this is because I had only one monitor plugged into the GPU, instead of all 3 of the monitors I use. The framerate and response time were more consistent, and while testing Half Life: Alyx I was no longer getting the VRAM warning messages I had before.
Resource Allocation

I initially had my Windows VM set up as a virtual disk partition in the KVM software. But then I decided I wanted two separate M.2 SSDs for maximum space and performance. So I purchased the exact same 2TB Inland SSDs. I passed one of those SSDs, through the isolated IOMMU group, directly to Windows with minimal performance loss. The virtual machine was assigned 40 gigabytes of dedicated RAM solely for Windows. This may sound excessive, but I have plenty of resources are available to spare for increased stability. My Windows VM now runs games and VR as if it’s on a completely separate computer, though it does generate more heat.
Occasionally, the virtual machine will not work properly with Evdev, which is a function that can be added to the VM configuration to pass keyboard and mouse controls to the VM with minimal input lag. I can switch desktops by hitting both my left and my right control keys, but occasionally the keyboard shortcut stops working (mouse stays with one desktop and keyboard starts malfunctioning in the VM). Power cycling the VM can fix the issue.
UPDATE: I have not had this problem since the latest Fedora 42 update, so I can still use my primary keyboard and mouse in the VM without anything breaking!
Networking
At first, I struggled to figure out the networking side of the VM, as it did not have a visible IP on my network that I could interact with. I found a solution that shares the network in bridged mode that allows both the Linux host and the Windows VM to share the connection while having separate IP addresses visible to my local network. And I can still use my Linux host machine that performs with no difference to if the VM is being used or not. While I’m sure my system draws more power now, it costs less and draws less power than if I were to build a second dedicated gaming machine, and it is much easier to tweak and interact with Windows through the virtualization controls.
Inspiration

This was just a fun hobby project that I really wanted to test out. I was encouraged by many sources, such as Mutahar AKA SomeOrdinaryGamers who has discussed his desktop setup in many of his videos, my friends, and Linux memes I’ve encountered discussing the idea. I had to add a few extra steps to get my WMR headset functioning, but it was truly worth every bit of effort!
Update 12/2025
So I’ve made some recent adjustments and changes to my setup. Because of how premium the Aurora Master is, I have 2 separate Ethernet connections for my machine, and I can directly pass one of them to my virtual machine without issue. I wanted to highlight this because it changes the way I use it now. No more network bridging, just two separate direct connections with individual IP addresses. This will vary from motherboard to motherboard, so always check your motherboards iommu groupings to ensure compatibility.
I also swapped out my AMD card with the larger RX 580, so unfortunately I had to sacrifice my SATA expansion card to make room for the new card. Thankfully I have just enough ports on the motherboard so not a big deal, but I thought I would mention this.
FAQ: Using a Linux Host with a Windows VM for WMR Headset and GPU Passthrough
Can I use a Windows Mixed Reality (WMR) headset with a Linux host and a Windows virtual machine (VM)?
Yes, it’s possible with a Linux host running a Windows VM using KVM with GPU passthrough. However, the setup is complex, requiring knowledge of Linux, KVM, hardware schematics, and PC building. The WMR headset can work, but compatibility is limited due to its alpha-state support on Linux.
What hardware is needed for this setup?
You’ll need a motherboard with good IOMMU groupings for PCIe passthrough (e.g., Gigabyte X570 Aorus Master), a compatible GPU (e.g., Nvidia RTX 2070), a CPU with virtualization support (e.g., Ryzen 5950x), ample RAM (64GB or more recommended), and a PCIe USB expansion card for WMR headset connectivity.
Why use a Linux host instead of Windows for VR gaming?
Linux offers better security, privacy, and customization. With Windows dropping WMR support in Windows 11 and adding performance issues, a Linux host with a Windows VM allows you to use open-source software while running Windows games and VR applications with near-native performance.
What are the challenges with this setup?
Challenges include complex hardware and software configuration, ensuring proper IOMMU groupings, and managing compatibility issues with WMR headsets. You may need to tweak BIOS settings, block conflicting drivers, and handle occasional VM issues like input lag or crashes.
How does GPU passthrough work with KVM?
GPU passthrough uses KVM and VFIO to dedicate a GPU to the Windows VM, providing near-native performance. This requires enabling virtualization in the BIOS, configuring IOMMU groupings, and passing PCIe devices (like the GPU and USB card) to the VM.
Are there any tips for setting up a WMR headset?
Ensure the USB-C and DisplayPort connections are passed through correctly via a PCIe USB card. Disconnect the headset before starting the VM to avoid crashes, and you may need to adjust Windows registry settings to bypass WMR’s hardware check.
Questions?
If you have any questions or comments feel free to leave them below.
Affiliate
This page contains affiliate links. If you make a purchase through these links, we may earn a small commission at no extra cost to you.
Related Resources
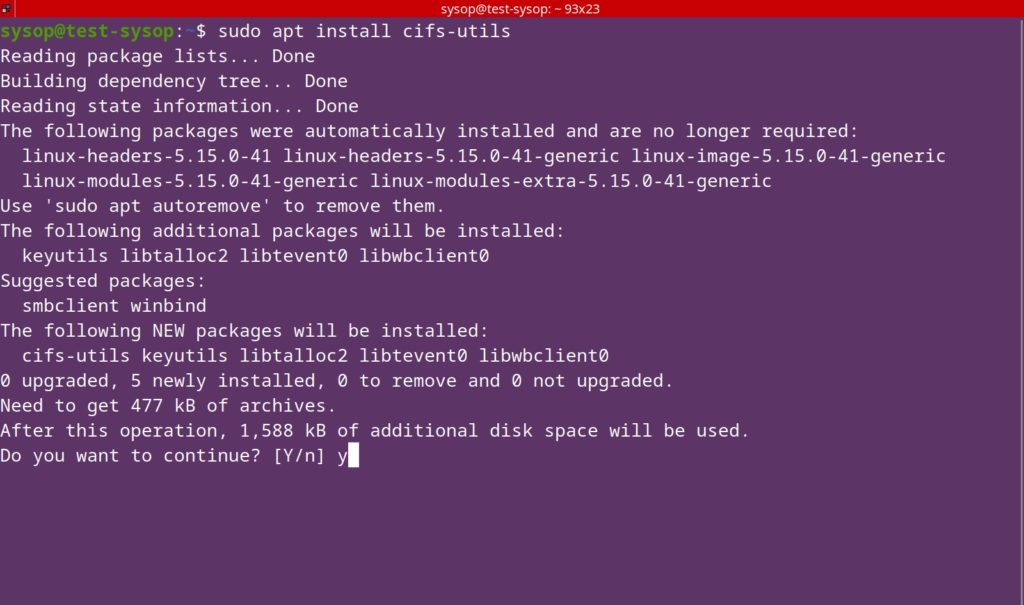
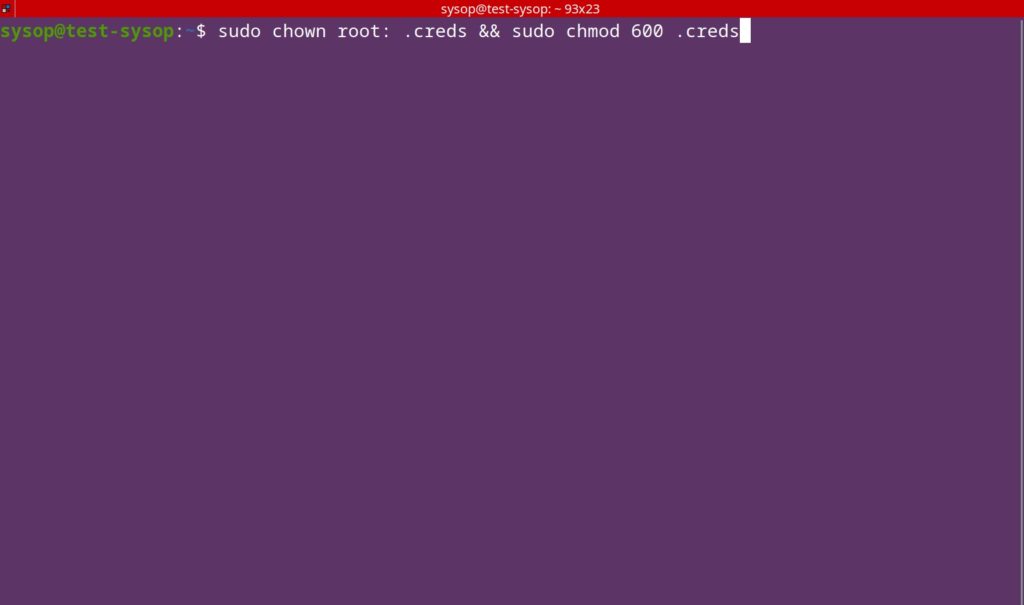
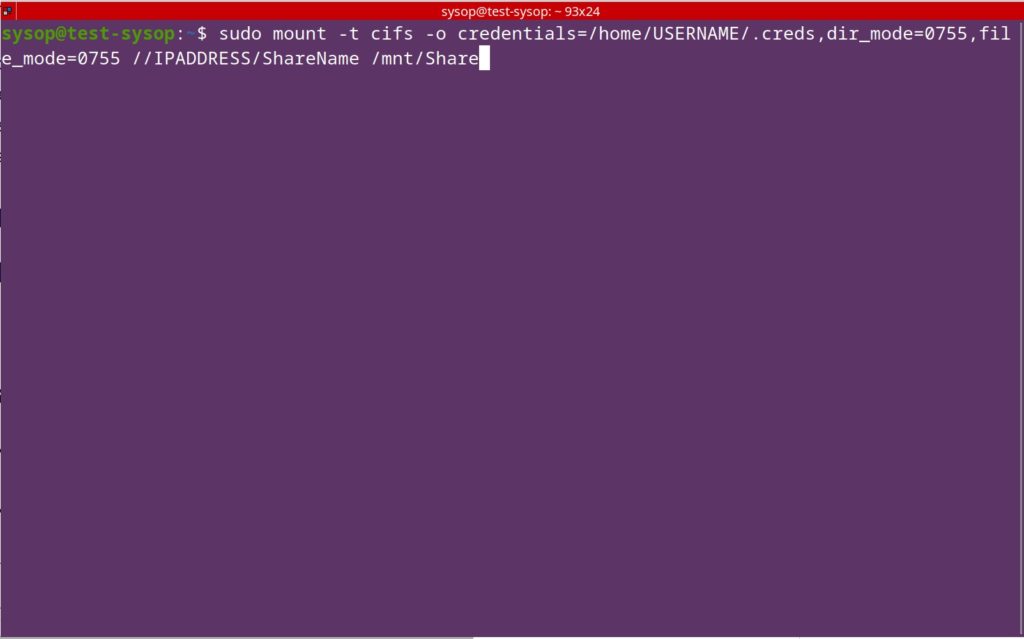
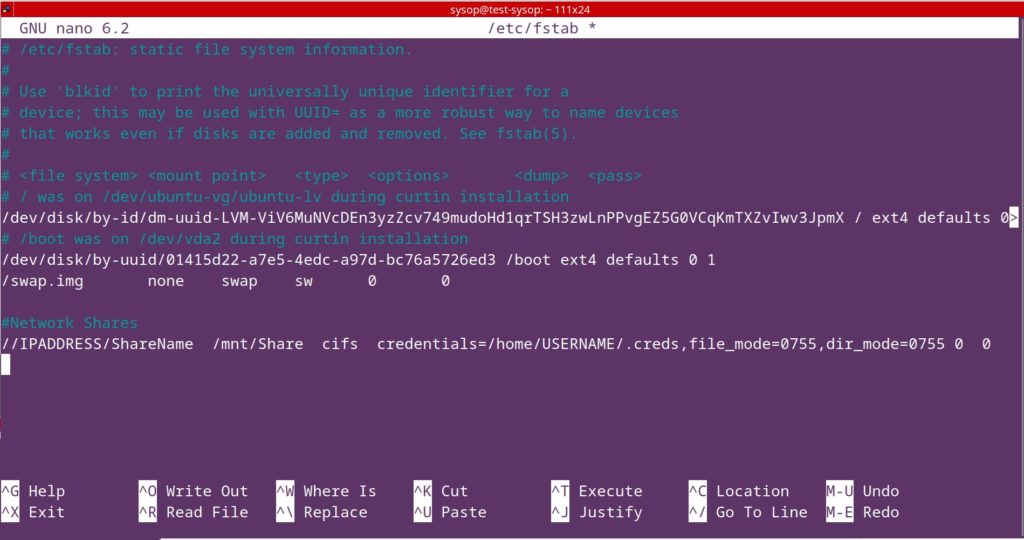
View our How to Mount an SMB (Samba) Share in Linux with cifs-utils guide.
Learn How to Install Ubuntu Server 22.04 [Step by Step].
Check out How to Setup OpenSSH with Keys on Ubuntu 22.04.
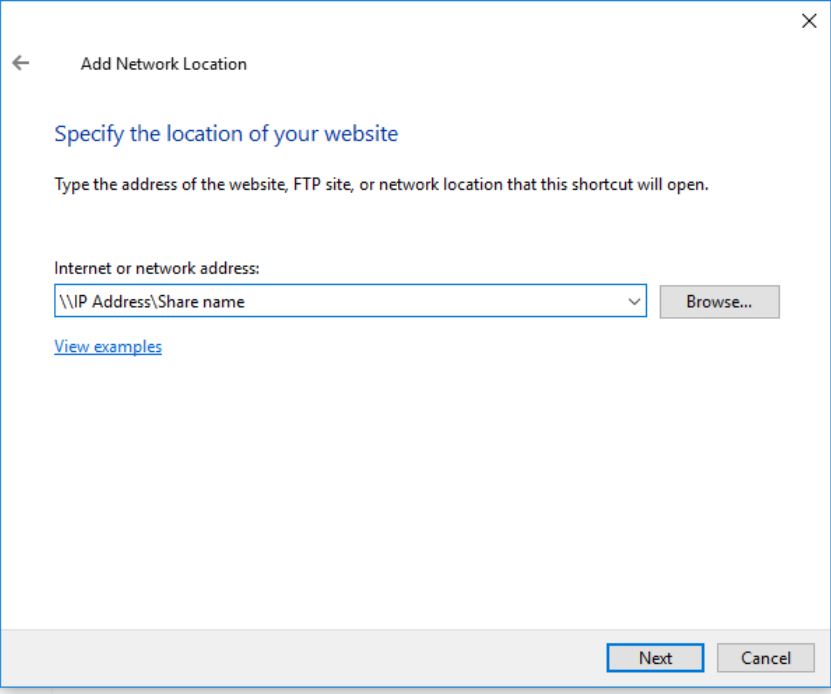
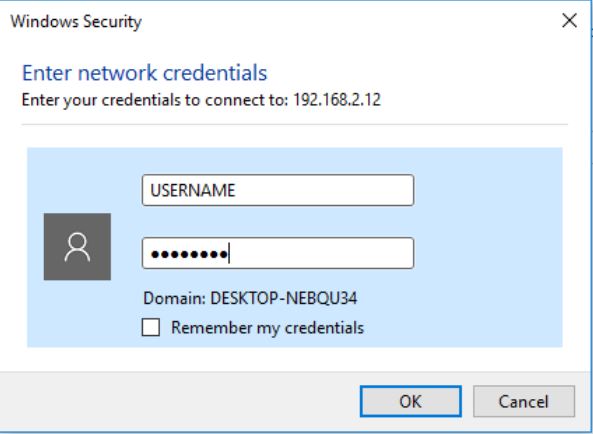
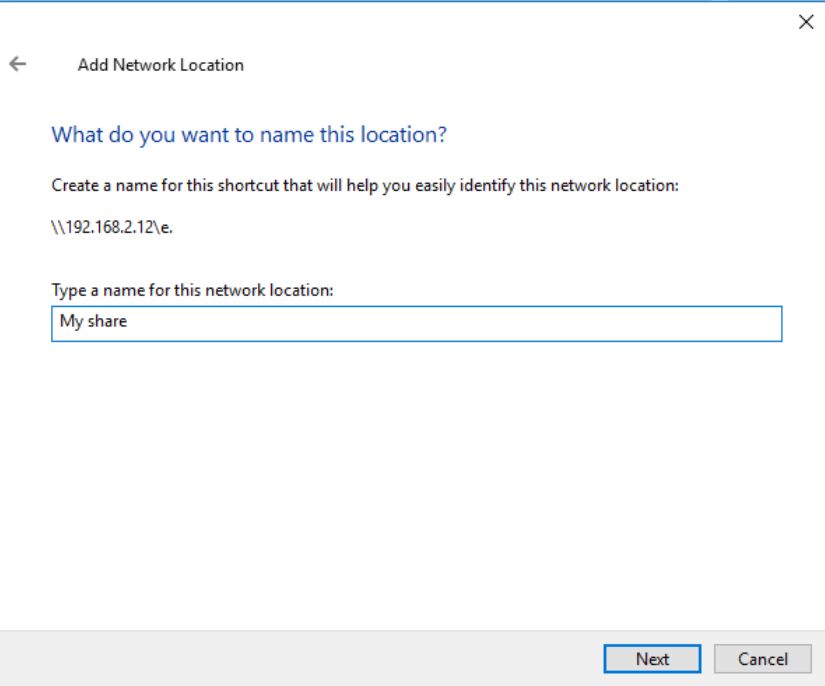
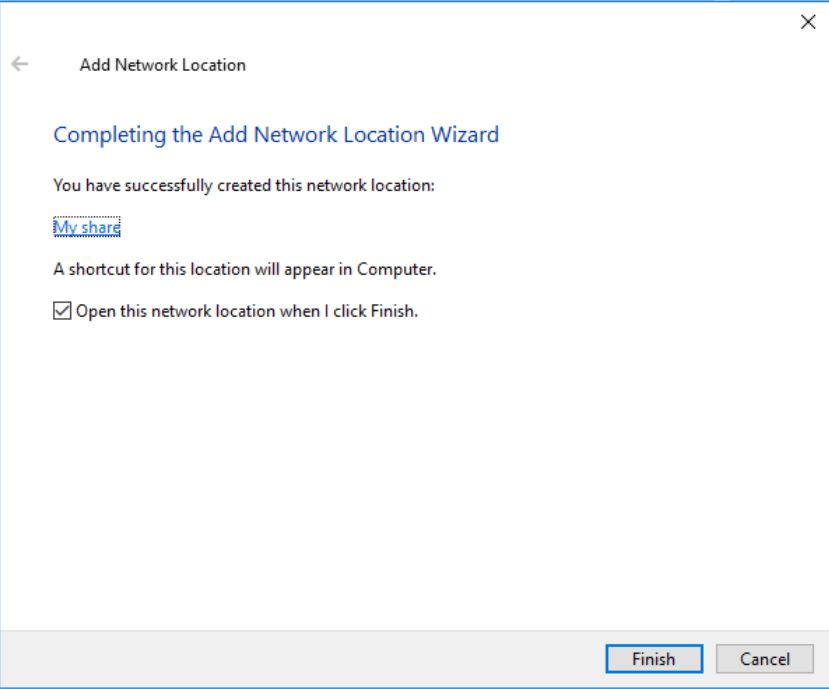
View our How to Create a Mapped Network Drive in Windows 10 tutorial.
Learn How to Install and Configure Grafana on Ubuntu 22.04.
View all of our available online tools and converters at Formatswap.com.