
This tutorial provides a comprehensive guide on setting up and remotely accessing the Squid proxy server on an Ubuntu 22.04 system. Squid proxy is a popular caching and forwarding HTTP proxy server that acts as an intermediary between clients and web servers. It enables efficient caching of web content, improves browsing performance, and provides various features for network administrators to manage and control internet access.
By installing and configuring Squid proxy on an Ubuntu 22.04 system, you gain the ability to cache frequently accessed web content, reducing bandwidth usage and improving response times for subsequent requests. Additionally, Squid proxy offers features such as access control, content filtering, and user authentication. This allows you to enforce policies and restrictions for internet access within your network.
The article not only walks you through the installation process of Squid proxy on Ubuntu 22.04 but also provides instructions for remote access. This means you can send your devices traffic to the proxy server from a remote location granting you accessibility and security from anywhere.
Overall, understanding how to install and remotely access Squid proxy on Ubuntu 22.04 empowers you to optimize your network’s performance, enhance security, and efficiently manage internet access for your organization or personal use.
Update and Upgrade Ubuntu 22.04
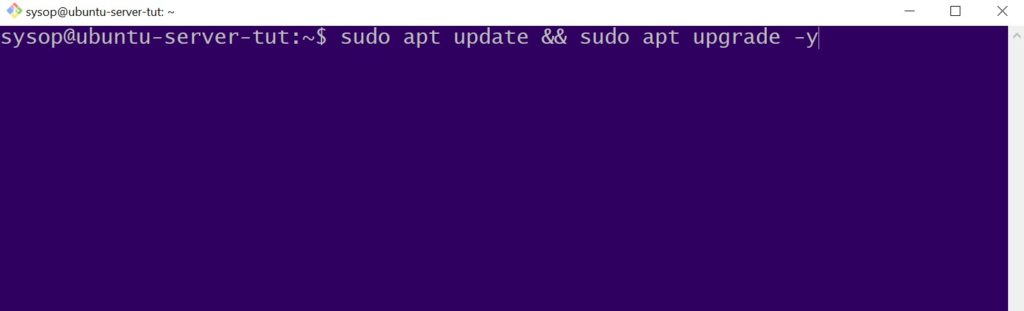
The first thing we will need to do to install Squid Proxy is update and upgrade your system. Run the apt update and apt upgrade command below.
sudo apt update && sudo apt upgrade -yInstall Squid Proxy
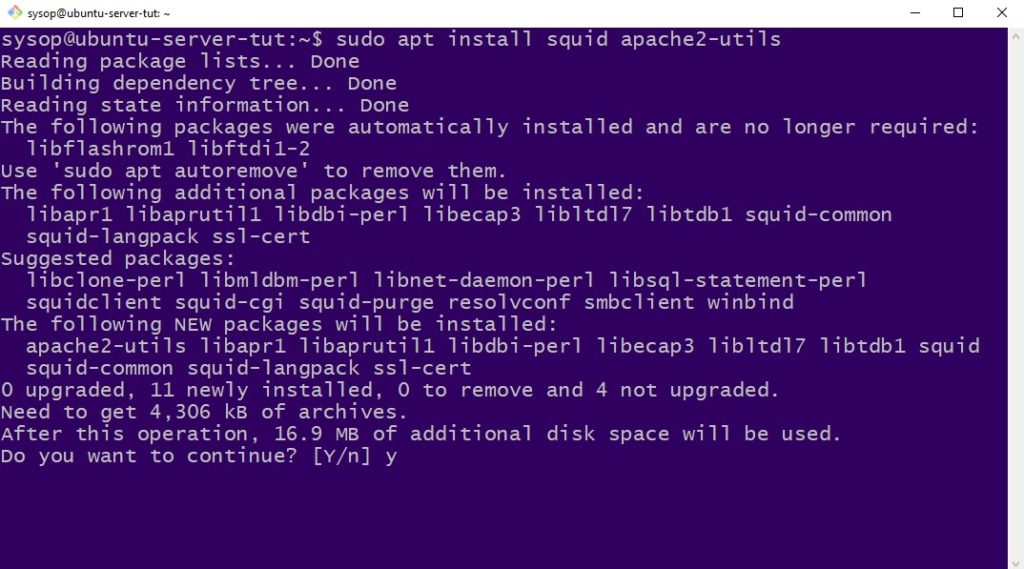
The next thing we need to do is install Squid proxy and Apache utilities. The utilities package will allow us to create a password authentication file for authentication our proxy users. Use the apt command below to install the two packages.
sudo apt install squid apache2-utilsCreate a Credential File

Now we will create a passwords file and assign the correct permissions. Squid will read this file to authenticate our proxy users. Use the below command to touch and chmod the file.
sudo touch /etc/squid/passwords && sudo chmod 777 /etc/squid/passwordsCreate Authentication User
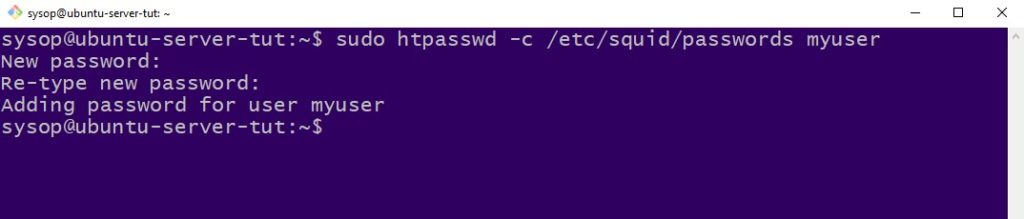
Next create the proxy authentication user with the htpasswd command. Replace “username” with the username you want to use for logging into the proxy. After you run the command you will be asked to type and retype the password you wish to use.
sudo htpasswd -c /etc/squid/passwords usernameTest Authentication

Now we can test our proxy authentication file with the basic_ncsa_auth command. Run the following command and confirm you get “OK” as shown in the above image. This means that the credential file is configured properly.
/usr/lib/squid/basic_ncsa_auth /etc/squid/passwordsBackup Squid Config
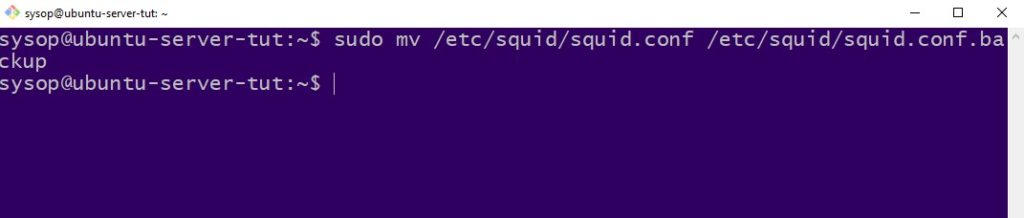
After we create our credentials file we need to make a backup of the squid config. Move it to a temporary location with the command below.
sudo mv /etc/squid/squid.conf /etc/squid/squid.conf.backupCreate Squid Config File
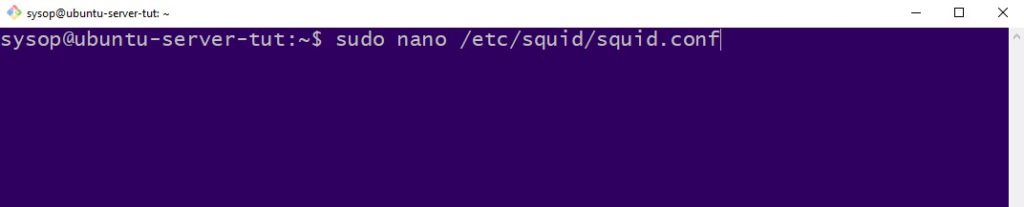
Now create a new squid config file with the nano command.
sudo nano /etc/squid/squid.confAdd Lines to Config (Local Network Only)

Once the file opens it will be blank and we need to add a few lines. Copy and paste the below config into your squid.conf file. Make sure to change the “acl localnet src 192.168.2.0/24” line to reflect your own IP range. With this configuration you will only be able to access your proxy from within the local network. If you want to access the proxy remotely skip to the next optional step. Otherwise save and close the config file.
auth_param basic program /usr/lib/squid/basic_ncsa_auth /etc/squid/passwords
auth_param basic realm Squid proxy-caching web server
auth_param basic credentialsttl 24 hours
auth_param basic casesensitive off
acl authenticated proxy_auth REQUIRED
acl localnet src 192.168.2.0/24 # RFC1918 possible internal network
http_access allow localnet
http_access deny all
dns_v4_first on
forwarded_for delete
via off
http_port 8888
[optional] Add Lines to Config (Remote)
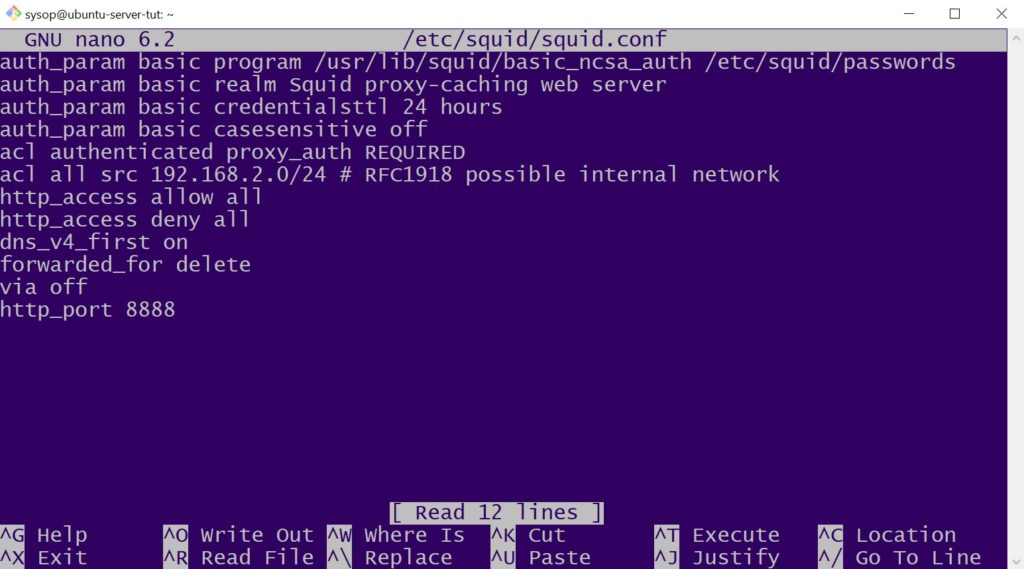
This step is optional, however it will allow you to access the proxy server remotely. To enable remote access replace your config with the lines shown below. Keep in mind you will also have to enable port forwarding in your router for remote access. Save and close the file.
When allowing remote access to your proxy it is recommended to configure a firewall. For guidance on this please see our How to Configure a Firewall in Linux using UFW tutorial.
auth_param basic program /usr/lib/squid/basic_ncsa_auth /etc/squid/passwords
auth_param basic realm Squid proxy-caching web server
auth_param basic credentialsttl 24 hours
auth_param basic casesensitive off
acl authenticated proxy_auth REQUIRED
acl all src 192.168.2.0/24 # RFC1918 possible internal network
http_access allow all
http_access deny all
dns_v4_first on
forwarded_for delete
via off
http_port 8888
Start and Enable Squid Process
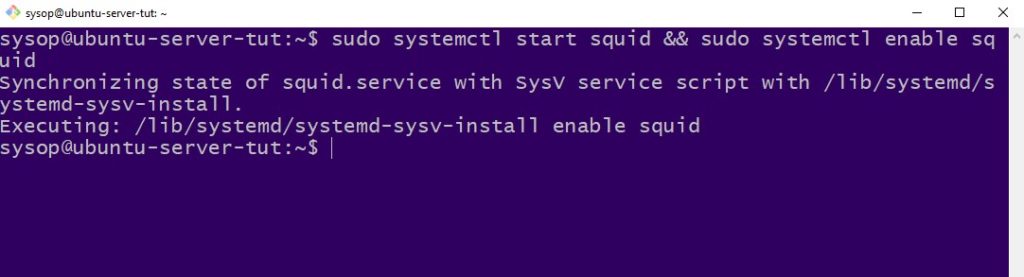
The last step in the installation process is to start and enable the squid proxy service. Use the systemctl command below to complete these steps.
sudo systemctl start squid && sudo systemctl enable squidInstall Curl
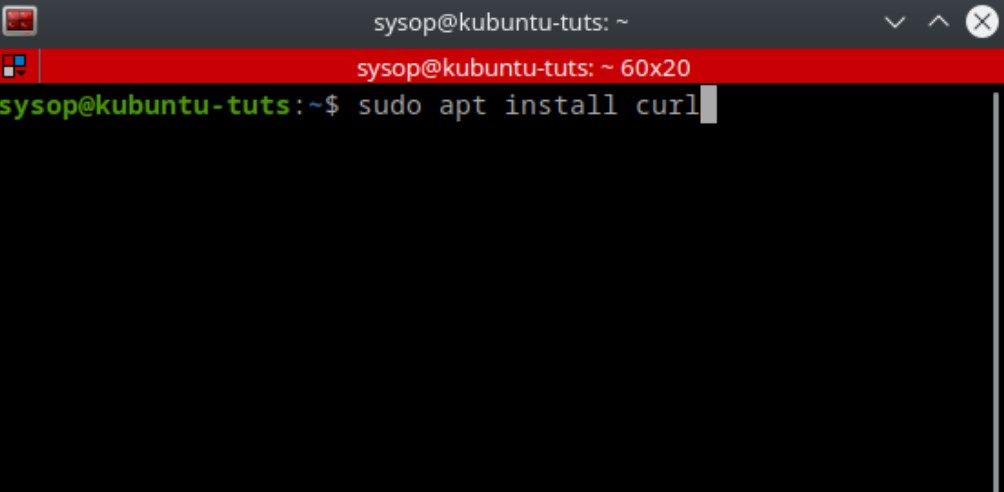
Now that the installation is complete we can test our squid proxy server. For this step you will need to install Curl onto a separate machine.
sudo apt install curlTest the Squid Proxy Server
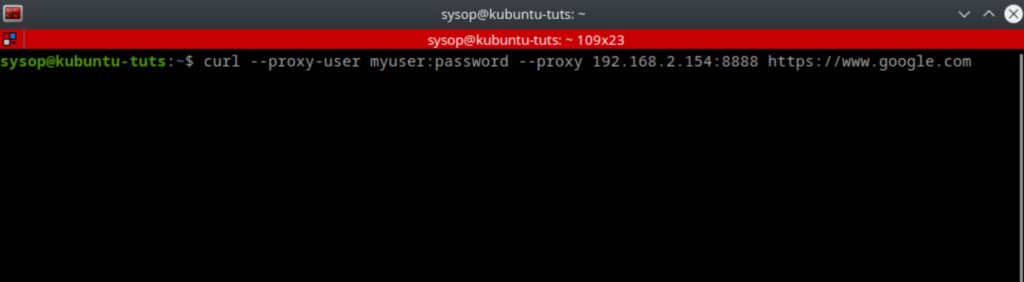
After you have installed Curl run the following command. Replace “myuser:password” with the username and password you choose when you created the credential file. Additionally replace IP-ADDRESS with the IP of the Ubuntu machine with the squid proxy server.
curl --proxy-user myuser:password --proxy IP-ADDRESS:8888 https://www.google.comVerify Curl Results
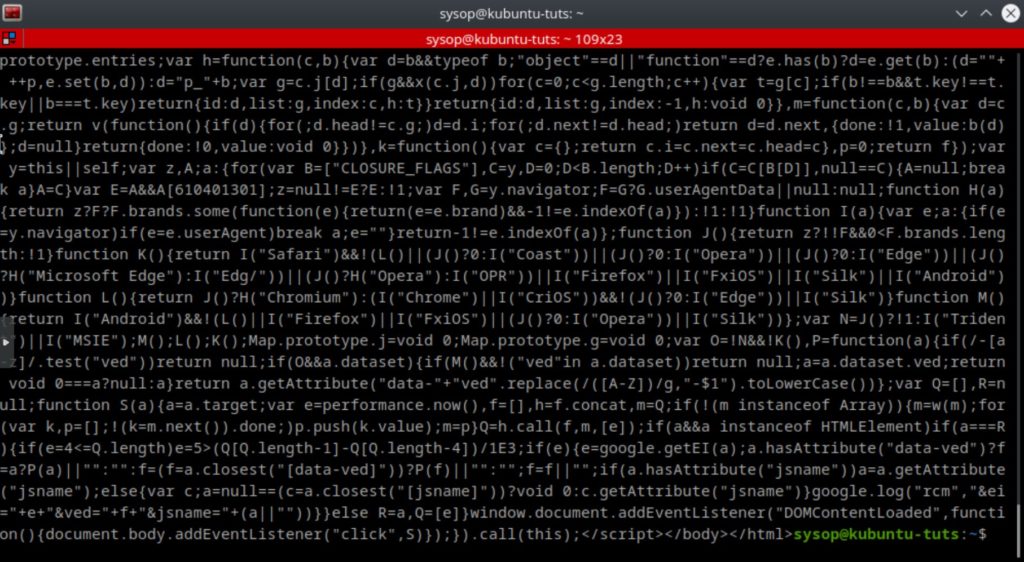
If the connection to the proxy server was successful you should see a bunch of text in the Curl response. You have now successfully installed Squid proxy on Ubuntu 22.04.
[optional] Verify the Proxy Requests in the Log
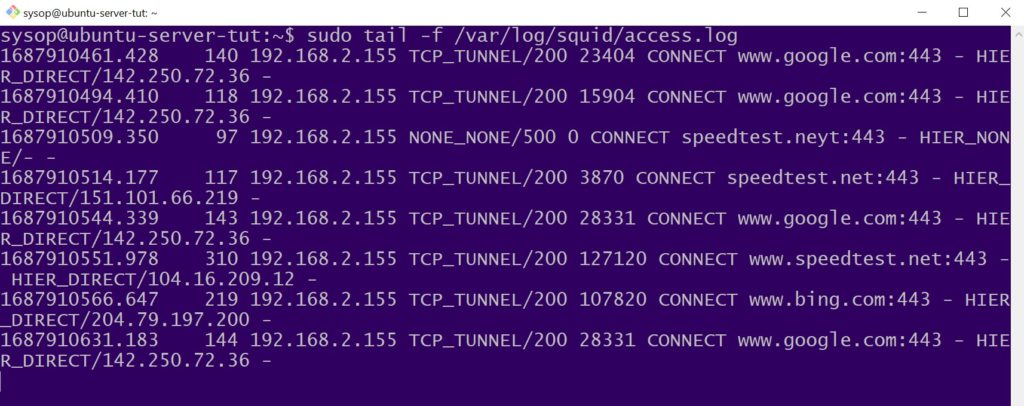
If you would like extra verification that Squid is functioning you can check the log file. Use the tail command below and verify you see a new request appear when you run the test Curl command from above.
sudo tail -f /var/log/squid/access.logQuestions?
If you have any questions or comments feel free to leave them below.
Related Resources
View our guide on How to Install WordPress on Ubuntu 22.04.
Learn How to Install Ubuntu Server 22.04 [Step by Step].
Check out our Installing Elementary OS: A Comprehensive Guide for Beginners article.
View our How to Setup an SFTP Server on Ubuntu 22.04 using OpenSSH tutorial.
Learn more cool things in Linux with our Linux Tutorials.
View all of our available online tools and converters at Formatswap.com.