
In today’s tech age having a powerful and user friendly website is essential for businesses, bloggers, and individuals. WordPress a renowned content management system (CMS), has emerged as the go-to solution for creating stunning websites with ease. If you’re looking to use WordPress on your Ubuntu 22.04 server this article is your comprehensive guide to getting started.
WordPress offers a vast array of themes, plugins, and customizable features that enable you to create a unique online presence. Whether you’re a beginner or a seasoned web developer, WordPress simplifies website creation and management. Best of all it eliminates the need for extensive coding knowledge. By leveraging its intuitive interface and extensive community support, you can effortlessly establish a professional online presence.
In this step by step tutorial, we will walk you through the process of installing WordPress on Ubuntu 22.04. By following these instructions, you’ll be well-equipped to embark on your WordPress journey and start using this dynamic platform. Let’s dive in and empower your web presence with WordPress on Ubuntu 22.04.
Update and Upgrade Ubuntu
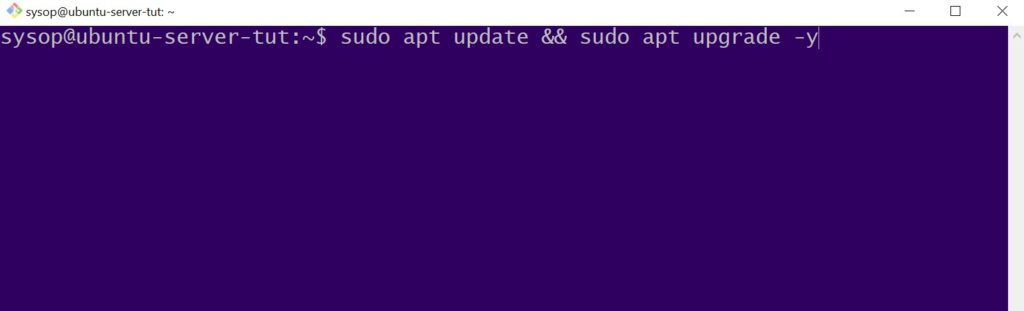
The first step to installing WordPress is to update and upgrade your Ubuntu installation. Run the following command.
sudo apt update && sudo apt upgrade -yInstall Required Packages
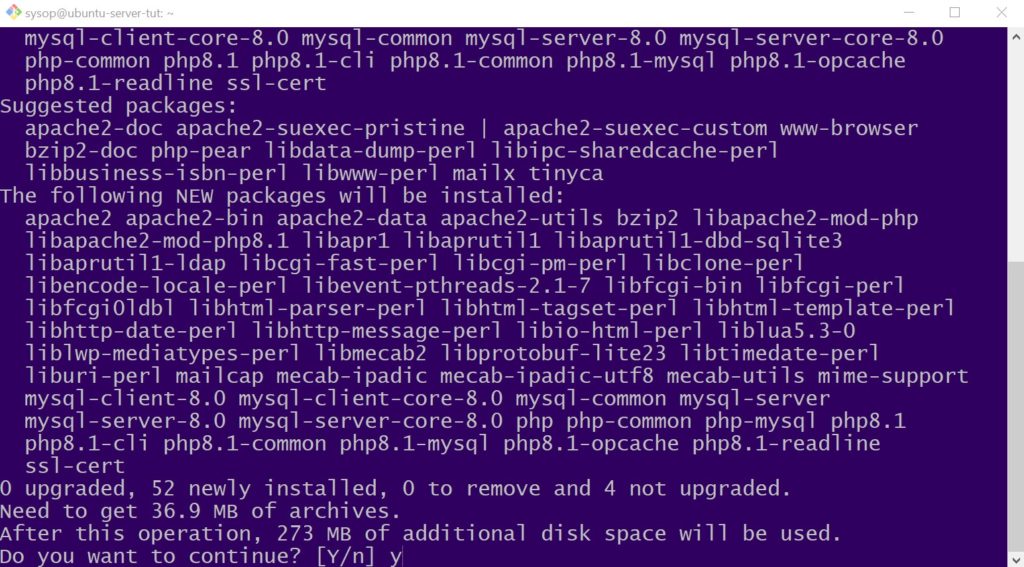
Next you will need to install all of the required packages. Install them using the apt command below.
sudo apt install apache2 mysql-server php libapache2-mod-php php-mysql -yLogin to the Root MySQL Account
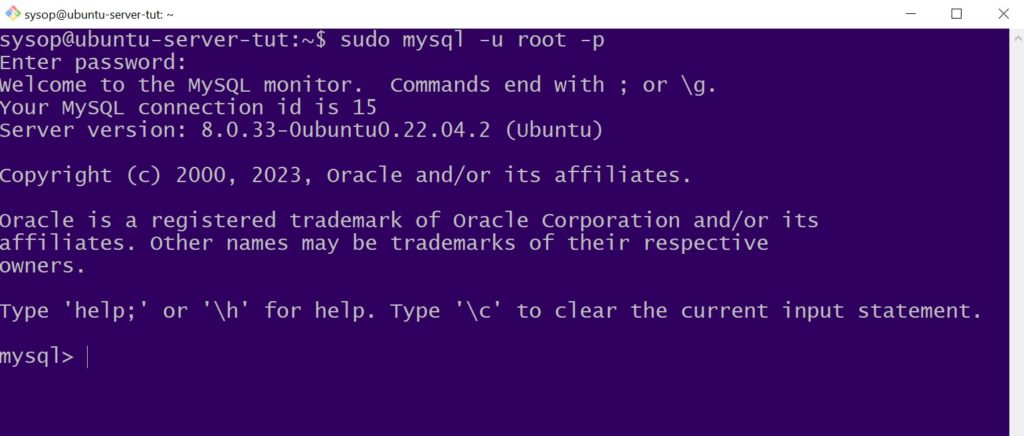
Once you have installed all of the required packages you will need to login to SQL. Use the below mysql command, then enter your user password to login.
sudo mysql -u root -pUpdate the Database Records
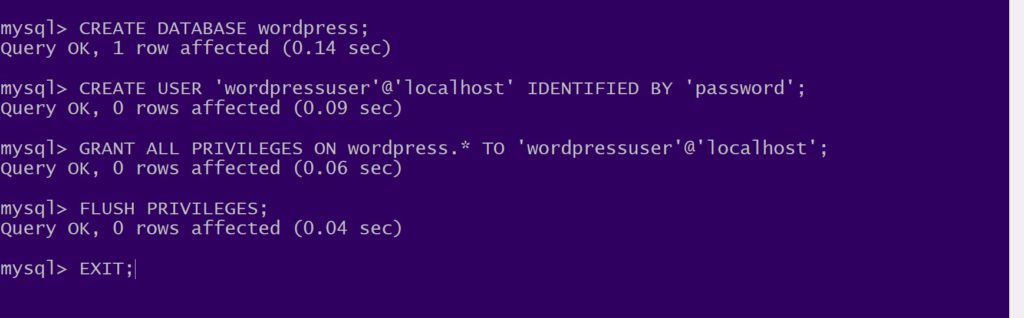
After you get into mysql, run the following four mysql statements. Replace ‘wordpressuser’ and ‘password’ with the username and password you want to use for your mysql user.
CREATE DATABASE wordpress;

CREATE USER 'wordpressuser'@'localhost' IDENTIFIED BY 'password';

GRANT ALL PRIVILEGES ON wordpress.* TO 'wordpressuser'@'localhost';

FLUSH PRIVILEGES;
Once the mysql statements have been ran, exit the mysql command line with ‘EXIT;’.
EXIT;Download WordPress
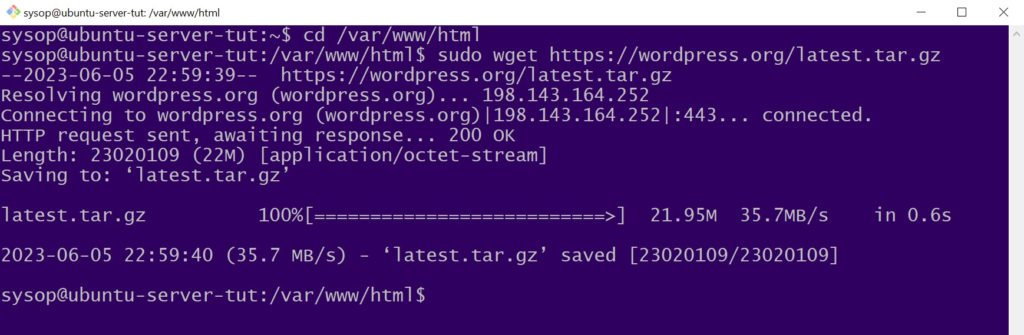
After running your mysql commands you will need to download WordPress. First navigate to your web directory at /var/www/html.
cd /var/www/htmlThen download the latest version of WordPress using the wget command.
sudo wget https://wordpress.org/latest.tar.gzExtract the WordPress Archive
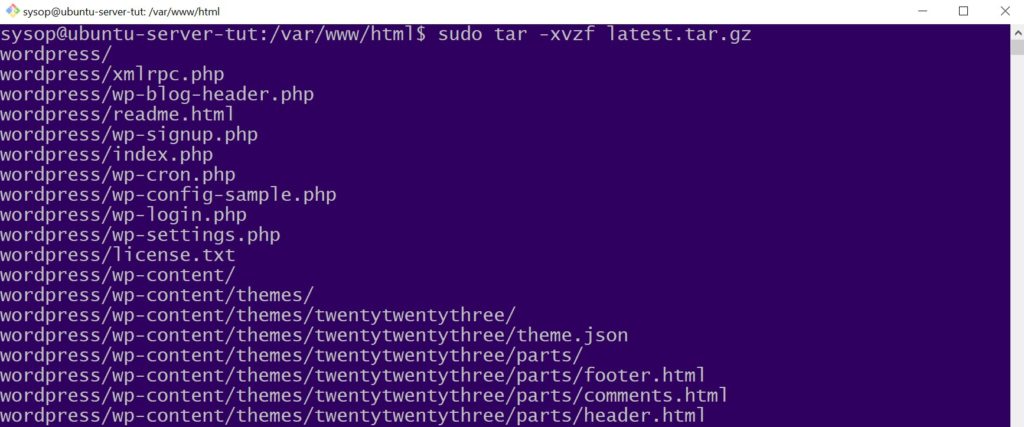
Next extract the WordPress files from the .tar.gz archive using the tar command.
sudo tar -xvzf latest.tar.gzMove the Files to the Web Directory
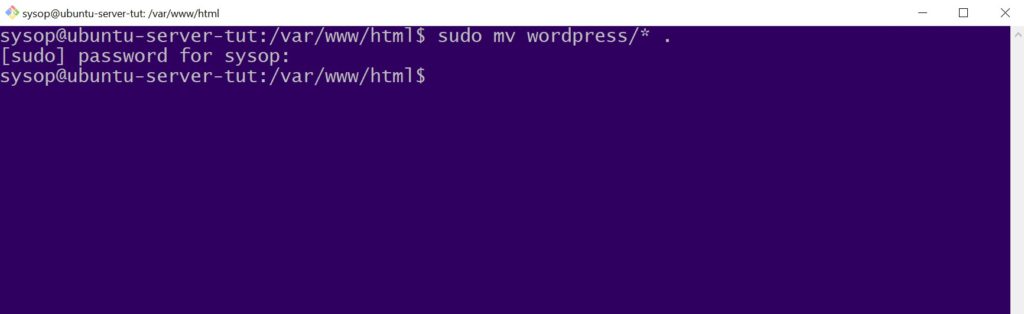
After the files have been extracted, move them to the root web directory using the mv command.
sudo mv wordpress/* .Apply Permissions

Next apply read/write permission to the folder using the chown and chmod commands.
sudo chown -R www-data:www-data /var/www/html/sudo chmod -R 755 /var/www/html/Move the WordPress Config File

After applying the permissions, create a WordPress config file based off of the sample file. Use the following command.
sudo mv wp-config-sample.php wp-config.phpOpen the WordPress Config File
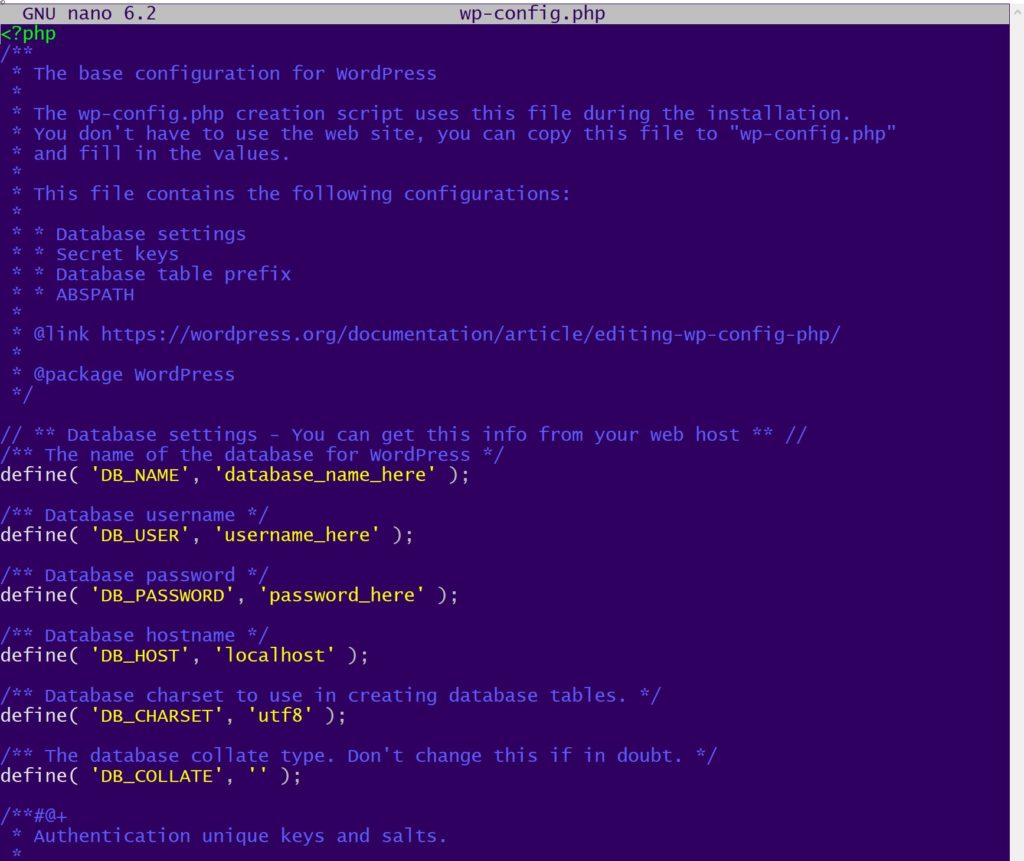
After creating the wp-config.php file you need to open it using the nano text editor, or your editor of choice.
sudo nano wp-config.phpUpdate the Config Values
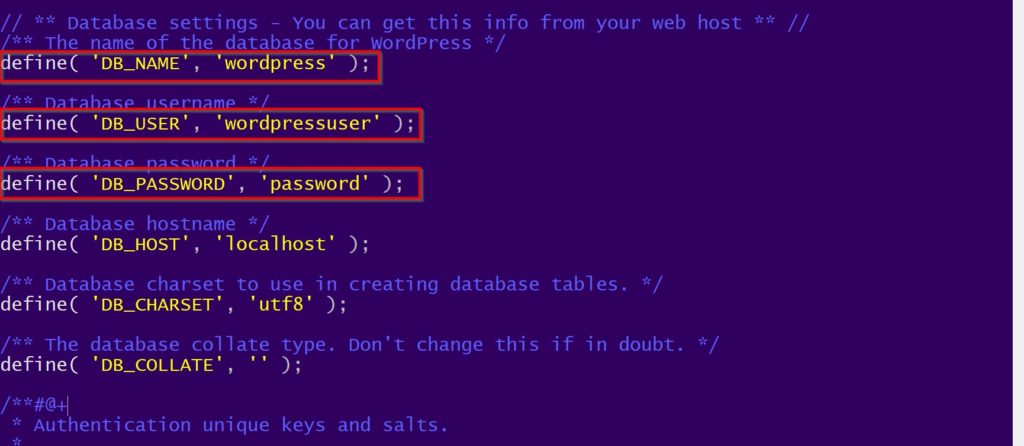
Now you need to update the three lines highlighted in red. Fill out the DB_NAME, DB_USER, and DB_PASSWORD lines with the values you choose during the mysql step. Once you finish editing these lines, save and close the file.
Edit the Apache Configuration File
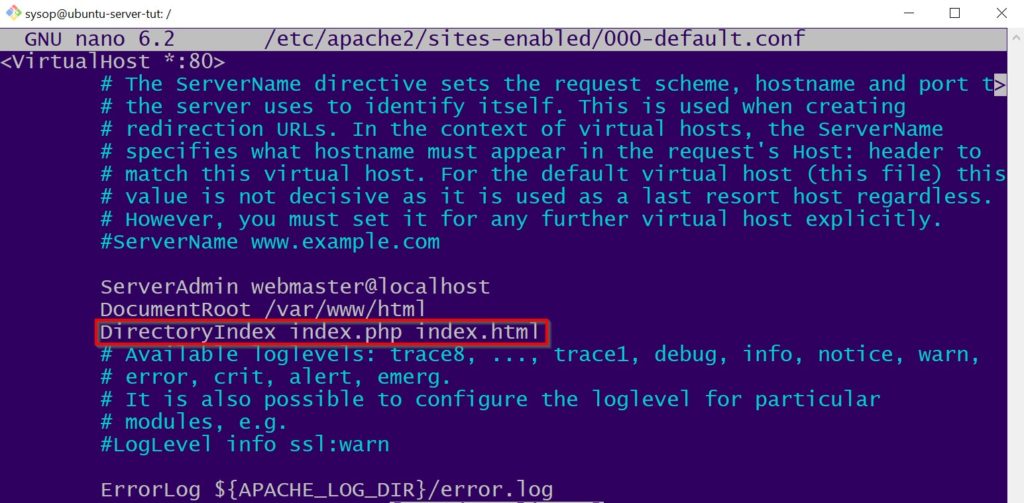
Afterwards open up your Apache configuration file with nano.
sudo nano /etc/apache2/sites-enabled/000-default.confScroll down until you see the line “DocumentRoot /var/www/html”, add the following to the line underneath.
DirectoryIndex index.php index.htmlOnce you have made your changes save and close the file.
Enable Apache a2enmod
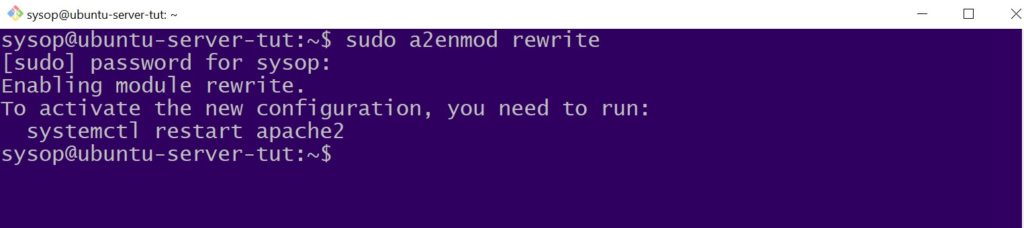
Now we have to enable the Apache extension “a2enmod”. Enable it using the below command. If it was successful you should see “Enabling module rewrite”.
Restart Apache

Finally we will restart Apache to apply all of our changes. Use the systemctl restart command below.
sudo systemctl restart apache2Navigate to the WordPress Setup Page
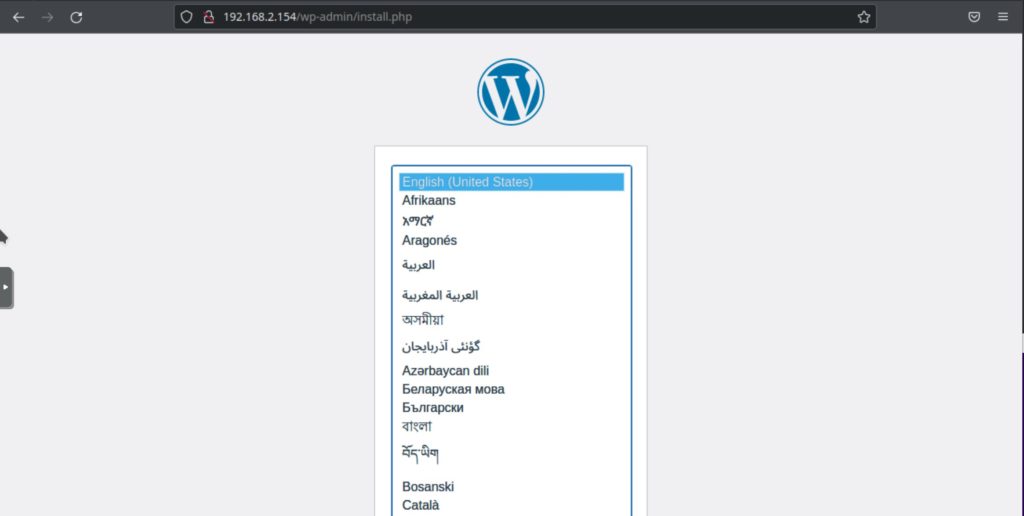
Now you can open a web browser and navigate to your servers IP address. You can find it by opening a terminal window on Ubuntu and running the “ip a” command. Once you arrive to the page you will be asked to select your language before continuing.
Configure the WordPress Site
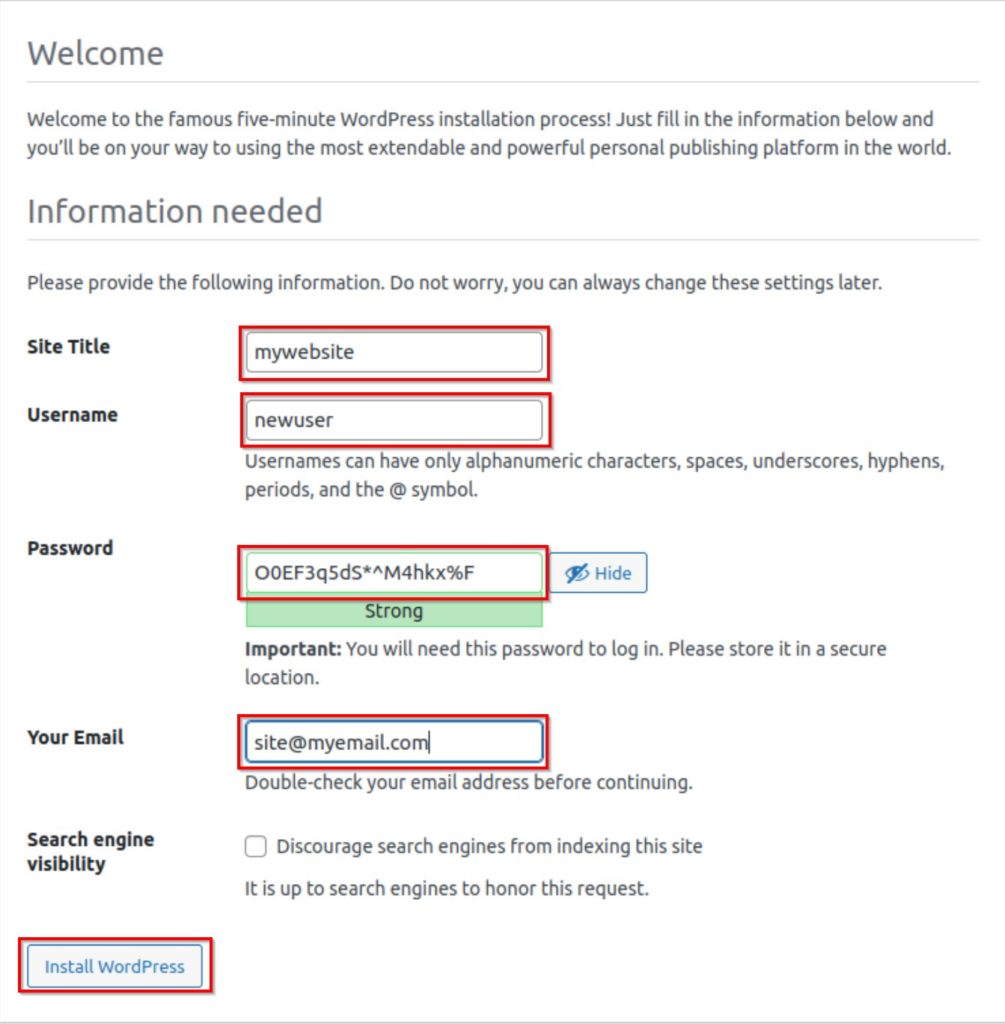
On the next page you will be asked for the title of your site, your username, password, and email. After you fill out these fields select “Install WordPress” to complete the installation.
WordPress Successfully Installed on Ubuntu 22.04
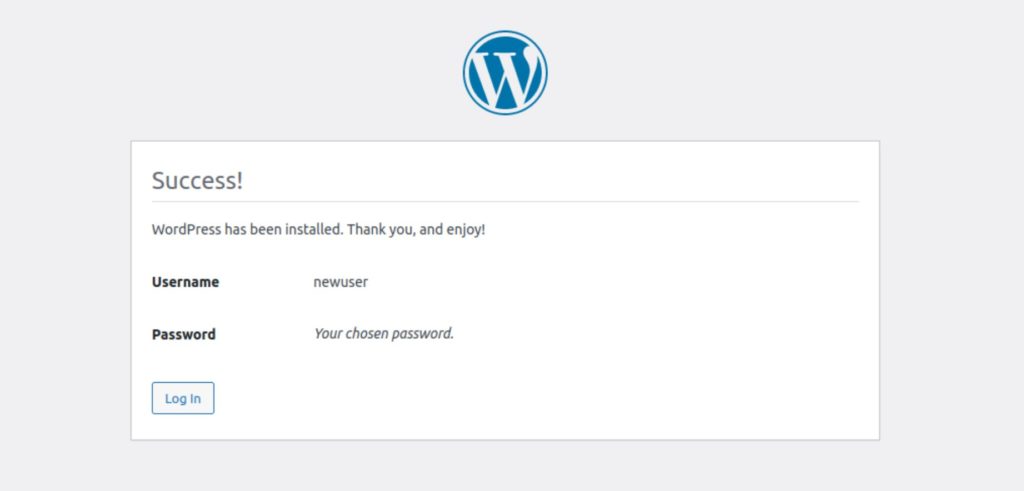
Once you see this page your WordPress installation is complete. Click “Log In” to begin using WordPress. You have now successfully installed WordPress on Ubuntu Server 22.04.
Questions?
If you have any questions or comments feel free to leave them below.
Related Resources
View our How to Setup Nginx as a Reverse Proxy on Ubuntu 22.04 LTS.
Learn How to Install Ubuntu Server 22.04 [Step by Step].
Check out our How to Easily Create a Bootable Linux USB Drive using Rufus article.
View our How to Setup an SFTP Server on Ubuntu 22.04 using OpenSSH tutorial.
Learn more cool things in Linux with our Linux Tutorials.
View all of our available online tools and converters at Formatswap.com.